Monday, August 14, 2023

Star Bows in Teals

Hello! It's time for my 3rd quarter Benartex Ambassador project, and I was lucky enough to get to play with the Prismatics collection. 
It features jewel tone colors in gorgeous watercolor prints, and the teal and lime colorway is right up my alley! (Though I used both colorways in a full-size version of my Star Bows quilt...keep scrolling to see, and to find a coupon code for the pattern!)


I chose to use this more controlled palette in a four-block wall hanging version of my Star Bows quilt pattern. The key is to choose a good contrasting color for the additional set of points. These huge stars measure 18" square, so four blocks makes a nice sized quilt! I like adding extra interest by alternating background colors as well. 

This patchwork-type print is my favorite from the collection: 


I found this fantastic sculpture downtown to use for photos of this quilt. See the full photo below this one. 

I need to come back with a larger quilt! 

I chose to do simple straight-line quilting so that the star blocks would shine. The quilting creates great texture! 


Isn't that print on the back fun? It reminds me of stained glass. 


This 36" square version I'm holding is made using just four blocks - a FQ of each print, plus the dark teal for the contrasting points and two background colors. 

The full quilt features 16 blocks, using both colorways: 


Which do you like better? I'm itching to make the full-size 16-block version now! :) 

The Star Bow pattern is available in my Etsy shop, and if you use the code PRISMATICS, it's 20% off through Monday, August 21st. Click here to use the code.

Get the pattern here.


Friday, August 4, 2023

The Story of a T-Shirt Quilt

A few months ago, my neighbor, Shari, called and asked me if I knew of anyone local who could make a t-shirt quilt for her son, who was retiring from the Marines. I said yes - me. :) 

Here's a look at the finished quilt - keep reading for the story. 

I met Shari at our local fabric shop to choose fabric. Because this was a military quilt, we started out looking at red and blue fabrics. But none of the patriotic fabrics really appealed to us. And then I found the sashiko-inspired fabric. Brad was stationed in Japan for quite a while, and this print reminded Shari of his time there. Bonus points that it was a beautiful fabric! 

Then we started looking for sashing fabric and for a "filler" fabric - something I could use to enlarge any t-shirt blocks that weren't large enough. This particular t-shirt quilt didn't have a color theme - sometimes if a quilt is made up of college or high school shirts, they're primarily in school colors, and that makes choosing fabric easier. We opted for red for the sashing for 2 reasons: 
1. It brought us back to the patriotic color scheme when paired with the navy border print
2. It helped to really define the blocks, most of which were neutrals or darker colors. 

The last print we chose was the navy stars. Here, we went opposite of the red - the goal was to choose a print that would blend in with the t-shirt colors rather than stand out. The navy frames the smaller blocks without calling attention to itself. 


After I prepped all the t-shirt blocks (see my Thermoweb post for more details, including the two must-have products I recommend to make a t-shirt quilt), it was time for layout. Purely by luck, I had the same number of blocks with and without the navy frame, so I decided to alternate them. I think this helped to blend the navy frames into the background even more. 


Here's the quilt top assembled before quilting. 

My machine quilter, Diane, did a great job as always. She did an allover loops design for the blocks and then red stars in the sashing. In the photo below, you can also see one of the blocks I assembled from small t-shirt squares. Most of these were from polo shirts and motifs printed on sleeves. I cut them as large as I could, and then sewed them into a four-patch. Add a navy frame, and this block was the same size as the rest. That's an easy way to use smaller elements in your quilt. 

I really love how the red sashing makes the blocks pop.

Here are Tom and Shari with the finished quilt. They traveled to their son's house for the retirement party and presented the quilt to him there. I was honored to be part of such a special project! 

Want to learn more about making t-shirt quilts? Head over to Thermoweb's blog to read tips on how to make your own. 


Tuesday, July 25, 2023

Turn a Panel into Floor Pillows!

Happy Christmas in July! That's always fun to say when it's sunny and 80 degrees outside. :) 
The Benartex Ambassadors were asked to create a Christmas in July project using a holiday line. I'm sharing two - one here, and one available for newsletter subscribers only (subscribe here!). 

I chose the Nordic Cabin collection by Cherry Guidry. I love Cherry's style, and the snowmen are adorable! I also like holiday projects that are winter themed rather than Christmas so I can leave them up through January and February as well. 


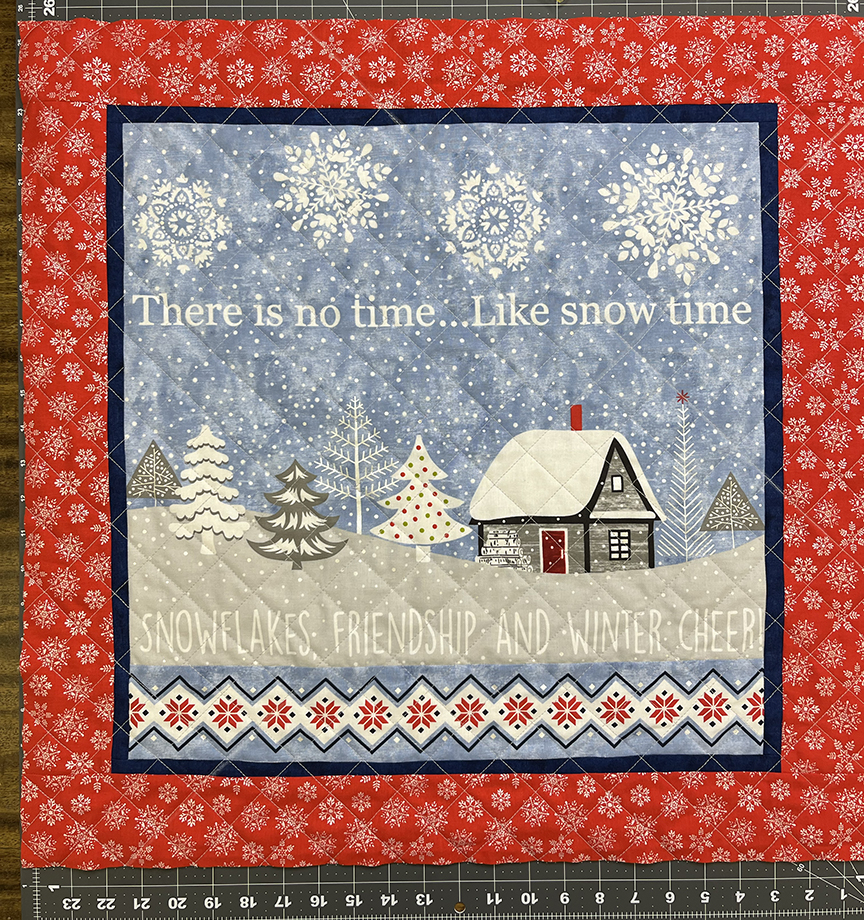
When I saw the panel and the way it was split in half, I knew it would be perfect for two large throw pillows. We keep 24" square pillows in our family room for lounging on the floor, and I'm excited to use these this coming winter. 

Materials:
1 Nordic Cabin panel
1/8 yard each Shadow Blush Navy and Lime
2/3 yard red snowflake print
1-1/2 yards backing fabric
(4) 27" squares of batting
(2) 20" zippers

I started out by trimming the panel. I'll share my measurements, but yours may vary slightly - it's more important to cut the panel on the lines you want than to match my measurements. Note that my panel was NOT prewashed. 

A couple panel trimming tips: 

  • Pay attention to printed lines and remember to account for seam allowances. On this panel, for the snowman image, I purposely cut the bottom edge so the navy stripe was in the bottom 1/4". This way it will be hidden in the seam allowance, rather than just having a thin line show. 
  • Don't be married to your ruler. You may need to gently pull on the fabric or slightly readjust your ruler as you cut to follow a line or the edge of an image. 
  • If your cut piece sizes vary, you can always even things out with your border - I'll show you how!

Cut panel:
Top cabin section: trim to 18-3/4" wide x 16" high. 
Middle snowman section: trim to 18-3/4" square
Bottom stripe: trim to 18-3/4" wide x 3-1/4" high


Additional Cutting:

From each of the Navy and Lime:
(2) 1" x WOF strips

From the red snowflake: 
(6) 3-1/2" x WOF strips

From the background print:
(2) 25" squares


Making the Pillows:

Step 1 Sew the fussy-cut stripe strip to the bottom of the fussy-cut cabin piece. This should measure 18-3/4" square. (If your measurements are different, just make sure your piece is a square.) See both panel pieces below.


Step 2 Sew 1" x WOF navy strips to opposite sides of the cabin square. Press out and trim excess. Sew remaining strip pieces to the top and bottom. Repeat with the lime strips on the snowman square. 

Tip: When adding strips to a panel, keep the panel on top. This allows you to be able to see any printed lines you're trying to follow as you stitch. As you see below, I'm stitching so the navy and the white line are in my seam allowance rather than showing on my pillow front. 


Step 3 Cut (2) 3-1/2" x WOF red snowflake strips in half. Sew strips to both sides of each pillow square, press seams out, and trim excess. Sew the remaining 3-1/2" x WOF red snowflake strips to the top and bottom. Trim excess. Your pillow tops are complete - that easy!


Step 4 Layer each pillow top with a batting square and baste in place. Quilt as desired. (I used a 1-1/2"-wide crosshatch pattern). Square up pillow to measure 24" square. Note that pillow top is slightly oversized to account for shrinkage while quilting. In the same way, layer a batting square with a backing square, baste, quilt and trim to 24" square.


Note: I like to finish my pillows with zippers, because they're easy to remove to clean, and I can change out the pillow covers for different seasons. Here's a quick overview of adding a zipper; if you need more details, there are plenty of tutorials available. 

Step 5 Lay pillow front and back right sides together. Stitch along bottom edge with a long basting stitch. Press seam open. Position the zipper face down on the seam line. Use a zipper foot on your machine to stitch around all four sides of the zipper to secure in place. 


Step 6 Use a seam ripper to pick out the basting stitch, revealing the zipper. 

Step 7 Open the zipper. Place the pillow front and back right sides together, pin raw edges, and stitch around the remaining three sides. 

Step 8 Turn pillow right side out and poke corners out. Insert the 24" square pillow form. 

Step 9 Repeat steps 5-9 with the second pillow top, back and zipper.

The beauty of Christmas in July? Think how nice it will be to pull these finished pillows out in December, either to use or to gift! 
I hope you enjoyed this tutorial!

*************************************************************************************************

If you're new here, welcome! I hope you'll stay and look around a bit. 
If you like what you've seen here, you can also find me:
To find all of my quilt patterns, visit my Etsy shop
Find me on IG here.
Sign up for my newsletter in the right-hand sidebar or here
(You'll receive a free pattern for my Diamond Drama quilt (below) as a thank you!)
Wednesday, July 5, 2023

Make Your Own Message T-Shirt!

Happy Summer!

Back in May, my middle son, Jojo, came to me with an idea for a t-shirt he wanted to make. He said that when he walked through the hallways at his middle school, he'd often put his hand up for high fives. He wanted to make a shirt that said "Free High Fives" that he could just point to in the hallway. 


So we got started on our t-shirt project! 
We used HeatnBond Lite Fusible Adhesive from Thermoweb to fuse the letters to the t-shirt. Jojo created a tutorial for how to make this shirt; you can find it on the Thermoweb blog


So of course, after Jojo's t-shirt was complete, his younger brother wanted in on action. He wanted a shirt that said "Free Hugs, All Day Every Day" but I talked him down to "Free Hugs 24/7" because the other had A LOT of letters to cut out and stitch around. Then I decided that the oldest needed a shirt as well. He's a teenager, so his shirt is pretty self explanatory, right? 


I love these shirts - a simple way to add a smile to people's day. :) 


To make your own, follow the tutorial on the Thermoweb blog. Click here to download the letters for the other two t-shirts. 


Monday, June 19, 2023

NEW Strippy Improv Stars Pattern

This quilt has been a long time coming, and I'm glad it's finally out in the world! 

Introducing Strippy Improv Stars!  

Strippy Improv Stars uses my strippy improv technique, combining strip piecing improv-style on a foundation background with reverse applique. Get the pattern here (currently on sale!).

What adds to the fun with these stars? Gradated fabric! 
I used an Moda Ombre Galaxy Metallic jelly roll (all those gorgeous gradations in a rainbow of colors!) with four values of Moda Grunge as the background. Both the star blocks and the background move from dark to light. 


Here's a look at blocks in progress. If you don't have a gradated jelly roll, no worries! You can create the same look with your scraps. Just look for five different values for each star. 


And all my blocks, before applique: 


I use Thermoweb's HeatnBond Lite Iron-On Adhesive for my blocks - I love how easily the paper peels off and how well it adheres. (Full disclosure - I'm on the Thermoweb design team, but I loved their fusible before I joined the team!). 

Here's another look at the quilt - don't you just love how those stars pop off the various backgrounds?!?!


The Strippy Improv Stars pattern is now available in my Etsy shop. And through 6/22, the pattern is $2 off using code STAR2OFF. Get yours today!


Here's a look at the fabric requirements:

And one more beauty shop of the ombre stars:

Tuesday, May 30, 2023

Echo Refresh

 My Echo quilt pattern is one of my favorites - it's made of just four jumbo log cabin blocks! 

I recently remade this quilt (and updated the pattern) in the River Walk batiks by Jean Wells for Island Batik. I love the greens and teals in this color palette, and this might be my most favorite version yet! 


The quilt measures 72" square - a great size for a couch snuggle quilt. 


Diane Oakes did a beautiful job machine quilting this - here are some detail shots. 


The pattern is available as a downloadable pdf in my Etsy shop; below is a list of quilt shops carrying the Riverwalk fabric and kitting the quilt if you'd like to make this version yourself. 


Shops carrying Echo Riverwalk kits:
My Favorite Quilt Shop

A Quilter's Oasis

Mad B's Quilt & Sew

Nebraska Quilt Company

35th Ave. Sew & Vac

Topstitchery


If you're new here, welcome! I hope you'll stay and look around a bit. 
If you like what you've seen here, you can also find me:
To find all of my quilt patterns, visit my Etsy shop
Find me on IG here.
Sign up for my newsletter in the right-hand sidebar or here
(You'll receive a free pattern for my Diamond Drama quilt (below) as a thank you!)

Tuesday, May 9, 2023

Summer Twilight Blog Hop


When Tammy Silvers asked me to play with the batiks in her new Summer Twilight collection from Island Batik, I was happy to! Teals, blues, greens and fuchsia - such a great color palette! I especially love the sparkly star shapes and the dotted mounds. 


I recolored four of my quilt patterns in Tammy's fabrics. Take a look: 

Sew a Garden - Nine rows of piecing fun! 


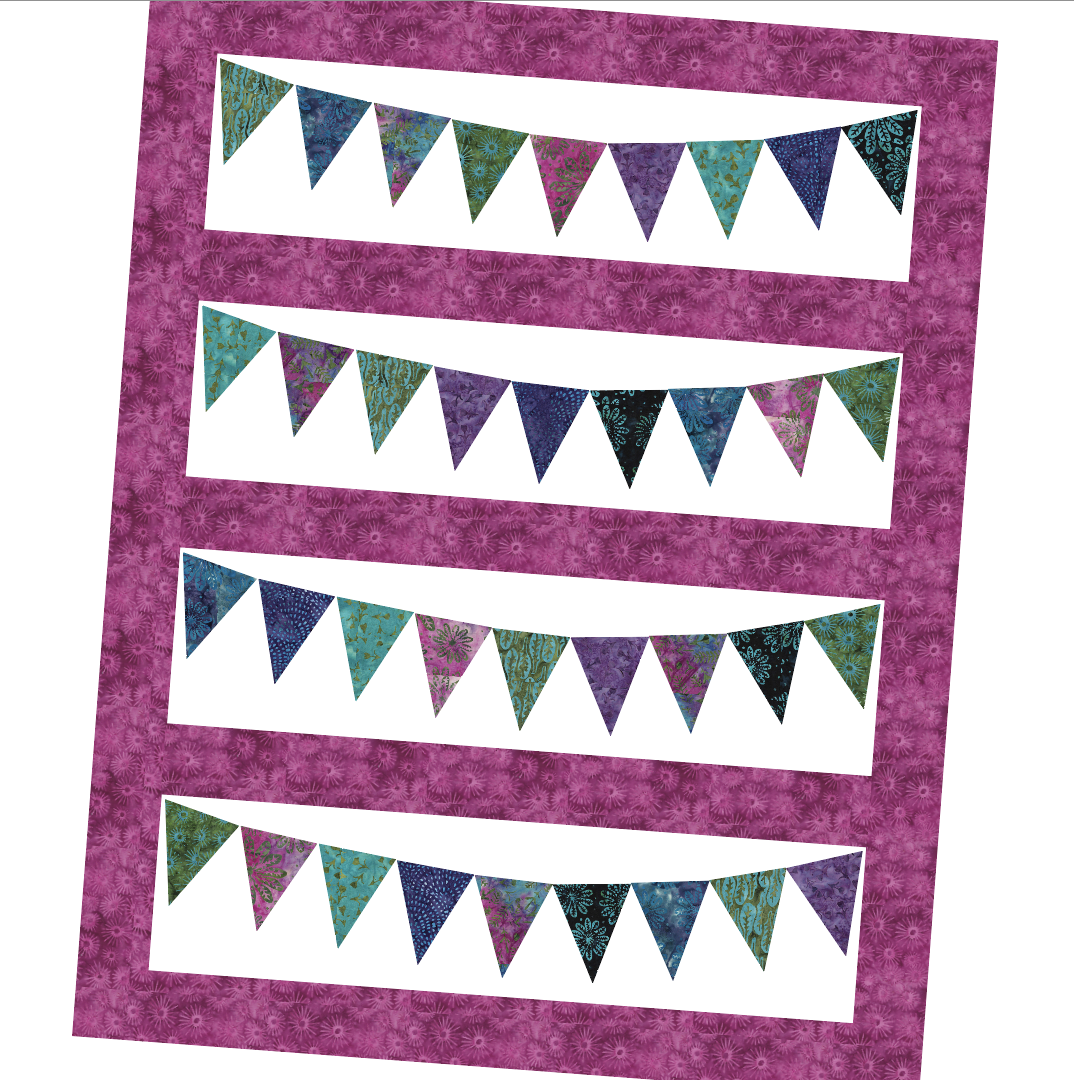
Pennant Party - Appliqued pennants with the option of creating 3D pennants that flap!


On the Go - One-seam blocks! Available in baby and lap quilt sizes


Rhombi - A variation on a log cabin block

I'm not the only one playing with the Summer Twilight fabrics - check out what these other talented designers have done as well! 
May 11 Laura Piland