I recently shared a tutorial for making fabric applique eggs on the Thermoweb blog (find it here!). When I was finished, I wanted to make something else with these adorable Hippity Hoppity prints from Benartex. So I decided to make small fabric bins (I'd call them baskets, but they don't have handles). They're quick and easy and fun to make. Ready?

You'll Need:
Small Bin
- Two 9" squares fabric
- One 2-1/4" x 21" strip for binding
- One 9" square Heat n Bond Fusible Fleece
Large Bin
- Two 12" squares fabric*
- One 2-1/4" x WOF strip for binding
- One 12" square Heat n Bond Fusible Fleece
*If you're using directional fabric for the outer bin and want it to be oriented correctly, you'll need two 6-1/4" x 12" pieces instead of one 12" square. See photo below the Small Bin steps.
1. Fuse the Fusible Fleece square to the wrong side of the outer fabric square.
2. Fold the square in half, fleece side out. Cut 2-1/4" squares out of each folded corner.

3. Stitch along the sides using a 1/4' seam allowance.

4. Match the seam on one side with the folded bottom edge to create a boxed corner. Pin the raw edges to secure, and then stitch across using a 1/4" seam allowance. Repeat on the opposite corner.

5. Repeat steps 2-4 with the 9" lining square.

6. Turn the outer bin right side out and tuck the lining inside, matching seams. Pin the raw edges along the top edge.

7. Fold the 2-1/4" x 21" strip in half lengthwise wrong sides together to create a binding strip. Position the binding along the pinned edge of the lining, raw edges matching, and pin to secure.

8. Stitch the binding to the lining side of the bin, starting 2" from the end of the binding. As you approach the starting point of the binding, trim the strip so it overlaps approximately 1". Fold the end of the binding in 1/2" and press to create a finished edge. Tuck the end of the binding into the folded end and pin to secure. Continue stitching to secure the binding to the bin.


9. Press the binding up and then over the top edge of the bin. Pin the folded edge in place. Machine stitch in place to secure the binding.

Make the Large Bin

Make the large bin in the same manner, using 12" squares and cutting 3" squares from the corners.
Tip: For directional fabric, cut two pieces (6-1/4" x 12" for the large bin and 4-3/4" x 9" for the small bin). Stitch the pieces together so the directional print is headed in opposite directions.

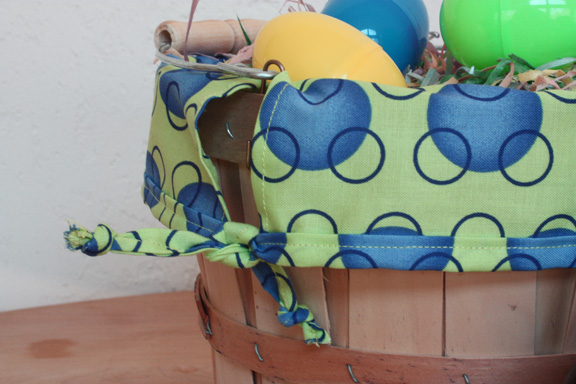
These bins are perfect for holding plastic eggs or fabric eggs! (Or jelly beans and chocolate eggs. Just sayin'...)

Here are the applique eggs I made. Check out the tutorial here.

Tip: For directional fabric, cut two pieces (6-1/4" x 12" for the large bin and 4-3/4" x 9" for the small bin). Stitch the pieces together so the directional print is headed in opposite directions.


You can also find me: