If you're looking longingly at the Strippy Improv Holiday blocks but thinking that there's no way you have time to sew a wall hanging or table runner before Christmas, this post is for you!
If you're just joining in, this is a very loose sew along--see the schedule at the bottom of this post--I'm making four different blocks and then talking about assembly.
Need the pattern? Find it here.
Need a small gift (or only have time to make a small gift?)
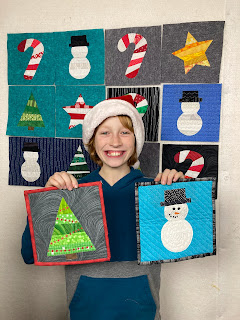
Sew a block, quilt it, and bind it! Instant mini quilt, pot holder or mug rug! These two blocks, yet to be bound (hey, I still have 10 days!) are destined to be gifts. Cute, easy, and made with love. (Note: If you're going to make a hot pad, use two layers of batting or even better, a heat-resistant batting layer plus batting).
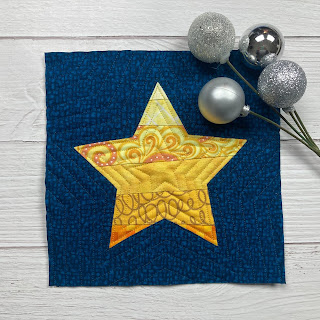
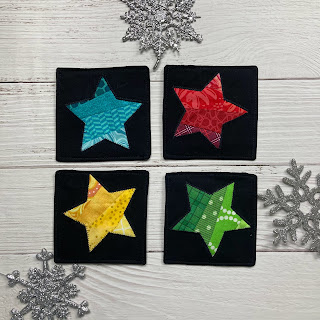
For the star, I echo quilted the star itself with gold thread, using my walking foot edge for spacing. For the background, I did the same in a dark blue thread.

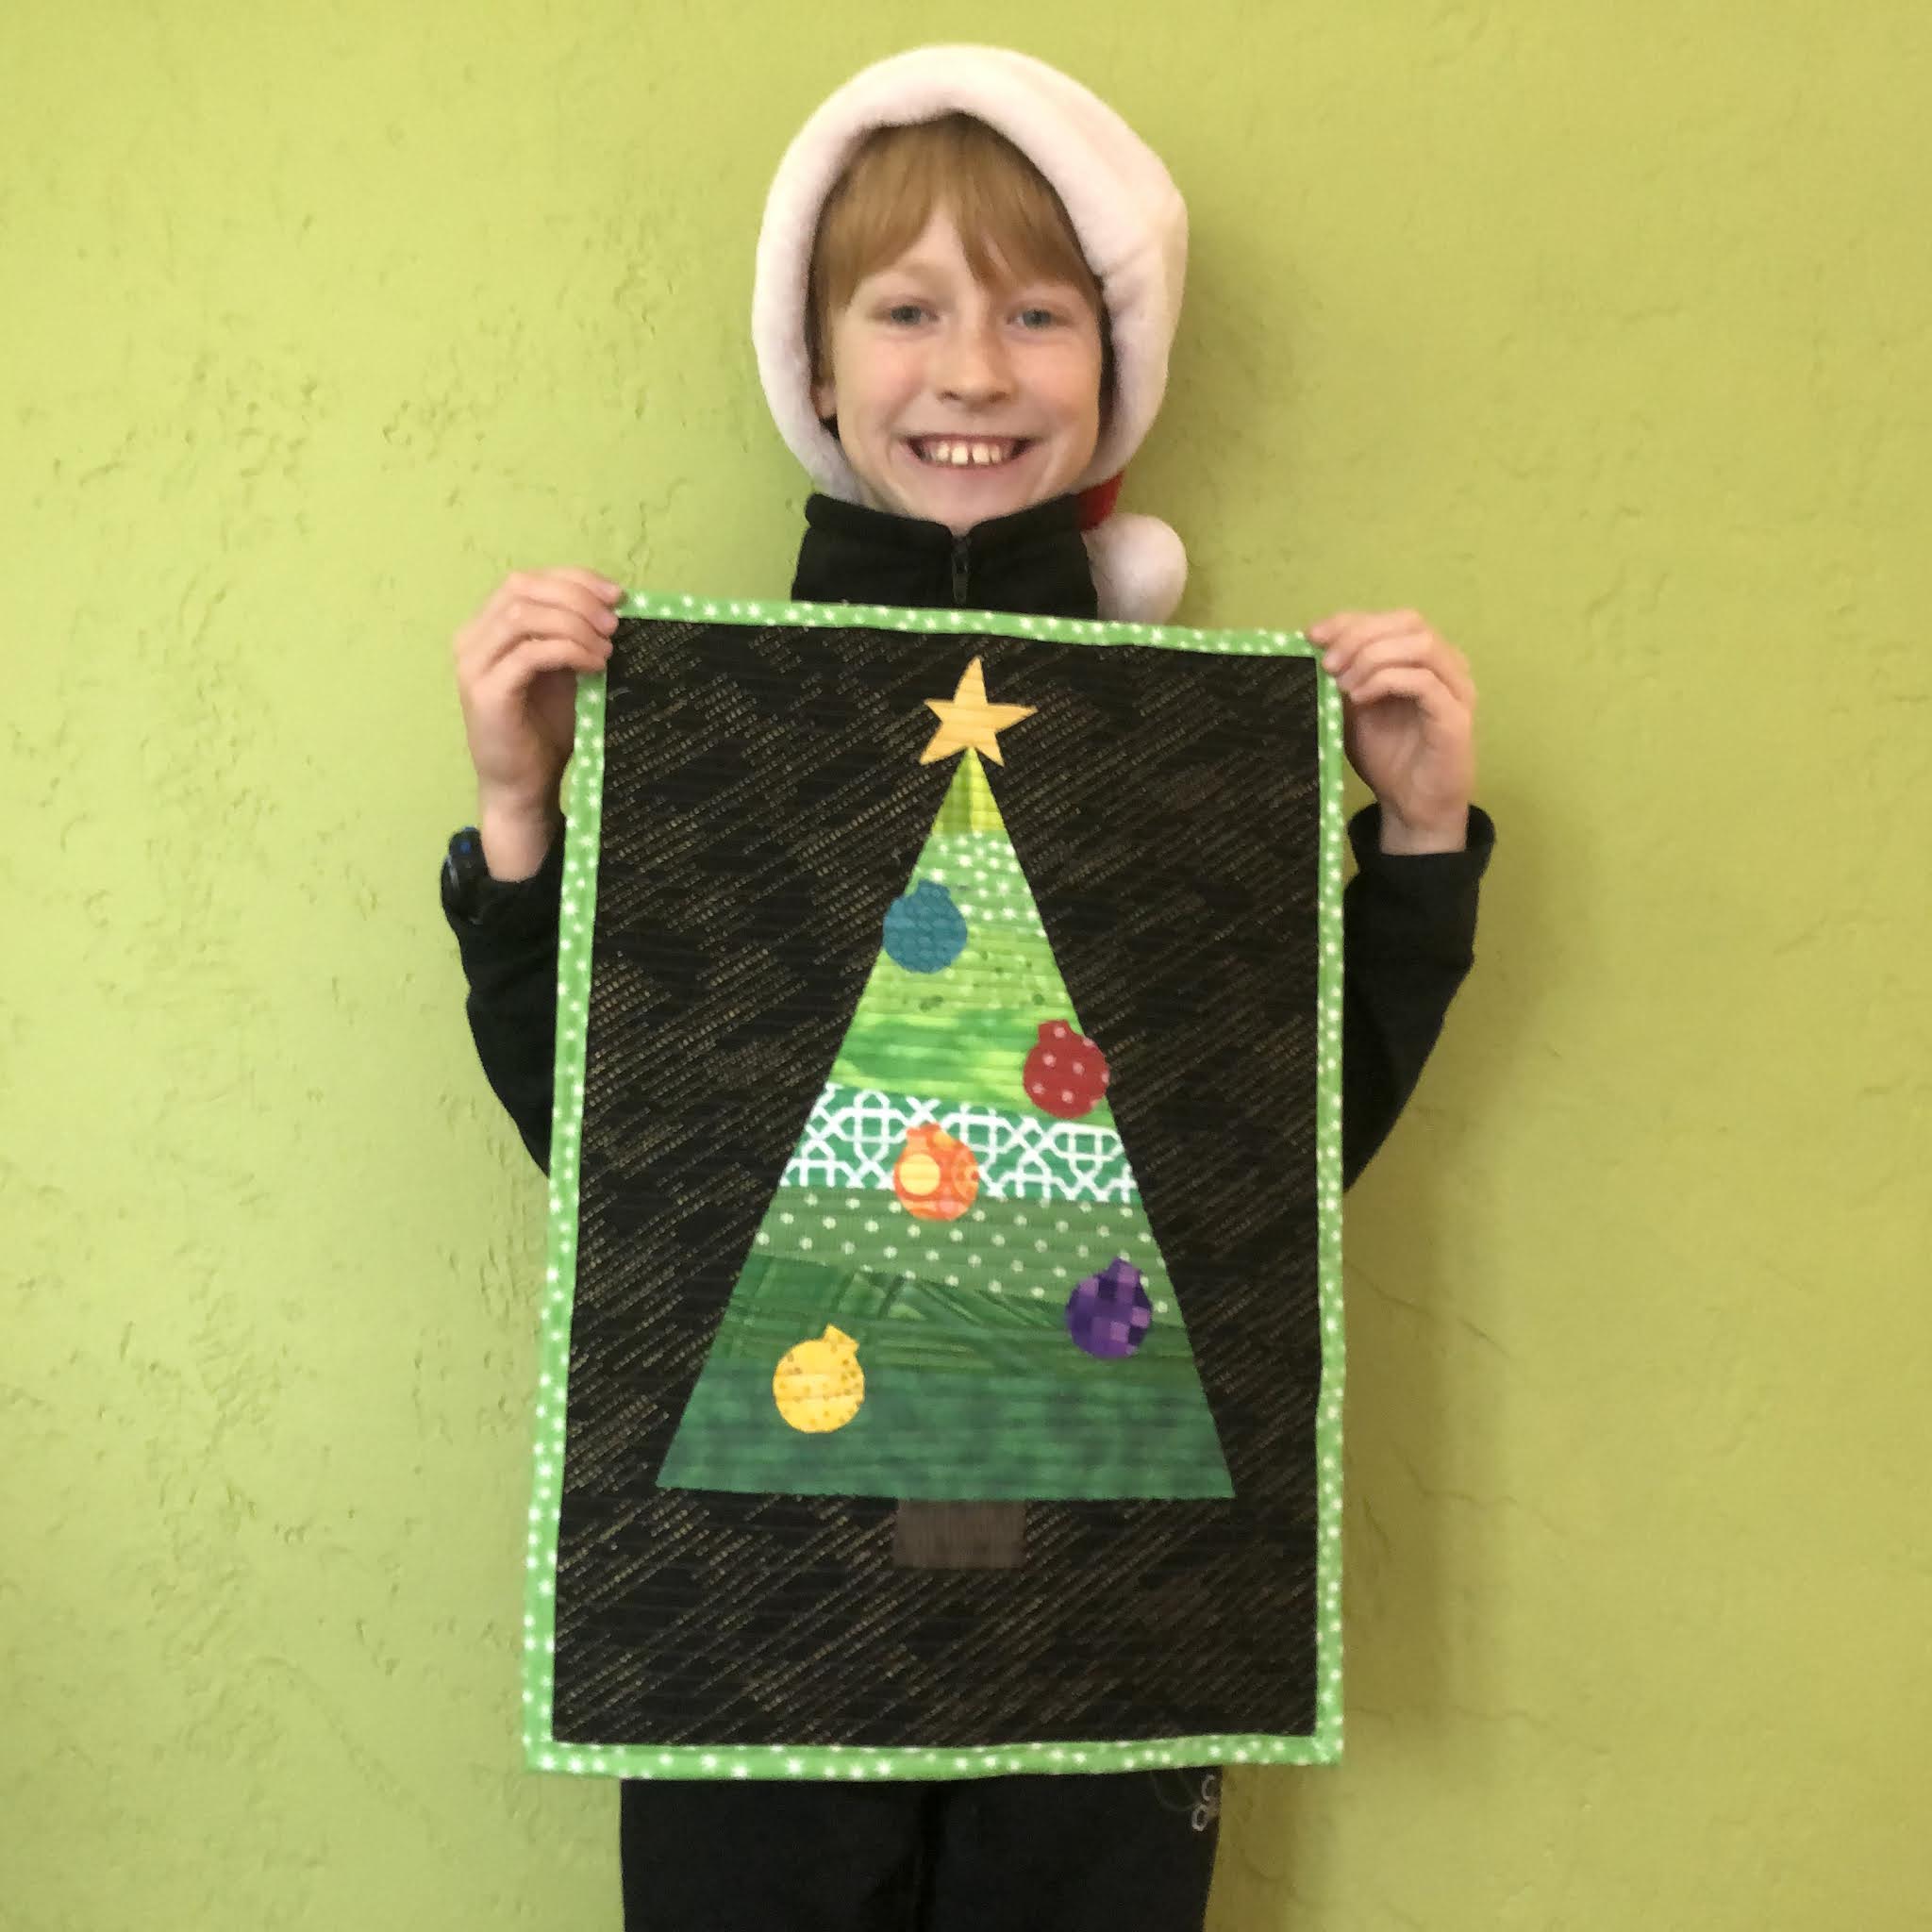
My 10-year-old is obsessed with these blocks and is making them for gifts. Good thing his teacher doesn't read my blog! Didn't he do a great job? He even did the quilting and binding himself!
Inspired yet? I have about four more orphan blocks to finish and gift this season--I can't wait to see what they become!
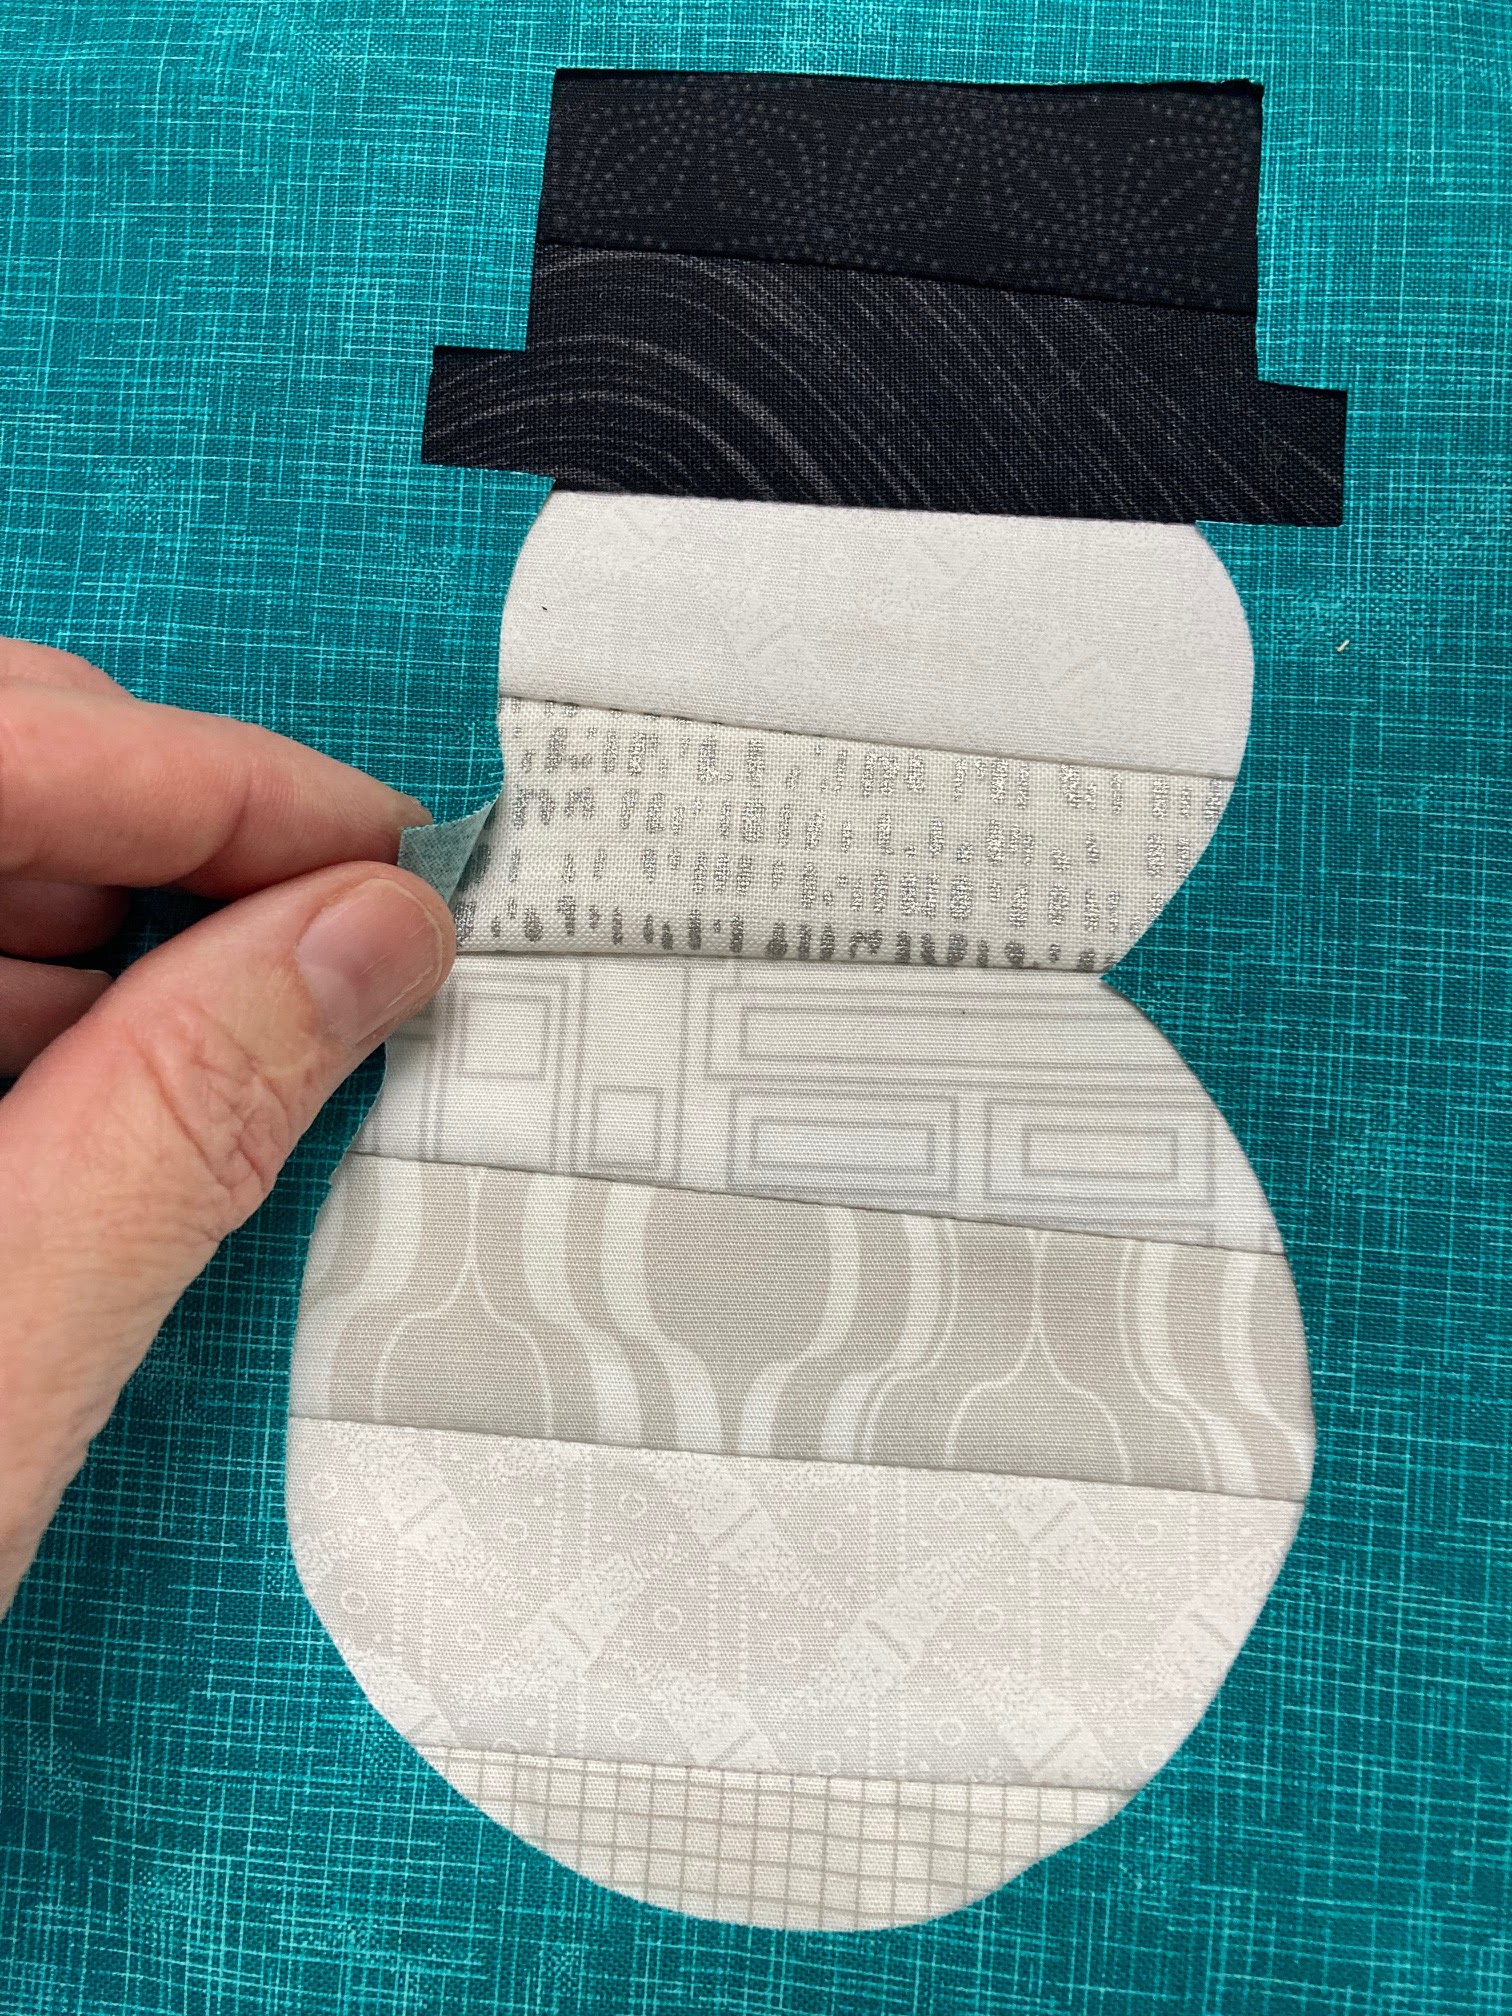
These blocks stitch up so quickly - you still have time to make something before the holidays! The pattern comes with templates for five different blocks (ornament, snowman, tree, star and candy cane), as well as two layout options--a four-patch style wall hanging and a table runner.
 |
| Purchase the pattern here. |
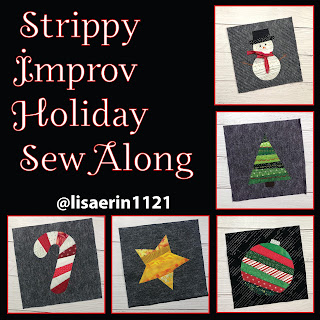
Strippy Improv Holiday Sew Along Schedule:
Thursday, November 18th - Intro and Fabric Selection
Tuesday, November 23rd - Make a block
Tuesday, November 30th - Make a block
Thursday, December 2nd - Make a block
Tuesday, December 7th - Make a block
Thursday, December 9th - Assembly
Tuesday, December 14th - Alternate options
Thursday, December 16th - Finishing
********************************************************************