Showing posts with label reverse applique. Show all posts

Thursday, October 10, 2024

Strippy Improv Halloween QAL Week 3 - Let's make more blocks!

 Welcome back for Week 3 of the Strippy Improv Halloween QAL! 


How are your blocks coming along? 

Here are my remaining two blocks - a ghost and a witch hat. 

I had fun digging through my low-volume prints for my ghost!

The lime green accent will match the frames on two of the blocks. 

Scroll to the bottom to see my four blocks together!


Let's talk tips - here are a couple more things that I hope will be helpful as you make your blocks. 

First, block background placement. Play around with your block background before fusing it down to make sure you get the best combination of fabric, and also to make sure things like the stems show through correctly. 

For the witch hat, I wanted the green accent to be above the brim of the hat. I also picked my darkest black (the star print, which has the least white, so it "reads" as the darkest) for the bottom, so it makes the bottom of the hat seem dimensional, like you're looking up it. 

Make sure your green stem starts at the top of the pumpkin body. 


Here are two "don't do it this way" examples: 

The background needs to be adjusted up so the stem aligns with the green seam. 

The background needs to be adjusted down so the green doesn't show on the pumpkin. 

Play around with your background and make sure it's exactly how you want it before you fuse in place! 


Second, if you're concerned that your background fabric is too light (especially when you're using black strips for your piecing), I have a solution for you: Fusible Interfacing. 


Before adhering the fusible web to with the traced shape to your background square, adhere a piece of fusible interfacing (I use medium weight). This makes the fabric more opaque and reduces the likelihood that the strips will show through. 


Here are my four blocks together. 
 These blocks are going to be an adorable wall hanging!

Meet me back here on Thursday, October 17 where I'll be talking assembly! 

Here's the QAL schedule: 
Thursday 9/26: Fabric and block choices
Thursday 10/3: Make 2 blocks
Thursday 10/10: Make 2 blocks
Thursday 10/17: Assemble and finish!

I hope you'll join in the fun! I'll be posting here on the blog and also sharing posts on IG (@quiltyzest). If you're going to sew along, use the hashtag #strippyimprovhalloween to share your block and/or fabric choices!


Ready to join the fun? Order just the digital Strippy Improv Halloween pattern here
The pattern includes 9 block choices plus both a square wall hanging and table runner option.

Thursday, October 3, 2024

Strippy Improv Halloween QAL Week 2 - Let's make some blocks!

 Welcome back for Week 2 of the Strippy Improv Halloween QAL! 

It's block making week! What blocks have you chosen to make? 

The beauty of a 4-block quilt is that once you have 2 made, you're halfway done! 

Here are my first two blocks:


You can see that I've used Halloween prints in my blocks, so the prints show up a little more. With tonal prints, you'd see the overall shape more quickly. Neither way is wrong or right - they're just different!

Which blocks have you decided to make? Let me know in the comments. 

I've got 4 block making tips for you today: 
Tip 1: 
If you're using a non-symmetrical block (like the pumpkin with its stem, for example), make sure that when you trace the shape onto the fusible web, it's reversed from when you trace the shape onto the muslin. If you're using a symmetrical shape (like the spiders 🕷️) don't worry about this.


Tip 2:
I recommend placing an iron an cutting mat adjacent to your sewing machine for block making. These blocks assemble with a press and cut after every seam, so you'll enhance your efficiency if everything you need is together. 


Tip 3: If you accidentally cut through the muslin when you're trimming strips, don't worry! I've done it as well. Just keep sewing - the hole in the muslin will be covered. 

Tip 4: 
If your fabric marking pen erases with heat, consider using pencil to trace your templates onto muslin. Otherwise your traced shape on the muslin will disappear as you add strips. 


What comes next: 
If you've completed the strippy improv piecing part and wondering if your blocks look "right," here are what mine looked like after piecing. After you cut out the reverse applique background and fuse in place, you can trim the excess. Note that for the bat, I pieced the strips on an angle. Choose your strip direction based on how you want the final block to look. 


If you learn better by video, I have a YouTube video showing this same technique used for my Holiday pattern. You can find it here. I have also shared a reel showing me making the pumpkin block on Instagram (@quiltyzest).


Have fun making your first two blocks! Meet me back here on Thursday, October 6 where I'll be sharing my other two blocks. 

Here's the QAL schedule: 
Thursday 9/26: Fabric and block choices
Thursday 10/3: Make 2 blocks
Thursday 10/10: Make 2 blocks
Thursday 10/17: Assemble and finish!

I hope you'll join in the fun! I'll be posting here on the blog and also sharing posts on IG (@quiltyzest). If you're going to sew along, use the hashtag #strippyimprovhalloween to share your block and/or fabric choices!


Ready to join the fun? Order just the digital Strippy Improv Halloween pattern here
The pattern includes 9 block choices plus both a square wall hanging and table runner option.


Friday, December 15, 2023

Holiday Hack #1

 As my helpful 9-year-old keeps pointing out, Christmas is in 10 days. 😬


And I'm starting to realize that I need to remove some things from my to-do list (but that's another post...!). But finishing up holiday gifts is staying on the list - and here's how!

So...you joined the Strippy Improv Holiday QAL with grand plans. And you've got one block pieced. The other three aren't going to happen in the next 10 days. So what can you do instead? Make a throw pillow! 


For me, it started with this fun coffee cup/hot cocoa mug fabric from Benartex's Country Christmas collection. Such cute fabric! Perfect for a pillow!

Here's a quick pillow tutorial:

Make your block - I chose to fussy cut one of those cute hot chocolate cups to use in my Strippy Improv Snowglobe block. 

I framed the block, just like in the pattern. Then I added 4-1/2" wide strips to the right and left sides, and then to the top and bottom. This creates a pillow front that is roughly 17" square. Cut a 17" backing square as well.

This HeatnBond Fusible Fleece 1 yard pack is perfect for creating a 16" square pillow because you can cut and fuse (2) 17" squares to the wrong side of your pillow front and back! I did straight line machine quilting to secure the fused batting in place, and then finished the pillow with a zipper.


That's it! If you have the block made already, you're halfway done! I assembled this pillow in 1 hour last night. Instant gift! (And then you can make the 4-block Strippy Improv Holiday quilt next year!)


Need the pattern? Get it here


Missed the QAL? Start here to catch all the tips I shared. 

And watch the YouTube videos here.


Thursday, November 16, 2023

Strippy Improv Holiday QAL - Week 1

 Hooray! 

The Strippy Improv Holiday QAL has started! This is my favorite time of the year, and the addition of 6 new blocks only makes it better. And this year, there's a giveaway for Week 1, so keep reading! If you don't have the pattern yet, get it here.

For Week 1, we're talking fabric and block choice. 

There's a lot to think about, and so many tempting directions to go! 


Fabric and block choice go hand in hand - and with the new blocks, you have many options for making a Christmas-themed project or a winter-themed project. 

I tend to find inspiration by fallling in love with a fun holiday border fabric. In fact, that's what attracted me to the Country Christmas collection (see the giveaway info below to win some!). Once I choose the border fabric, then I pick blocks that follow the theme. For the Quilt Along, I'll officially be using these fabrics, a combo of Cherry Guidry's Nordic Cabin prints and the white-on-white prints from Holiday Snow. 


The snowman heads will be my border, the dark gray the block background, and then I'll use the aqua for the frames and binding. A fun wintry wall quilt! 

Select your blocks - Either four different, all the same, or a couple of your favorites. The pattern includes options for assembling the blocks into a table runner or a square wall hanging. See some of my finished samples here.

Here are the new blocks:


And the original blocks:


Now let's talk block backgrounds. You'll want to choose a medium to dark fabric for the background. If you use a lighter fabric, the strippy improv will show through. Keep that in mind as you choose fabric for the strips - for example, if you have a dark gray background, make sure the snowman hat contrasts enough. Here's an example of a fabric choice where I didn't have quite enough contrast: 

Pick your fabrics and quilt blocks, and next week we'll make two blocks! 

Now for the giveaway info!

To celebrate this year's Strippy Improv Holiday QAL, I asked two companies whose products I love if they'd share a little product love with one lucky winner. 
The prize package includes:

A Thermoweb gift pack of the following items

I've been on the Thermoweb Design Team for several years - I recruited myself after trying their fusible on my first Strippy Improv blocks! I use the HeatnBond Lite Sewable Iron-On Adhesive for my constructing my blocks.

And this fabric bundle from Benartex's Country Christmas and Holiday Snow collections - FQs of holiday prints on the left, and border, binding and block background fabric on the right: 


I've been a Benartex Ambassador for the past year, and have regularly used their fabric for much longer. It was fun selecting the prints for this year's projects and giveaway!

How to enter: 
Make sure you're following me on Instagram (@quiltyzest) and leave a comment on the Week 1 QAL post. 
1. Let me know which Strippy Improv block is your favorite (1 entry)
2. Tag a friend who might be interested (1 entry)
The giveaway is open through Monday, November 20th at 11:59 pm EST. I'll randomly draw a winner from the entries and announce it on Tuesday. 


****************************************************************************

Join the Strippy Improv Holiday Quilt Along!
Get the pattern here. It includes all 11 blocks. If you've purchased the pattern previously, you can get the 6 new blocks for free - sign up for my newsletter here, and you'll receive an email with a link to download the new blocks. 

QAL Details: 
Sew along with me to create a holiday wall quilt or table runner before Christmas! I'll post once a week with tips and advice (plus that all-important accountability!) to keep us on track. These blocks are addicting...just wait and see! 
Purchase the pattern here.

Week 1: November 16th - Fabric selection
Week 2: November 23rd -  Making 2 blocks
Week 3: November 30th - Making 2 blocks
Week 4: December 7th - Assembly and Finishing

Thursday, October 5, 2023

Week 3 - Strippy Improv Halloween QAL

Welcome back for Week 3 of the Strippy Improv Halloween QAL! 
How are your blocks coming along? 

I finished two blocks this week - a ghost and a witch hat. 

I had fun digging through my low-volume prints for my ghost!

The lime green accent will match the frames on two of the blocks. 

Scroll to the bottom to see my four blocks together!

Let's talk tips - here are a couple more things that I hope will be helpful as you make your blocks. 

First, block background placement. Play around with your block background before fusing it down to make sure you get the best combination of fabric, and also to make sure things like the stems show through correctly. 

For the witch hat, I wanted the green accent to be above the brim of the hat. I also picked my darkest black (the star print, which has the least white, so it "reads" as the darkest) for the bottom, so it makes the bottom of the hat seem dimensional, like you're looking up it. 

Make sure your green stem starts at the top of the pumpkin body. 


Here are two "don't do it this way" examples: 

The background needs to be adjusted up so the stem aligns with the green seam. 

The background needs to be adjusted down so the green doesn't show on the pumpkin. 

Play around with your background and make sure it's exactly how you want it before you fuse in place! 


Second, if you're concerned that your background fabric is too light (especially when you're using black strips for your piecing, I have a solution for you: Fusible Interfacing. 


Before adhering the fusible web to with the traced shape to your background square, adhere a piece of fusible interfacing (I use medium weight). This makes the fabric more opaque and reduces the likelihood that the strips will show through. 

Here are my four blocks together. 
I can't wait to assemble these blocks into a wall hanging!

Meet me back here on Thursday, October 12 where I'll be talking assembly! 

Here's the QAL schedule: 
Thursday 9/21: Fabric and block choices
Thursday 9/28: Make 2 blocks
Thursday 10/5: Make 2 blocks
Thursday 10/12: Assemble and finish!

I hope you'll join in the fun! I'll be posting here on the blog and also sharing posts on IG (@quiltyzest). If you're going to sew along, use the hashtag #strippyimprovhalloween to share your block and/or fabric choices!

Ready to join the fun? Order just the digital Strippy Improv Halloween pattern here
The pattern includes 9 block choices plus both a square wall hanging and table runner option.

Thursday, September 28, 2023

Week 2 - Strippy Improv Halloween QAL

Welcome back for Week 2 of the Strippy Improv Halloween QAL! 

It's block making week! 
The beauty of a 4-block quilt is that once you have 2 made, you're halfway done! 

Thanks for weighing in on which of my four mocked up versions I should make. I chose #1, but you might see some blocks from #4 make an appearance down the road. Here's my mock up, made using the Glow-O-Ween fabrics from Benartex. 
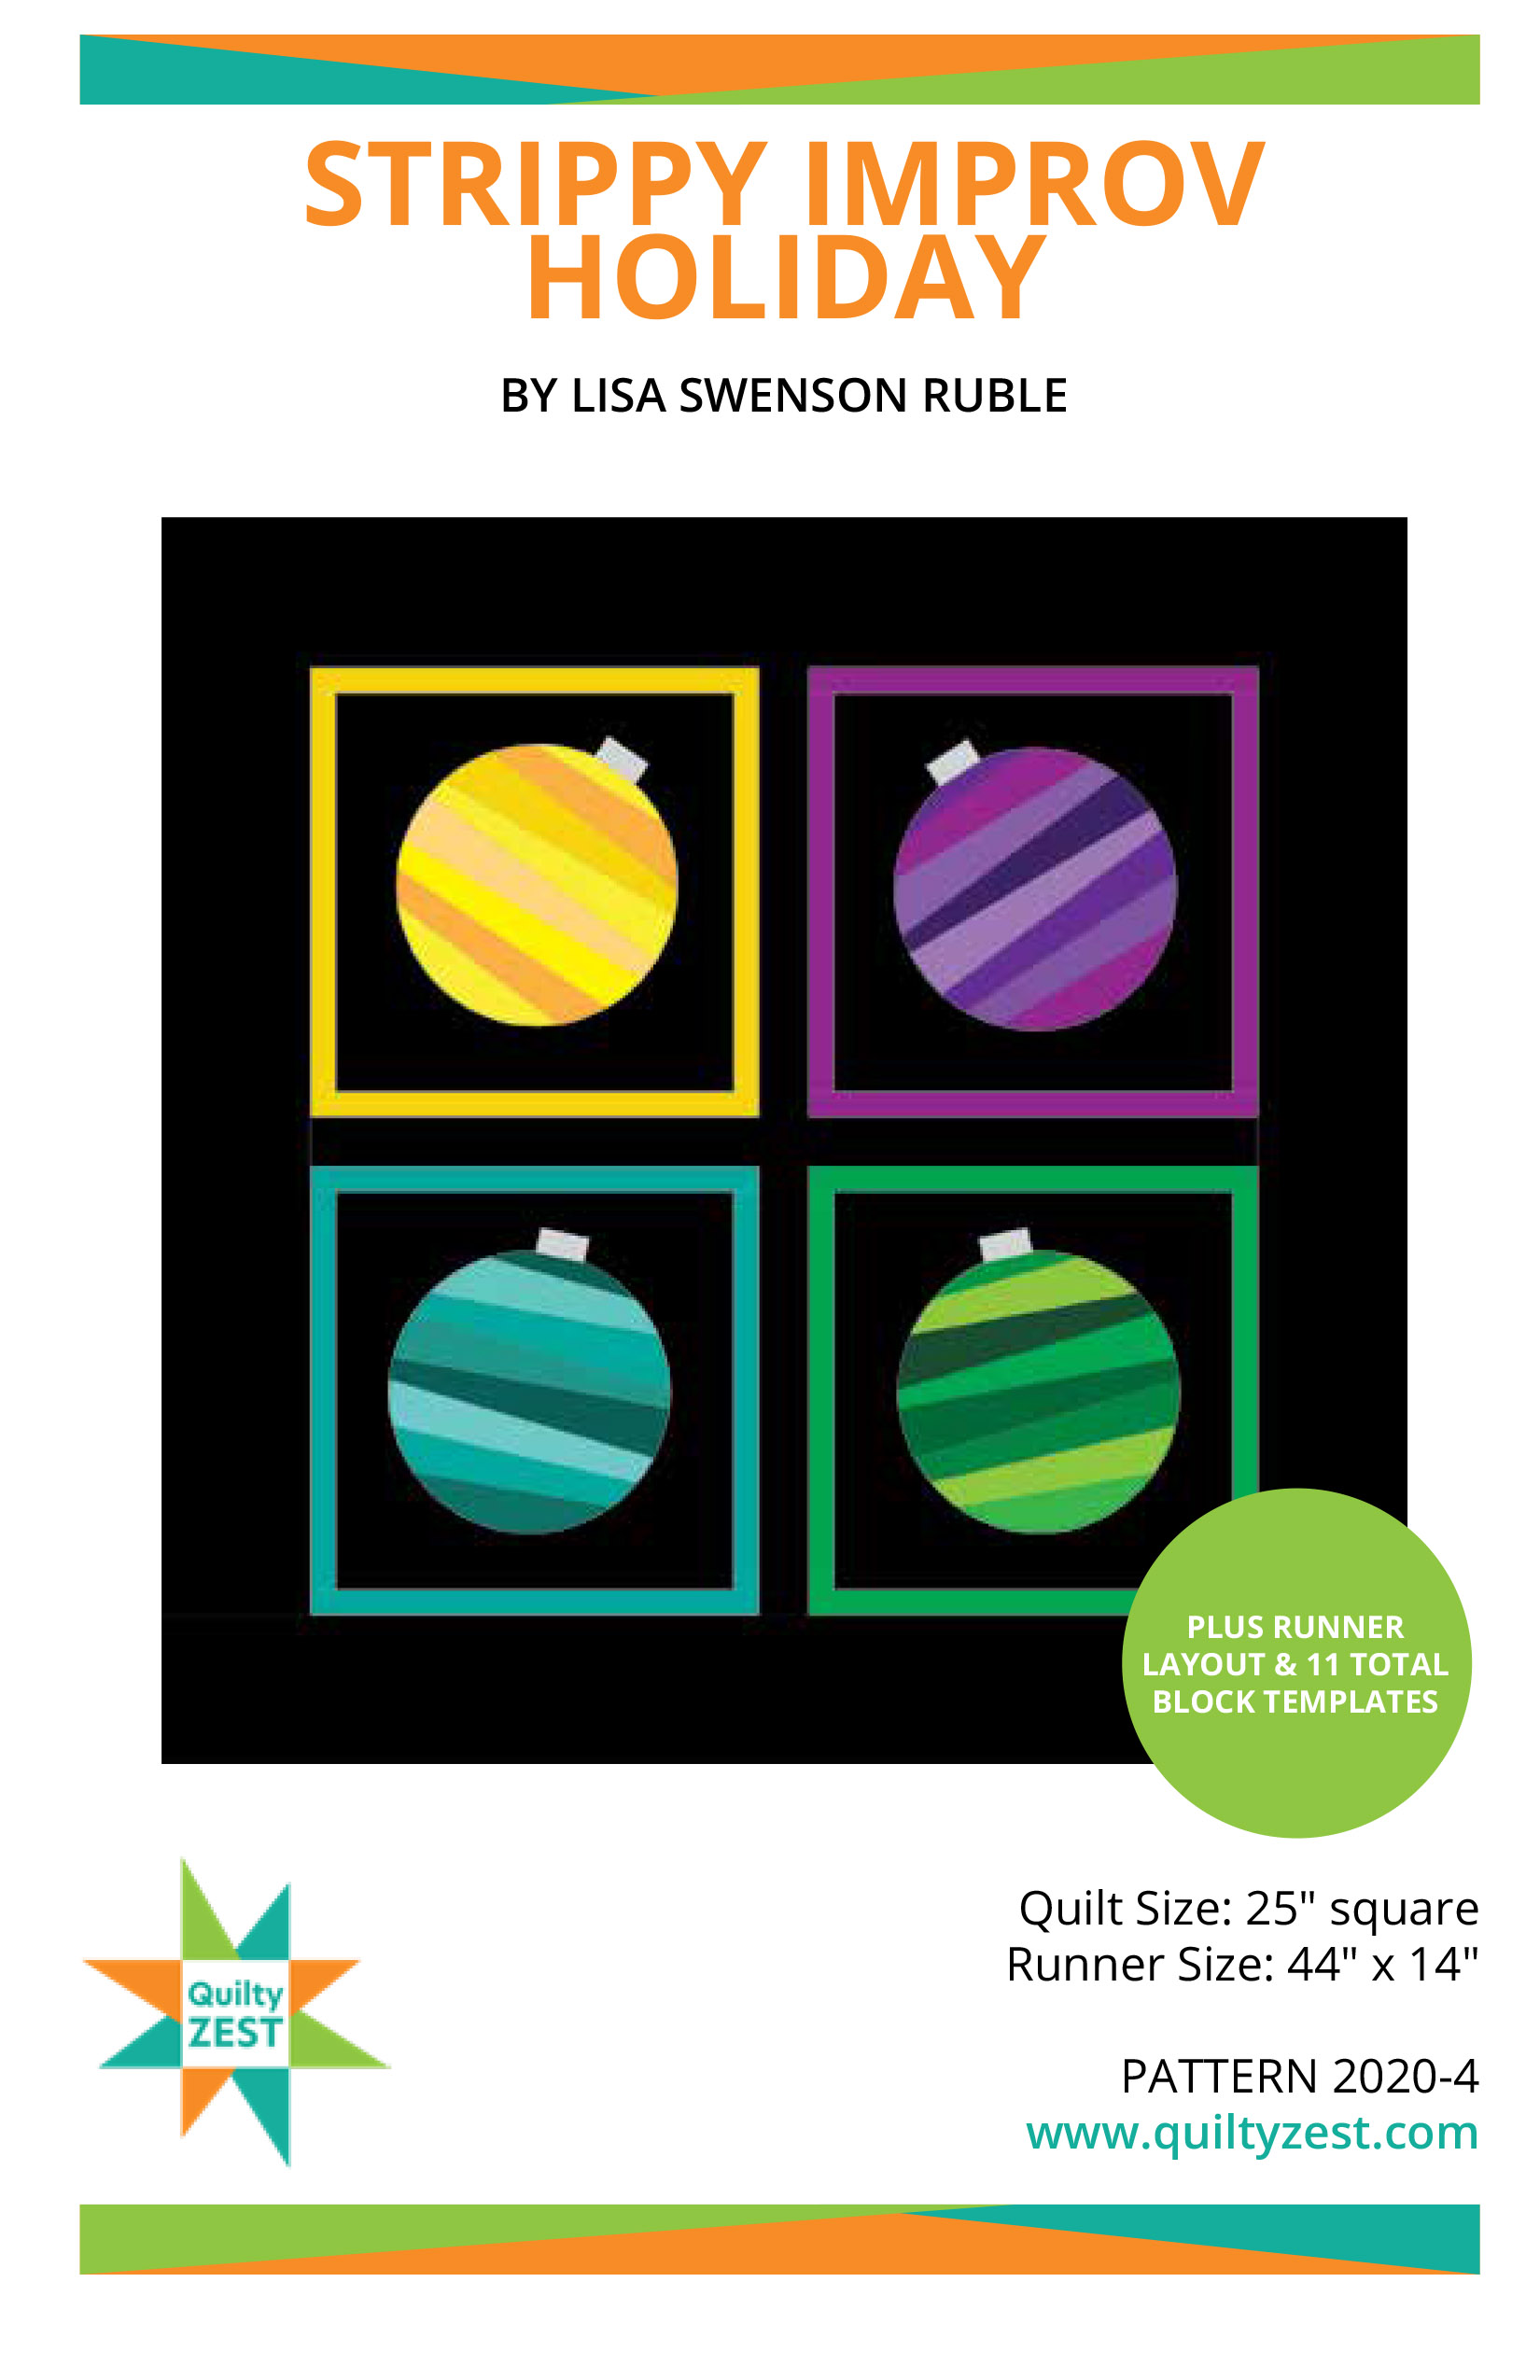

And did I mention this fabric GLOWS IN THE DARK!?!?!

And here are my first two blocks:


Which blocks have you decided to make? Let me know in the comments. 

I've got 4 block making tips for you today: 
Tip 1: 
If you're using a non-symmetrical block (like the pumpkin with its stem, for example), make sure that when you trace the shape onto the fusible web, it's reversed from when you trace the shape onto the muslin. If you're using a symmetrical shape (like the spider, don't worry about this.)


Tip 2:
I recommend placing an iron an cutting mat adjacent to your sewing machine for block making. These blocks assemble with a press and cut after every seam, so you'll enhance your efficiency if everything you need is together. 


Tip 3: If you accidentally cut through the muslin when you're trimming strips, don't worry! I've done it as well. Just keep sewing - the hole in the muslin will be covered. 

Tip 4: 
If your fabric marking pen erases with heat, consider using pencil to trace your templates onto muslin. Otherwise your traced shape on the muslin will disappear as you add strips. 


What comes next: 
If you've completed the strippy improv piecing part and wondering if your blocks look "right," here are what mine looked like after piecing. After you cut out the reverse applique background and fuse in place, you can trim the excess. Note that for the bat, I pieced the strips on an angle. Choose your strip direction based on how you want the final block to look. 


If you learn better by video, I have a YouTube video showing this same technique used for my Holiday pattern. You can find it here. I also shared a reel showing me making the pumpkin block on Instagram (@quiltyzest).


Have fun making your first two blocks! Meet me back here on Thursday, October 5 where I'll be sharing my other two blocks. 

Here's the QAL schedule: 
Thursday 9/21: Fabric and block choices
Thursday 9/28: Make 2 blocks
Thursday 10/5: Make 2 blocks
Thursday 10/12: Assemble and finish!

I hope you'll join in the fun! I'll be posting here on the blog and also sharing posts on IG (@quiltyzest). If you're going to sew along, use the hashtag #strippyimprovhalloween to share your block and/or fabric choices!

Ready to join the fun? Order just the digital Strippy Improv Halloween pattern here
The pattern includes 9 block choices plus both a square wall hanging and table runner option.