Showing posts with label giveaway. Show all posts

Thursday, November 16, 2023

Strippy Improv Holiday QAL - Week 1

 Hooray! 

The Strippy Improv Holiday QAL has started! This is my favorite time of the year, and the addition of 6 new blocks only makes it better. And this year, there's a giveaway for Week 1, so keep reading! If you don't have the pattern yet, get it here.

For Week 1, we're talking fabric and block choice. 

There's a lot to think about, and so many tempting directions to go! 


Fabric and block choice go hand in hand - and with the new blocks, you have many options for making a Christmas-themed project or a winter-themed project. 

I tend to find inspiration by fallling in love with a fun holiday border fabric. In fact, that's what attracted me to the Country Christmas collection (see the giveaway info below to win some!). Once I choose the border fabric, then I pick blocks that follow the theme. For the Quilt Along, I'll officially be using these fabrics, a combo of Cherry Guidry's Nordic Cabin prints and the white-on-white prints from Holiday Snow. 


The snowman heads will be my border, the dark gray the block background, and then I'll use the aqua for the frames and binding. A fun wintry wall quilt! 

Select your blocks - Either four different, all the same, or a couple of your favorites. The pattern includes options for assembling the blocks into a table runner or a square wall hanging. See some of my finished samples here.

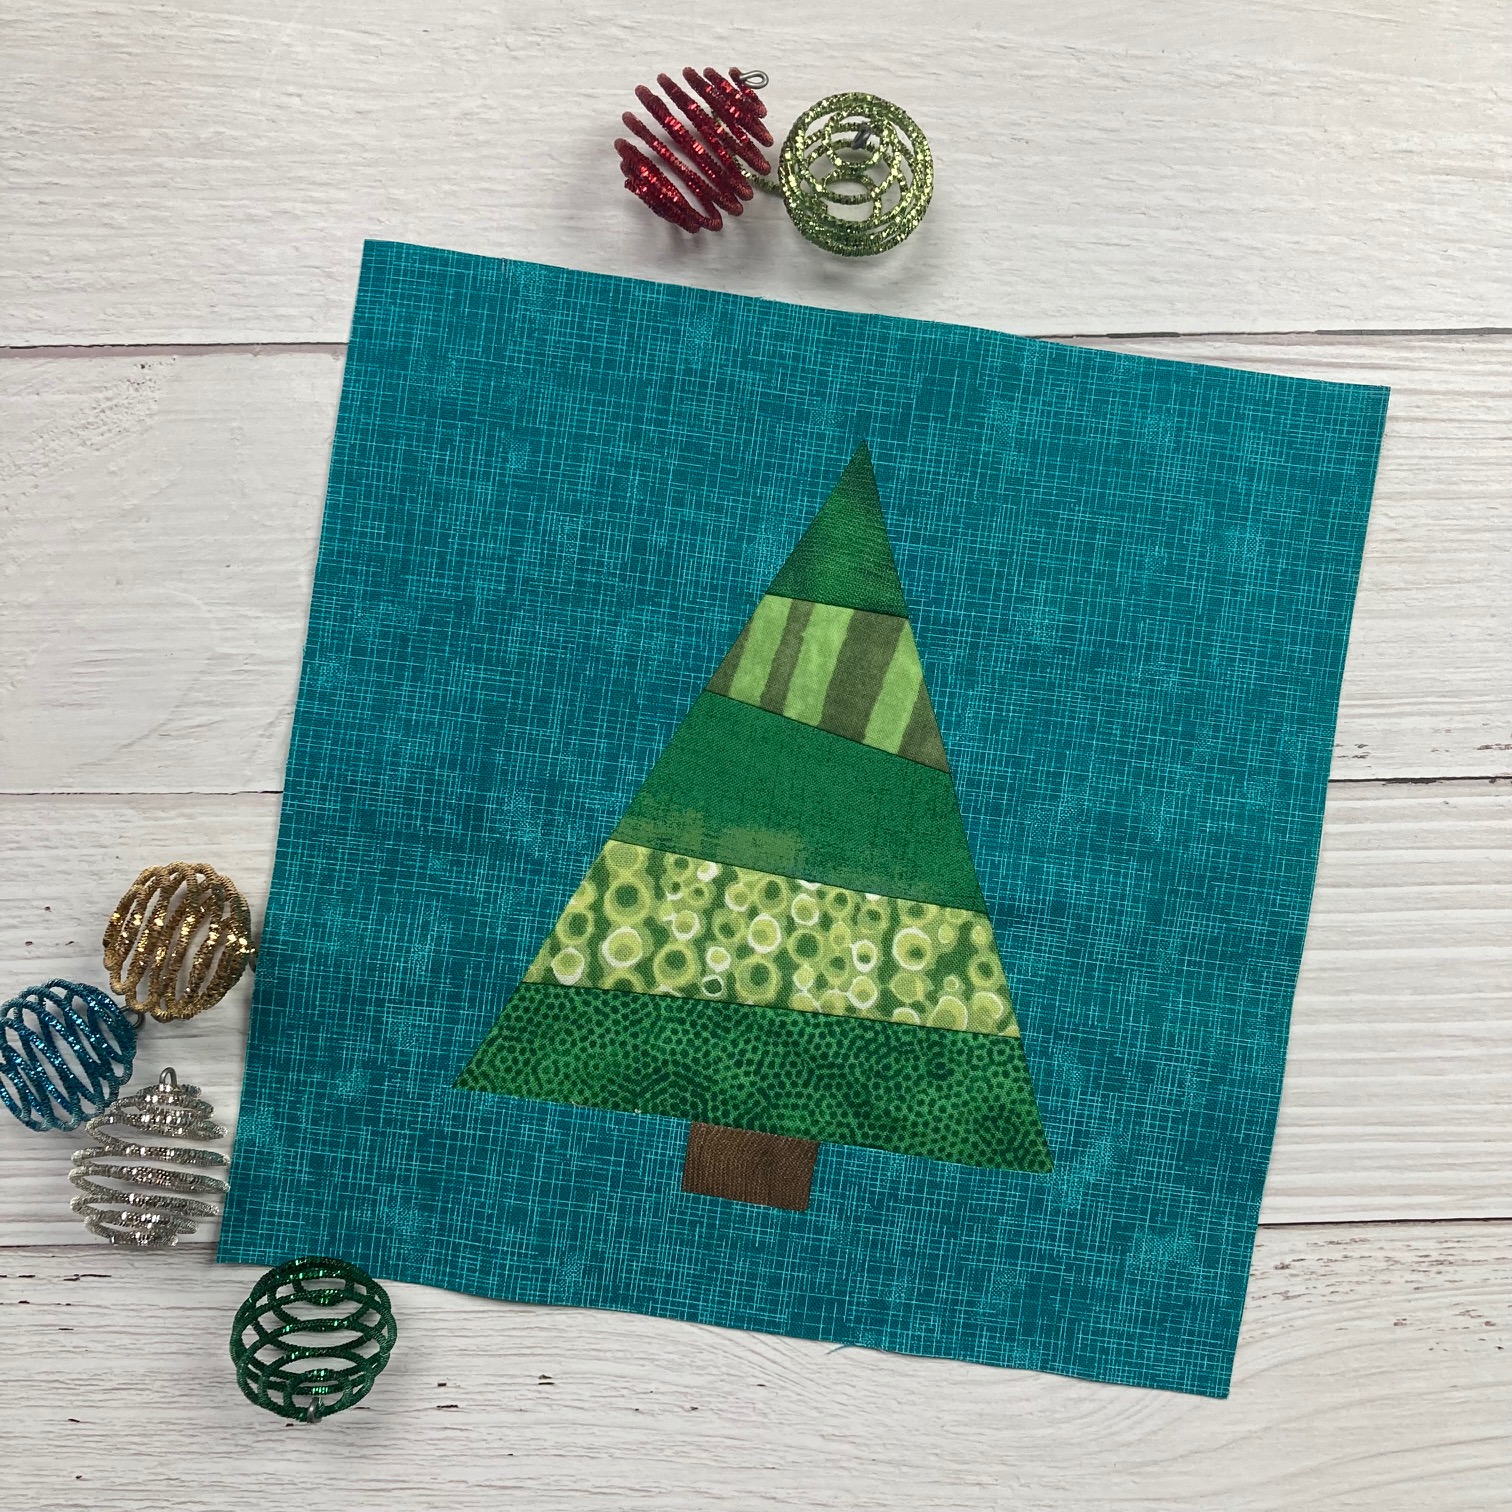
Here are the new blocks:


And the original blocks:


Now let's talk block backgrounds. You'll want to choose a medium to dark fabric for the background. If you use a lighter fabric, the strippy improv will show through. Keep that in mind as you choose fabric for the strips - for example, if you have a dark gray background, make sure the snowman hat contrasts enough. Here's an example of a fabric choice where I didn't have quite enough contrast: 

Pick your fabrics and quilt blocks, and next week we'll make two blocks! 

Now for the giveaway info!

To celebrate this year's Strippy Improv Holiday QAL, I asked two companies whose products I love if they'd share a little product love with one lucky winner. 
The prize package includes:

A Thermoweb gift pack of the following items

I've been on the Thermoweb Design Team for several years - I recruited myself after trying their fusible on my first Strippy Improv blocks! I use the HeatnBond Lite Sewable Iron-On Adhesive for my constructing my blocks.

And this fabric bundle from Benartex's Country Christmas and Holiday Snow collections - FQs of holiday prints on the left, and border, binding and block background fabric on the right: 


I've been a Benartex Ambassador for the past year, and have regularly used their fabric for much longer. It was fun selecting the prints for this year's projects and giveaway!

How to enter: 
Make sure you're following me on Instagram (@quiltyzest) and leave a comment on the Week 1 QAL post. 
1. Let me know which Strippy Improv block is your favorite (1 entry)
2. Tag a friend who might be interested (1 entry)
The giveaway is open through Monday, November 20th at 11:59 pm EST. I'll randomly draw a winner from the entries and announce it on Tuesday. 


****************************************************************************
Join the Strippy Improv Holiday Quilt Along!
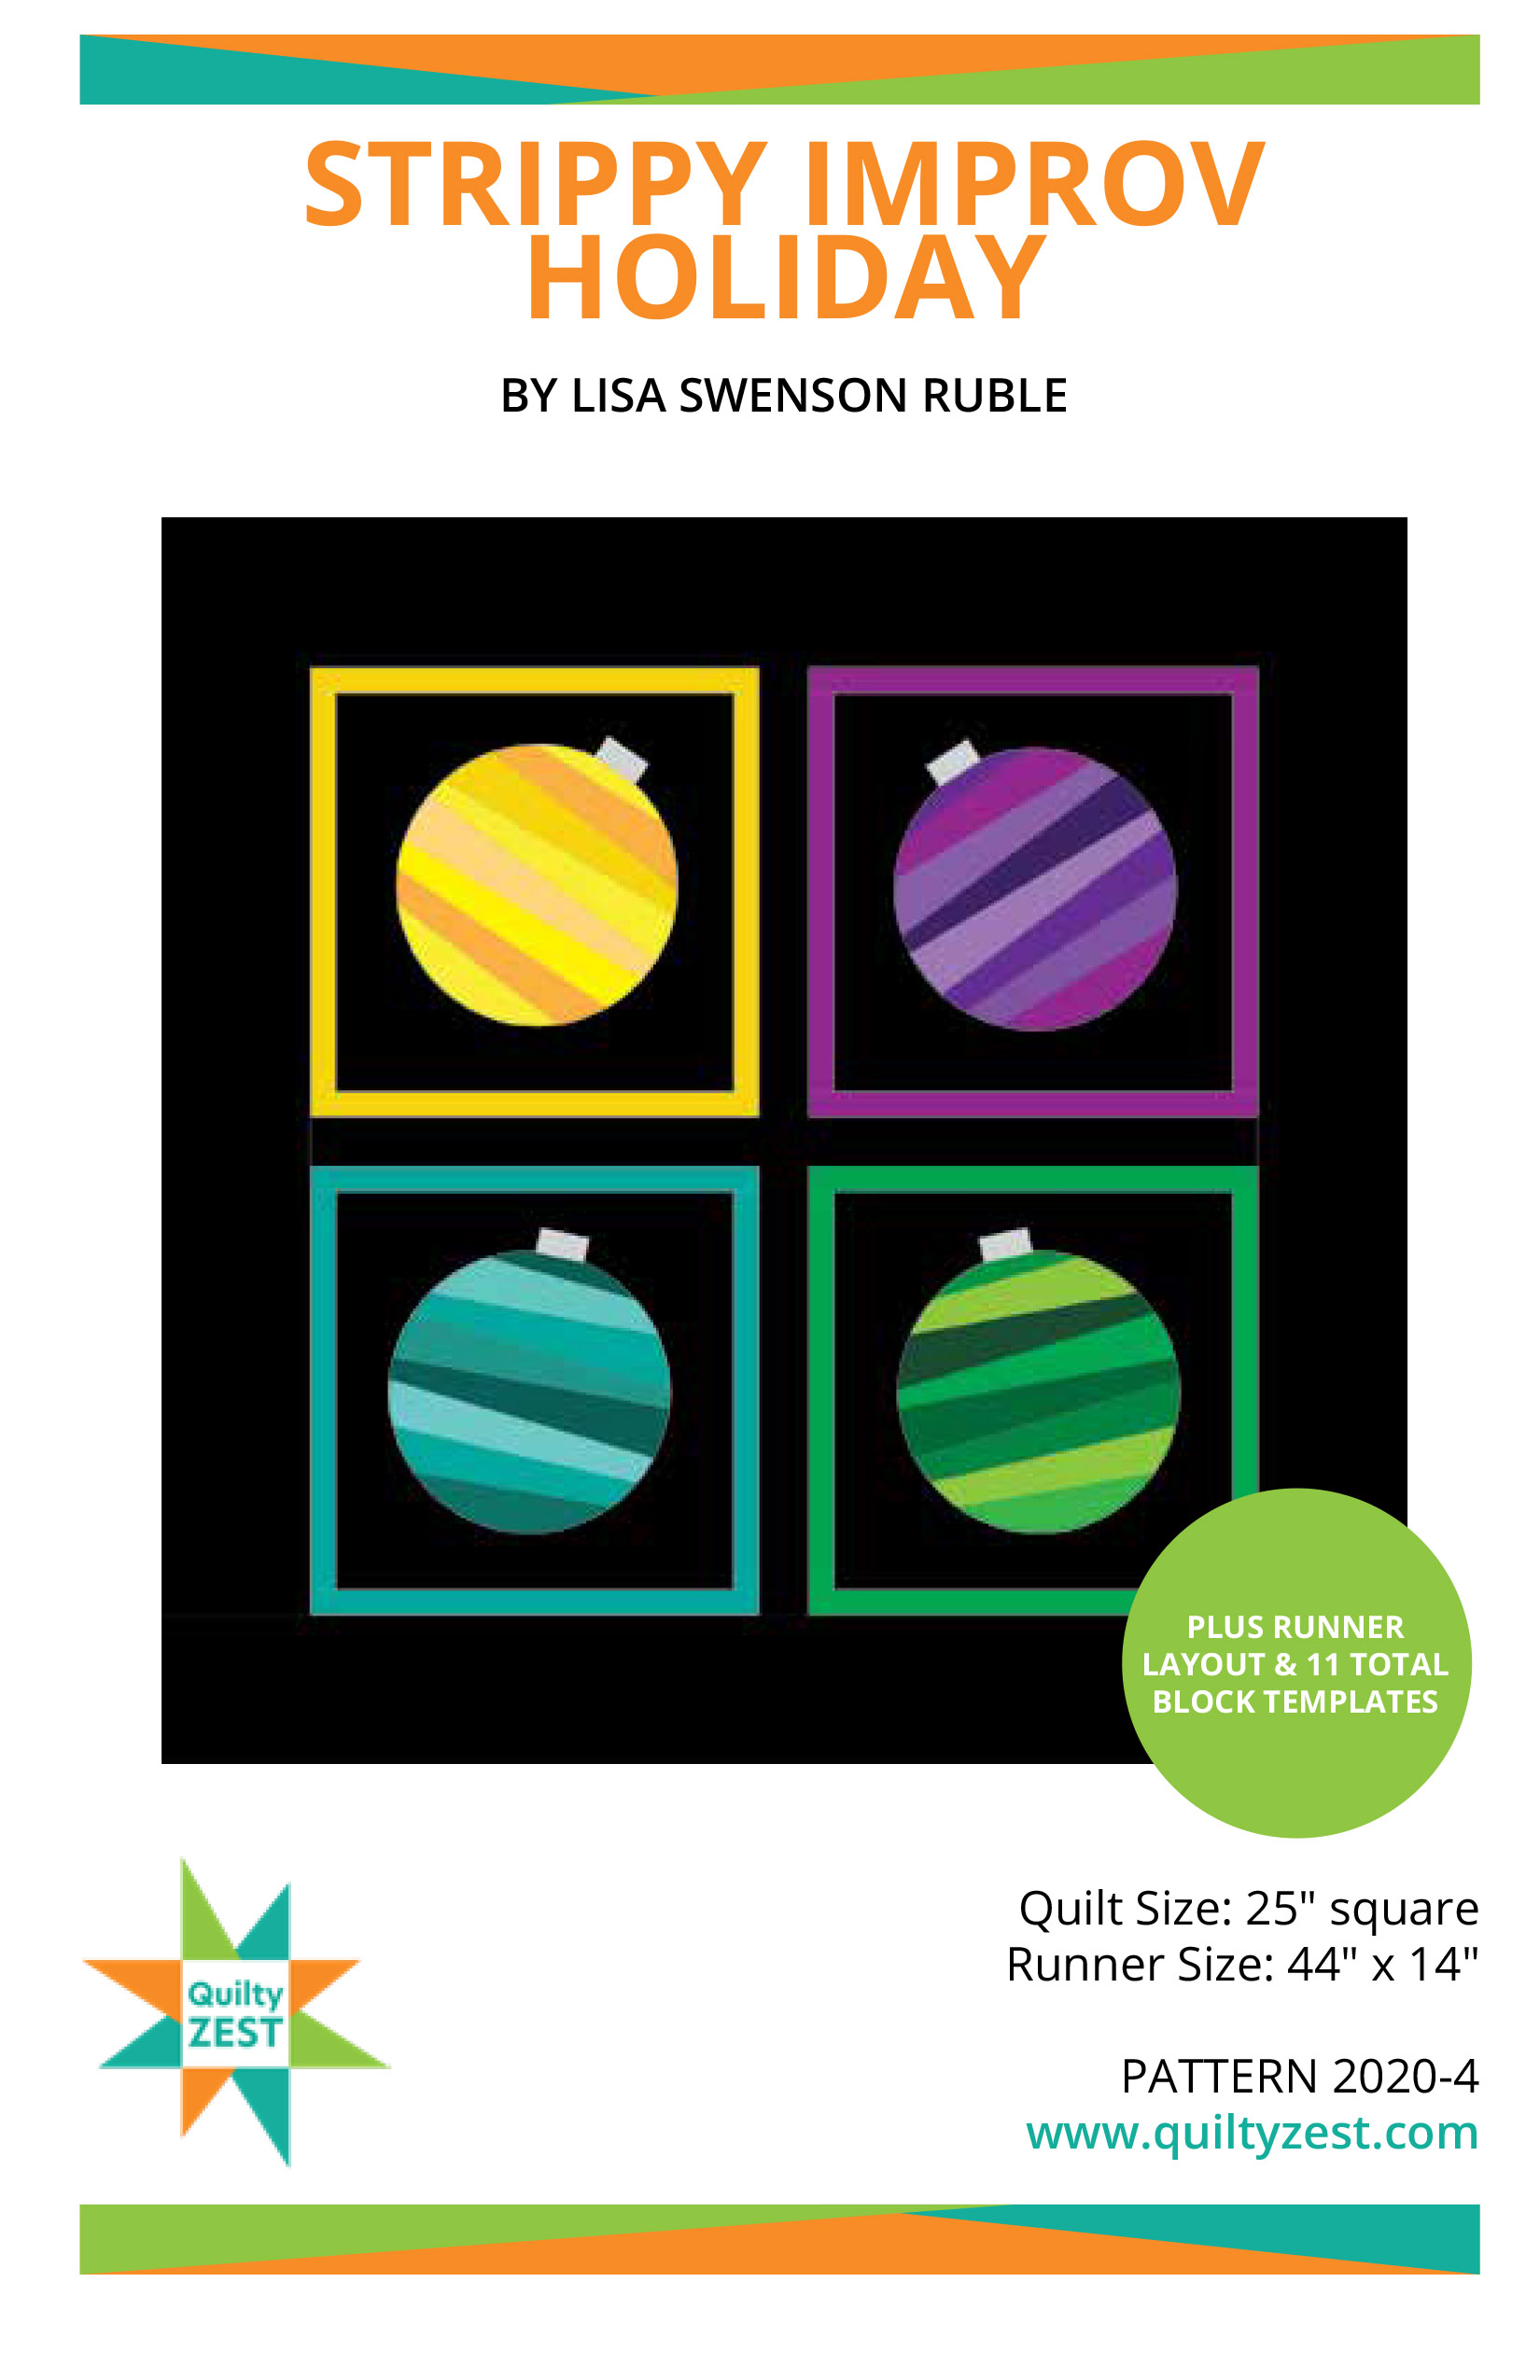
Get the pattern here. It includes all 11 blocks. If you've purchased the pattern previously, you can get the 6 new blocks for free - sign up for my newsletter here, and you'll receive an email with a link to download the new blocks. 

QAL Details: 
Sew along with me to create a holiday wall quilt or table runner before Christmas! I'll post once a week with tips and advice (plus that all-important accountability!) to keep us on track. These blocks are addicting...just wait and see! 
Purchase the pattern here.

Week 1: November 16th - Fabric selection
Week 2: November 23rd -  Making 2 blocks
Week 3: November 30th - Making 2 blocks
Week 4: December 7th - Assembly and Finishing


Thursday, April 28, 2022

Off the Rails Table Runner

Welcome to my stop on Benartex's Judy's Bloom hop! I'm the first to admit that I don't typically gravitate toward soft floral prints, but when I saw the Judy's Bloom collection by Eleanor Burns for Benartex, I knew exactly what I'd use them for. I really love the watercolor effect of these fabrics. 


 I have long admired the look of watercolor-style quilts, and I thought these fabrics would work really well in that blended type of effect. 

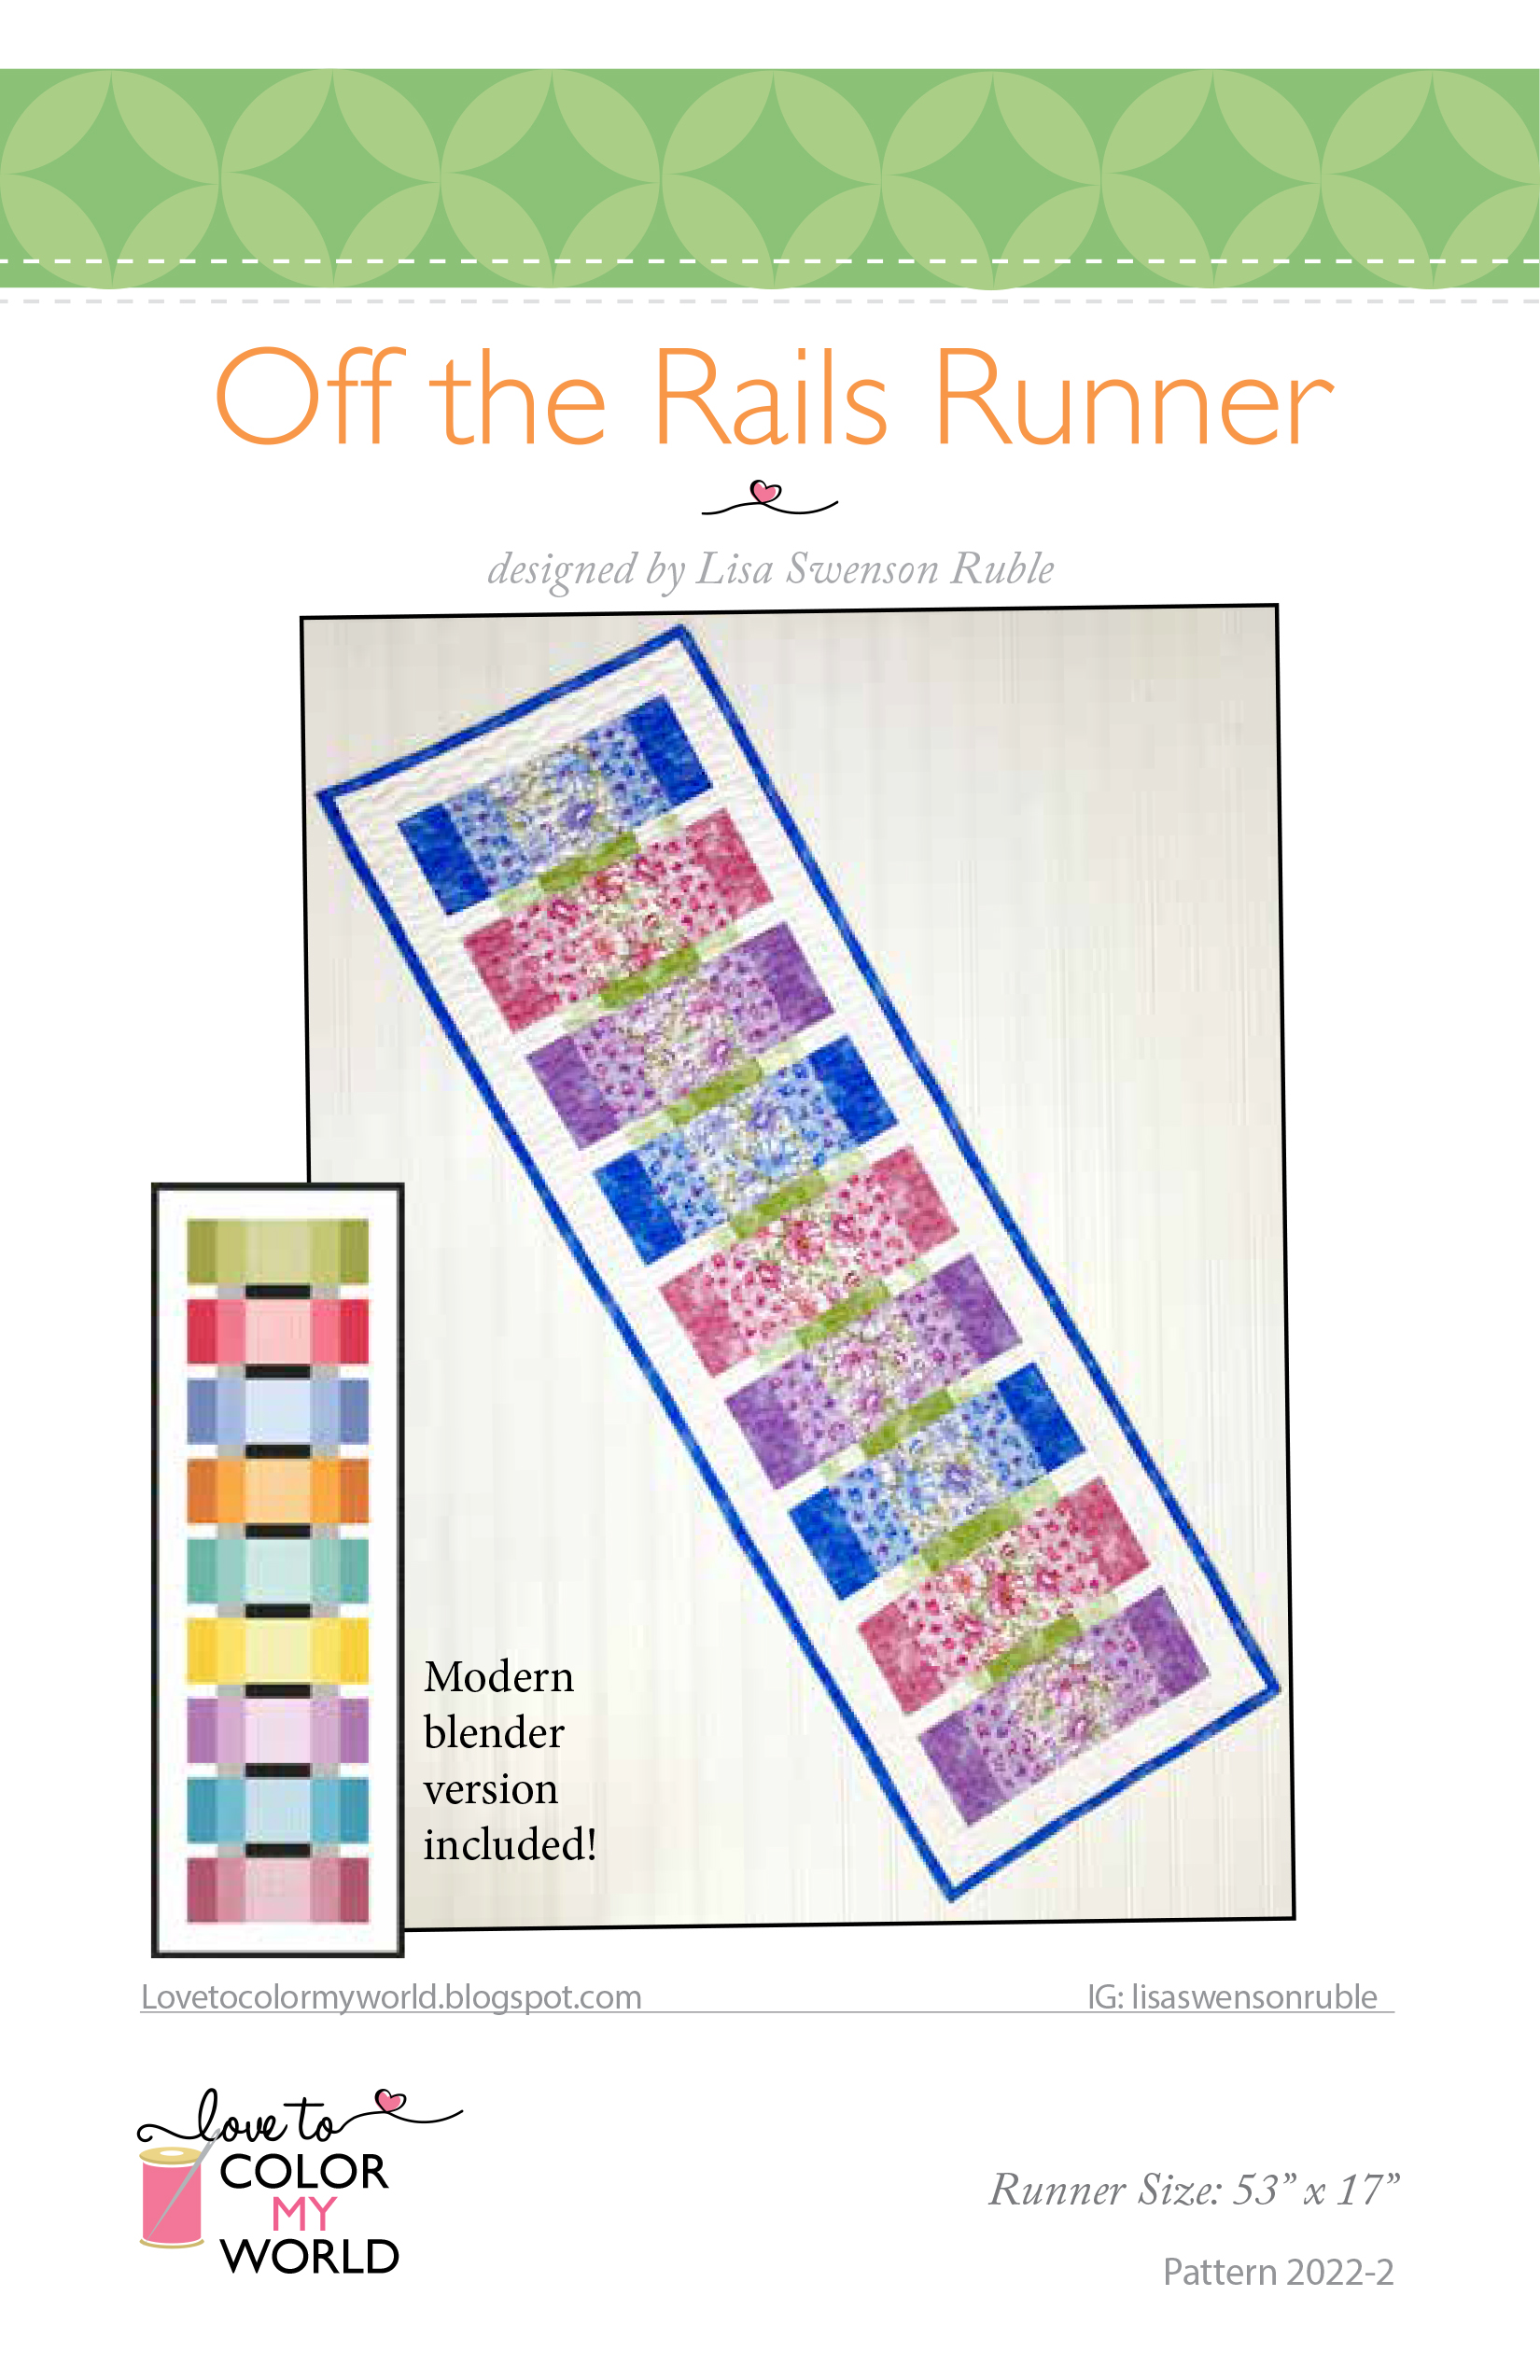
The result? My latest pattern, the Off the Rails Runner.
(Keep reading for details about the FQ bundle giveaway of Judy's Bloom, plus a discount code for the pattern. Mother's Day is around the corner...hint hint)

The light, medium and dark prints blend beautifully into each other. 


This pattern works well with tonal prints in varying shades as well. For this Modern Blender version, I used the Color Weave basics collection, also from Benartex. The key is to have a light, medium and dark of each color. 


Aren't these colors gorgeous?


To celebrate my pattern launch, I'm offering a 25% off discount code through 5/1. Head to my Etsy shop and use code JUDY25 at checkout. 
Purchase the pattern here.

And the giveaway! Benartex has generously offered a FQ bundle of Judy's Bloom fabrics for me to give away. To enter, leave a comment below letting me know which colorway of the fabrics you prefer. (Note: Make sure I have a way to contact you!). For a second entry, head over to my IG account (@lisaswensonruble), follow me, and leave a comment letting me know you did on the Off the Rails runner post. Giveaway ends Sunday, 5/1/22, at 11:59 pm EDT. US entries only, please. 

And don't miss the rest of the hop:
Tuesday
Thursday
Sandra at MMM Quilts
Friday 
Tammy at Tamarinis

If you're new here, welcome! I hope you'll stay and look around a bit. 
If you like what you've seen here, you can also find me:
To find all of my quilt patterns, visit my Etsy shop. 
Find me on IG here.
Find me on Facebook here.
Sign up for my newsletter in the right-hand sidebar or here. 
(You'll receive a free pattern for my Diamond Drama quilt (below) as a thank you!)


Thursday, August 23, 2018

Free Motion Fantasy Zip Pouch Trio Tutorial


I love the palette and the motifs in Amanda Murphy's Free Motion Fantasy collection. They're such bold prints, and I they work together beautifully. I usually lean toward the cool colors, but I decided to go in a different direction--I went with the hot and spicy colors! 

Zip pouches are really fun to make--they go together quickly, and you can always find a use for another one (or a friend to gift one to!). I used fat quarters of the nine prints you see above to make the three pouches shown. Use the tutorials below to make your own, and then scroll to the end to see how you can enter to win a fat quarter bundle of Free Motion Fantasy for yourself.

Materials:
(for all 3 pouches)
Fat quarters of (9) different prints
Batting
Fusible batting
(3) 12" long zippers in coordinating colors


Make the Straight Stripe Pouch:
Pouch size: 9" x 8"
Cutting:
From the fuchsia print:
(1) 2-1/2" x 10" piece
(1) 3-1/2" x 10" piece
(1) 9" x 10" piece for backing

From the purple print: 
(1) 2-1/4" x 10" piece

From the yellow print:
(1) 9" x 10" piece for lining
(1) 2-1/2" x 10" piece for lining
(1) 6-1/4" x 10" piece for lining
(1) 1-1/2" x 10" piece

From the fusible batting:
(1) 2-1/2" x 10" piece
(1) 6-1/4" x 10" piece
(1) 9" x 10" piece


Step 1: Sew together (1) 2-1/4" x 10" purple piece, (1) 1-1/2" x 10" yellow piece, and (1) 3-1/2" x 10" fuchsia piece as shown.

Step 2: Fuse the 6-1/4" x 10" fusible batting piece to the wrong side of the pieced pouch front. 
Step 3: Pin the zipper, right sides together, to the purple edge of the pieced front. 

Step 4: Lay the 6-1/4" x 10" yellow piece on top, right side down, sandwiching the zipper. Pin in place and then stitch the layers together using a zipper foot. 
Step 5: Press both the pieced front and the lining piece away from the zipper edge. 
Step 6: Fuse the 2-1/2" x 10" batting piece to the same size fuchsia piece. Lay the opposite long edge of the zipper right sides together with the 2-1/2" x 10" fuchsia piece and pin in place. Lay the 2-1/2" x 10" yellow piece on top, right side down, sandwiching the zipper. Pin in place and then stitch layers together using the zipper foot. 

Step 7: Fold pieces away from the zipper so that your pouch front looks like this: 

Step 8: Topstitch 1/4" along each side of the zipper, stitching through all layers.

Step 9: Square up the pouch front to measure 10" x 9" if needed.
Step 10: Fuse the 10" x 9" fuchsia piece to the 10" x 9" fusible batting piece. Layer the 10" x 9" yellow lining piece on the back of the batting, sandwiching the batting.
Step 11: Lay the pouch backing right side up and the pouch front right side down. Make sure the zipper is at least halfway open. Pin around all edges. Stitch 1/4" from the outer edge of the pouch sandwich. I like to reinforce the stitching where it crosses the zippers. 

Step 12: Trim the zipper ends. Zig zag stitch around the outer edge for a cleaner finish. 

Step 13: Turn the pouch right side out through the open zipper. Poke corners out as needed. Enjoy! 

..............................................................................................................................

Make the Diagonal Stripe Pouch: 
Pouch size: 9-1/2" x 7" x 3"

Cutting:

From the Purple Swirl: 
(1) 9" x 11" piece for backing
(2) 1-1/2" x 3" pieces

From the fat quarters:
A variety of (12-14) strips in widths ranging from 1" - 2-1/2"

From the batting:
(1) 9" x 11" piece

From the fusible batting:
(1) 9" x 11" piece

Note: You can use regular batting for both the front and back. I don't like using fusible batting for quilt as you go, but I like it for pouches that I'm not planning to heavily machine quilt, so I used different types for the front and back. 

Step 1: Position a strip right sides up on a 45-degree angle on the 11" x 9" batting piece. Layer another strip on top, right sides together, as shown. 

Step 2: Stitch down the length of the strips through all layers and press open. 

Step 3: Continue adding strips on both sides until the entire batting piece is covered. 

Step 4: Quilt the pieced section as desired. I stitched 1/4" on each side of each seam using yellow thread. Trim pieced section to measure 10-1/2" x 9". 

Step 5: Fuse the 9" x 11" purple piece to  the 9" x 11" fusible batting piece. Trim to measure 9" x 10-1/2"
Step 6: Fold each 1-1/2" x 3" purple piece in half, wrong sides together. Press each short end in 1/4". 

Step 7: Tuck the pull end of the zipper into the center of the folded purple tab from Step 6. Topstitch across the zipper to create a finished edge. 
Step 8: Lay the zipper along the long edge of the purple backing piece. Trim the zipper 1/4" shorter than the purple piece, and then insert the raw zipper end inside the folded purple tab from Step 6 and topstitch. Trim the folded tabs even with the width of the zipper as shown below.

Step 9: Layer the zipper right side down on the pieced pouch front. 

Step 10: Layer the 9" x 10-1/2" yellow piece on top, right sides together, and stitch using a zipper foot. Press the pieced front away from the zipper and topstitch 1/4" from the zipper (do not topstitch through the lining on this pouch). 

Step 11: Repeat on the opposite side to add the pouch backing and second lining piece. 

Step 12: Lay out the partially assembled pouch so the lining pieces are right sides together on the left of the zipper and the outer pouch pieces are right sides together on the right of the zipper. Pin pieces together.

Step 13: Stitch around the outer edge of the pouch, leaving a 6" opening along the bottom of the lining for turning. 
Step 14: Cut 1-1/2" squares from the bottom corners of the outer pouch side (still wrong sides out). 

Step 15: Match the side and bottom center seam, and stitch across the opening to box the corner. Repeat on the opposite corner. 

Step 16: Box the corners of the lining as well. 
Step 17: Turn the pouch right side out through the opening in the lining, stitch the opening closed, and tuck the lining into the pouch. Enjoy! 

..............................................................................................................................

Make the Boxy Pouch:

Cutting: 
From the orange print: 
(2) 9-1/2" squares

From the red print: 
(2) 9-1/2" squares for lining
(1) 4" x 12" piece for strap

From the fusible batting:
(2) 9-1/2" squares

Step 1: Press the 3" x 12" red piece in half lengthwise, wrong sides together, and then unfold and press long edges to the center fold.


Step 2: Refold along all lines and then topstitch 1/4" from each long edge to make the strap. Set aside. 

Step 3: Fuse each 9-1/2" batting square to a 9-1/2" orange square. 
Step 4: In the same way as for the other pouches, attach the outer pouch and lining pieces to opposite sides of the zipper. 

Step 5: Fold the pieces with outer pouch pieces right sides together and stitch along the edge opposite the zipper. Zigzag stitch to secure raw edges. 

Step 6: Fold the strap in half and position the raw edges on the edge of the seam from Step 5. Pin and then baste the strap in place. 

Step 7: Pin the side edges of the pouch to each other, aligning the zipper and the seam line in the middle. Make sure the zipper is at least halfway open! Stitch along both side edges. 

Step 8: As in the diagonal pouch, cut out 1-1/2" squares from each corner and stitch to box the corners. 

Step 9: Turn the pouch right side out. Enjoy! 


Whew! Did you make it this far? I probably should have stopped at two pouches, but I couldn't resist making a third. 

For a chance to win a fat quarter bundle of Free Motion Fantasy, leave a comment below telling me what you'd use these fabrics for--pouches like I did? An opportunity to practice Amanda's free motion quilting motifs? A quilt? Giveaway is open through Sunday, August 26th at 11:59 pm EDT. US entries only. 

Follow along with the Free Motion Fantasy features
Monday: 
Introducing Free Motion Fantasy

Tuesday: 

Technique Tuesday with Debby from Debby Kratovil Quilts

Wednesday: 

Jayne from Twiggy and Opal; @twiggyandopal
Laura from Slice of Pi Quilts; @sliceofpiquilts

Thursday: 

Sandra from MMM Quilts @mmmquilts
Lisa from Color My World @lisaerin1121

Friday:

Amanda's Virtual Trunk Show