Showing posts with label Benartex. Show all posts

Sunday, October 6, 2024

Bee Haven Project Hop

 I am so excited to be part of the Bee Haven Project Hop! Bee Haven is the new collection by Rachel Rossi for Benartex, and I have been in love with these prints from the first time I saw them! (psst...keep reading to the bottom for a chance to win!)


I love the color palette - Twilight, Plum, Gold and Aqua - the colors just speak to me. And the prints - those large daisies are so fun, and then there's the hexagon print, cool butterfly patterns (what great tonals!), and so much more! And check out the panel - isn't it gorgeous?!?!


I knew right away that I wanted to use these fabrics to create a wall hanging version of my Twister pattern. I could use those large floral prints in the block centers and create two different colored blocks that would show off all those coordinates. 


This block is my favorite. 

Or maybe this one...? I can't decide! 

The colors all work together so beautifully!

I took the quilt to the Historic Bridge Park near my house, which features a variety of old train bridges. The colors were perfect to help me show off both Bee Haven and Twister. These blocks finish at 19", so four of them make a nice sized wall hanging (or table topper) and 12 of them make a great lap quilt. Find the Twister pattern here. 


Make sure to check out the other incredible designers participating in this Project Hop!


Jennifer Worthen’s Centrum quilt

Kaye Collins and her Diamond Lil Quilt

Tiffany Hayes and her Bee Maze Quilt 

Rachel Rossi’s free Slaphappy quilt pattern


You can see all of the projects in one place over on Rachel’s Blog too, check out all the hop goodies here!


Looking for Bee Haven fabrics? Ask for it at your local quilt shop or find a stockist near you using the store locator!


Thank you to Benartex and all of these fabulous designers for generously donating prizes for this event! It was such a blast!


We will be giving away THREE prizes to contestants on Instagram:

Prize 1: Bee Haven Fat Quarter Bundle, Breezy Pattern (Rachel Rossi), Bee Maze Pattern (PDF from Tiffany), Trellis Twist Pattern (Rachel Rossi)

Prize 2: Bee Haven Strip-Pie (the Benartex version of a Jelly Roll), On the Way to Cape May (Rachel Rossi), Diamond Lil (PDF pattern from Kaye), Slaphappy Pattern (Rachel Rossi)

Prize 3: Bee Haven 10x10 precut bundle (Layer Cake), Dresdens in Bloom Pattern (Rachel Rossi), Twister Pattern (PDF from Lisa), Centrum Pattern (PDF pattern from Jenn)


How to enter (on Instagram):

To be entered to win, you must:

  1. Comment on your post

  2. Tag a friend (more tags = more entries)

  3. Follow all designers on the hop and Benartex
    (@quiltyzest, @ohkayequilting, @needleinahayesstack, @slightlybiasedquilts, @designsbyrr, @benartex)


3 winners will be randomly chosen at 11:59PM on October 12. Winners will be notified via Instagram.


Thursday, March 14, 2024

Year of Strippy Improv - Spring Series!

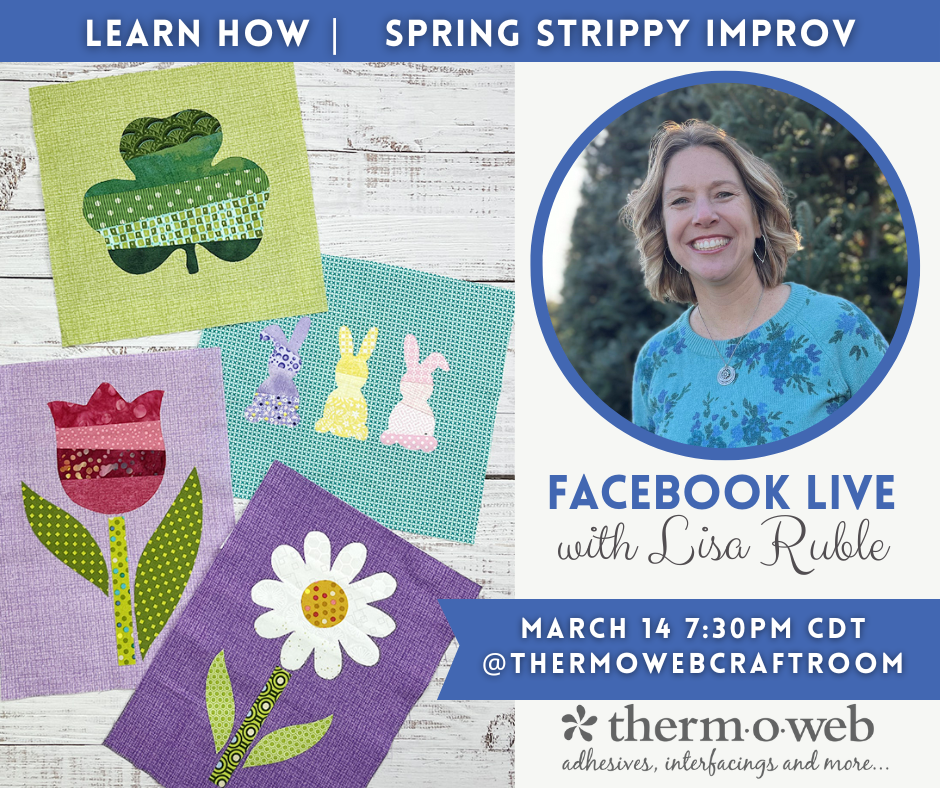
 As spring has been popping up here in Michigan, I've been working on spring-themed projects, and now it's time to share! 

Tonight I'll be in the Thermoweb Craft Room on Facebook for a Live Session to introduce the projects for March, April, and May. The pattern for Year of Strippy Improv - Spring will be available next week. 


And great news! Sew Fabulous in Portage, Mi, will be offering kits for these projects using the Shadow Blush collection from Benartex. More details to follow.

Here's a sneak peek of the scrappy version of the blocks I'll be sharing tonight - join me to see the completed projects! 

March - Shamrocks!


April - Bunnies!


May - Flowers!


Facebook Live Info:
The Facebook Live session is in the 
Therm O Web Craft Room Facebook Group tonight at 7:30 PM CDT. Don’t forget to join the Therm O Web Facebook Group prior to the live by clicking here and answering the questions to join!

Thursday, November 16, 2023

Strippy Improv Holiday QAL - Week 1

 Hooray! 

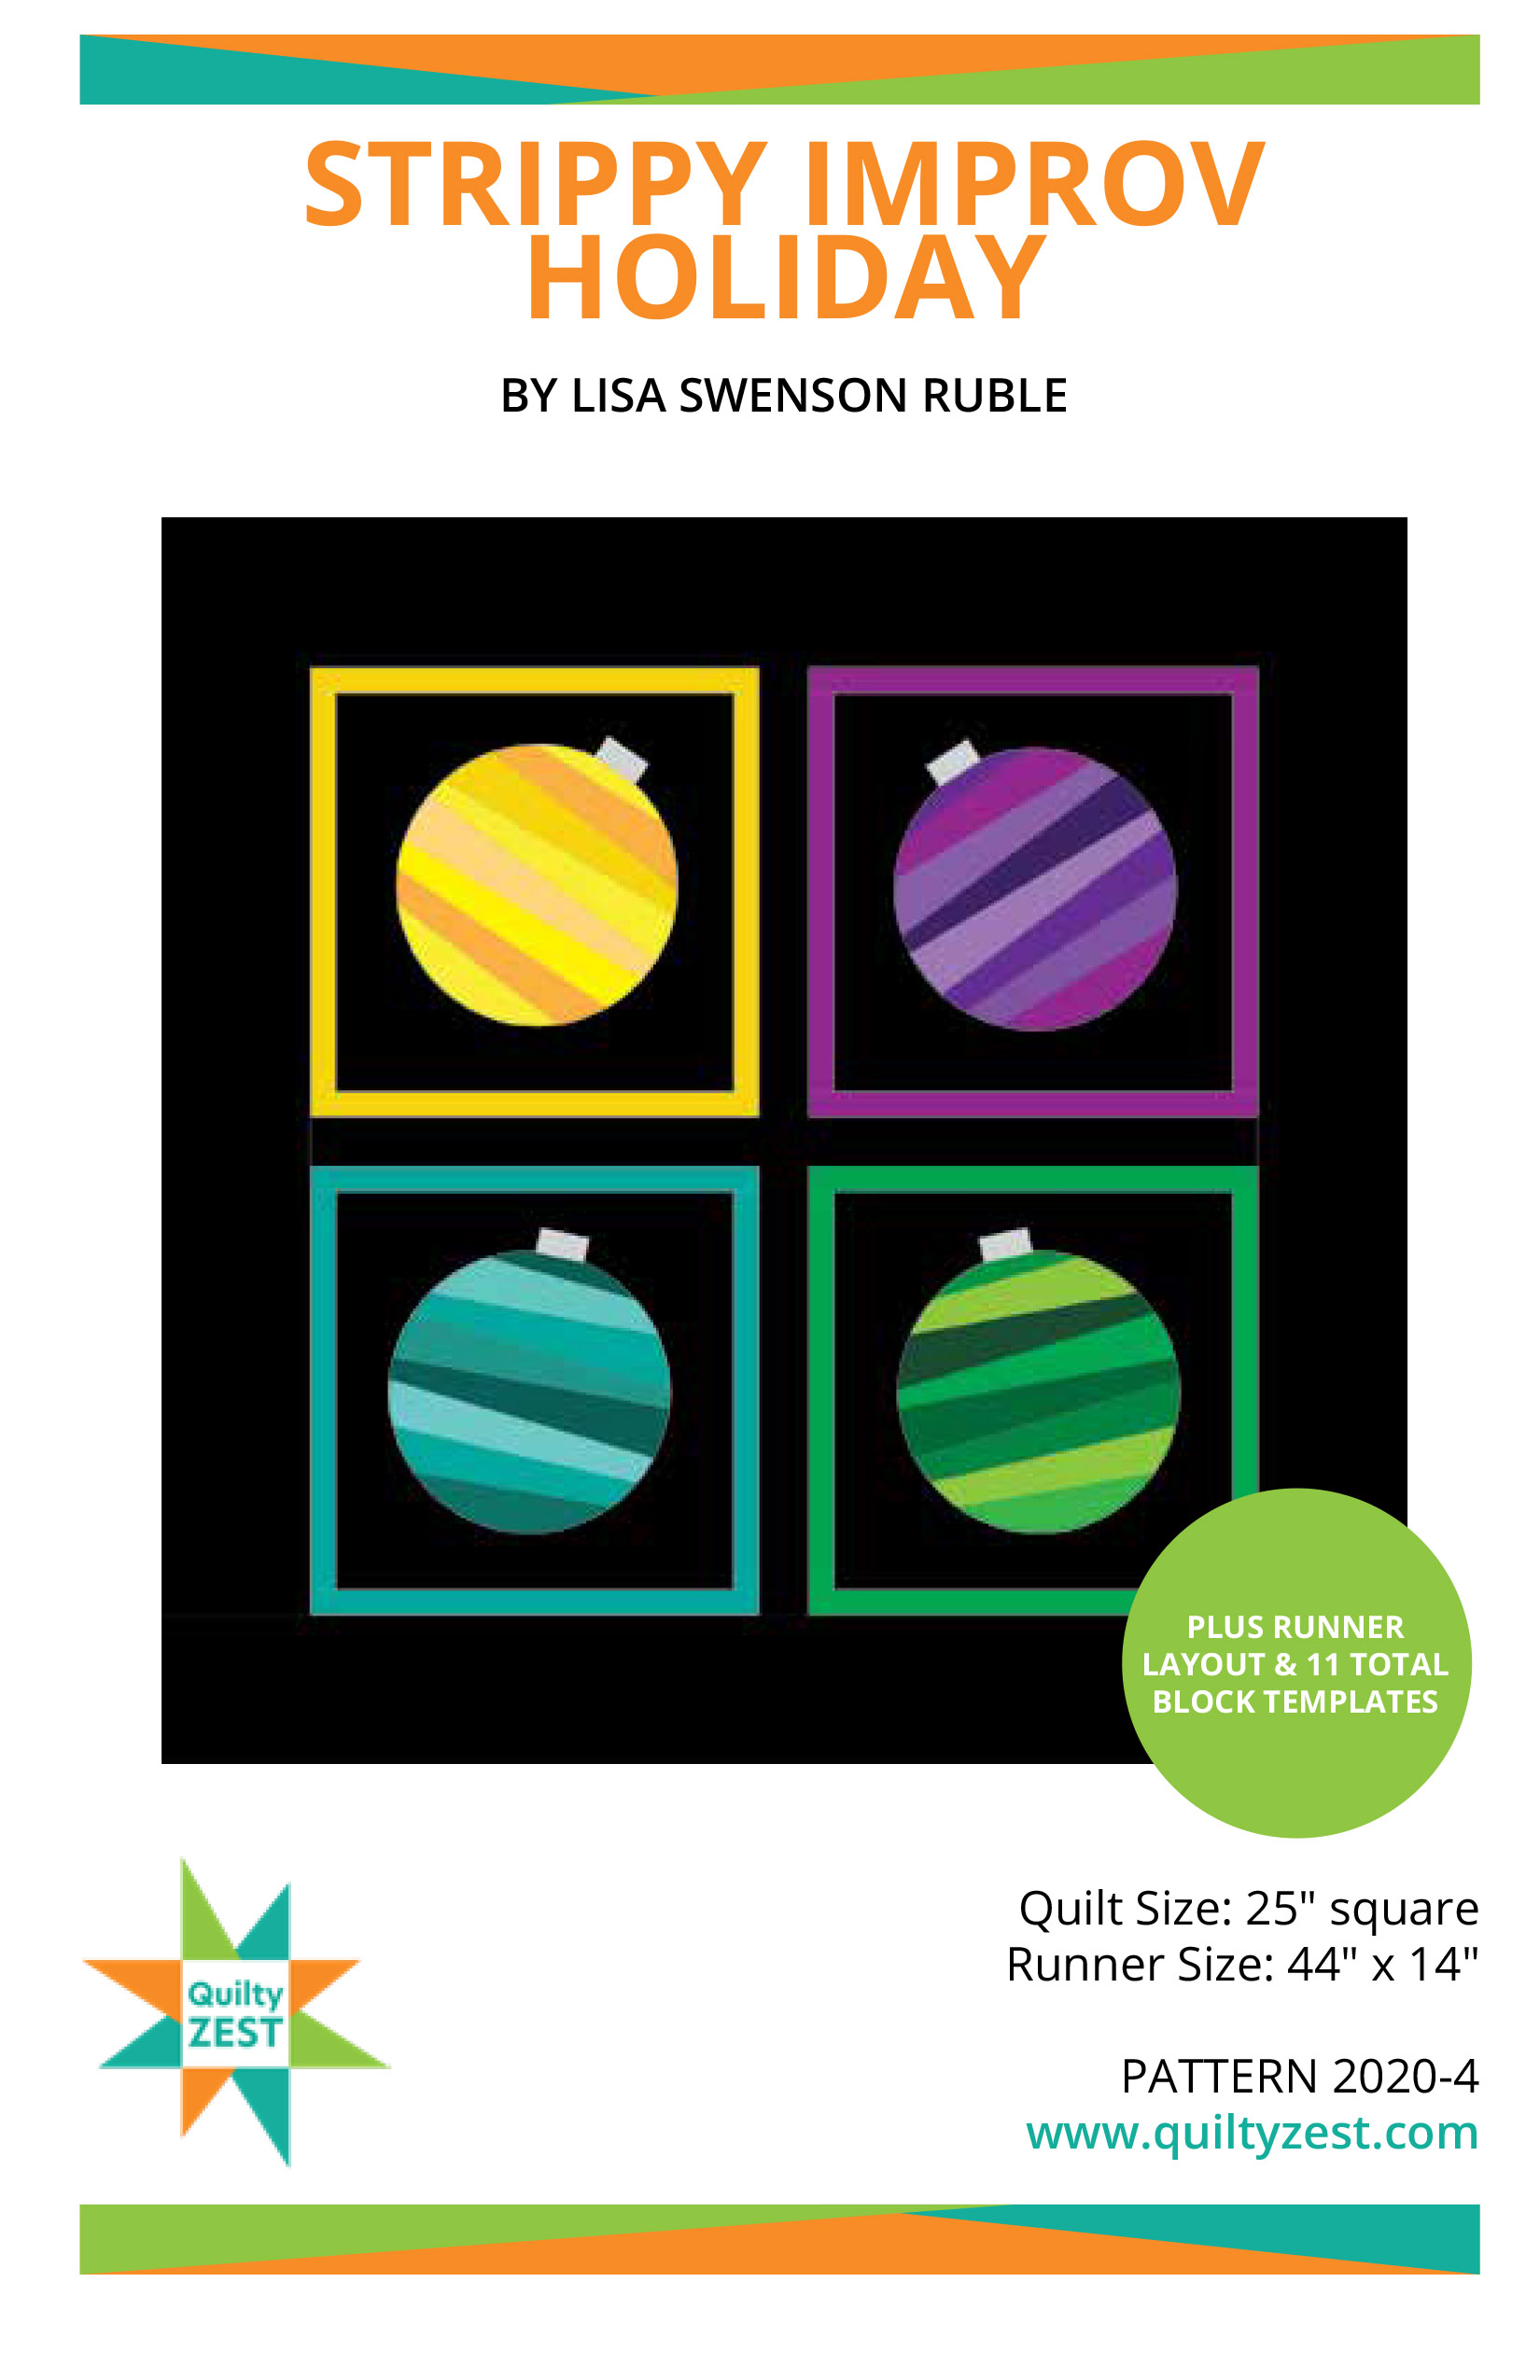
The Strippy Improv Holiday QAL has started! This is my favorite time of the year, and the addition of 6 new blocks only makes it better. And this year, there's a giveaway for Week 1, so keep reading! If you don't have the pattern yet, get it here.

For Week 1, we're talking fabric and block choice. 

There's a lot to think about, and so many tempting directions to go! 


Fabric and block choice go hand in hand - and with the new blocks, you have many options for making a Christmas-themed project or a winter-themed project. 

I tend to find inspiration by fallling in love with a fun holiday border fabric. In fact, that's what attracted me to the Country Christmas collection (see the giveaway info below to win some!). Once I choose the border fabric, then I pick blocks that follow the theme. For the Quilt Along, I'll officially be using these fabrics, a combo of Cherry Guidry's Nordic Cabin prints and the white-on-white prints from Holiday Snow. 


The snowman heads will be my border, the dark gray the block background, and then I'll use the aqua for the frames and binding. A fun wintry wall quilt! 

Select your blocks - Either four different, all the same, or a couple of your favorites. The pattern includes options for assembling the blocks into a table runner or a square wall hanging. See some of my finished samples here.

Here are the new blocks:


And the original blocks:


Now let's talk block backgrounds. You'll want to choose a medium to dark fabric for the background. If you use a lighter fabric, the strippy improv will show through. Keep that in mind as you choose fabric for the strips - for example, if you have a dark gray background, make sure the snowman hat contrasts enough. Here's an example of a fabric choice where I didn't have quite enough contrast: 

Pick your fabrics and quilt blocks, and next week we'll make two blocks! 

Now for the giveaway info!

To celebrate this year's Strippy Improv Holiday QAL, I asked two companies whose products I love if they'd share a little product love with one lucky winner. 
The prize package includes:

A Thermoweb gift pack of the following items

I've been on the Thermoweb Design Team for several years - I recruited myself after trying their fusible on my first Strippy Improv blocks! I use the HeatnBond Lite Sewable Iron-On Adhesive for my constructing my blocks.

And this fabric bundle from Benartex's Country Christmas and Holiday Snow collections - FQs of holiday prints on the left, and border, binding and block background fabric on the right: 


I've been a Benartex Ambassador for the past year, and have regularly used their fabric for much longer. It was fun selecting the prints for this year's projects and giveaway!

How to enter: 
Make sure you're following me on Instagram (@quiltyzest) and leave a comment on the Week 1 QAL post. 
1. Let me know which Strippy Improv block is your favorite (1 entry)
2. Tag a friend who might be interested (1 entry)
The giveaway is open through Monday, November 20th at 11:59 pm EST. I'll randomly draw a winner from the entries and announce it on Tuesday. 


****************************************************************************

Join the Strippy Improv Holiday Quilt Along!
Get the pattern here. It includes all 11 blocks. If you've purchased the pattern previously, you can get the 6 new blocks for free - sign up for my newsletter here, and you'll receive an email with a link to download the new blocks. 

QAL Details: 
Sew along with me to create a holiday wall quilt or table runner before Christmas! I'll post once a week with tips and advice (plus that all-important accountability!) to keep us on track. These blocks are addicting...just wait and see! 
Purchase the pattern here.

Week 1: November 16th - Fabric selection
Week 2: November 23rd -  Making 2 blocks
Week 3: November 30th - Making 2 blocks
Week 4: December 7th - Assembly and Finishing


Thursday, October 12, 2023

Strippy Improv QAL - Assembly and Finishing!

   It's week 4 of the Strippy Improv Halloween Quilt Along! Time for assembly and finishing! 

(Scroll down to the bottom for a couple single-block finish ideas!)


I finished my wall hanging using the Glow-O-Ween fabrics from Benartex. Thanks to everyone who shared their opinions on which border print to use. I ultimately chose this print because it allowed the blocks to shine the most. 

The pattern also includes directions to turn your blocks into a table runner. Here's my BOO runner from last year - so excited to have it on our table this October!


Ready to finish your project? 
I've got some tips and advice to make this process go more smoothly.


Tip 1: Matching seams. Make sure to line up the block frames and vertical sashing seams as you sew the two block rows together with the horizontal sashing strip. (Don't mind the fact that these pics are from a Strippy Improv Holiday project...I forgot to take the photo when I was assembling my Halloween wall hanging this week!)


Tip 2: Thread color. Choose a neutral thread color for machine quilting. This can seem hard to choose if, like in my pillow, you have a lighter gray block background and then a black border background. But if you choose a simple quilting design like straight lines (my go-to!), the quilting primarily provides texture and the thread color doesn't stand out. 


Tip 3: Machine quilting. Diane Oakes quilted my original Halloween wall hanging, and did a beautiful job! She switched out thread colors for different fabrics, did some echo quilting in each of the shapes, and added in that adorable spider and web! I love how her quilting enhances the blocks. 


I machine quilted my additional Halloween projects. I opted for straight horizontal lines to create texture without distracting from the design. I freehanded the lines, starting along one of the block frames, and then moved over the width of my walking foot for each line. Quick, easy and effective!


If you're a little behind on block making or just want a different type of project, below are instructions for two alternate finishes, each using one block. Enjoy! 

Pillow Finish
After I made the jack o'lantern block, I decided it would be a great pillow. I created the same 1"-wide frames around the block, and then cut 4"-wide strips for the border fabric, creating a 16-1/2" square pillow top. I added a 16-1/2" square fusible fleece square to the back side and machine quilted it. I made a same size backing square (with fusible fleece and quilting too), and then added a zipper and finished up the pillow. The pillow assembly took less than an hour. 


Trick or Treat Bag Finish


You'll Need:
1 8-1/2" square strippy improv block

Orange tonal: 
(2) 1-1/2" x 8-1/2" strips
(2) 1-1/2" x 9-1/2" strips

White spiderweb:
(1) 13-1/2" x 15-1/2" piece for bag back
(2) 3" x 18" strips for handles
(2) 2-1/2" x 9-1/2" strips for bag front
(1) 2-1/2" x 13-1/2" strip for bag front
(1) 5" x 13-1/2" strips for bag front

Black print:
(2) 13-1/2" x 15-1/2" piece for bag lining
(2) 3" x 18" strips for handles

Assemble the Bag:
1. Sew orange tonal strips to sides and then top/bottom of 8-1/2" square strippy improv block.

2. Sew 2-1/2" x 9-1/2" white spiderweb strips to opposite sides of block. Sew 2-1/2" x 13-1/2" white spiderweb strip to top and 5" x 13-1/2" white spiderweb strip to bottom to complete bag front, measure 13-1/2" x 15-1/2". 

3. Layer bag front and bag back right sides together and stitch around sides and bottom. Layer (2) black print bag lining pieces right sides together and stitch around sides and bottom, leaving a 6" opening along bottom for turning. 

4. Cut out 2" squares from bottom corners of both outer bag and lining. Box corners. Turn outer bag right side out. 

5. To make handles, lay (1) each 3" x 18" white spiderweb and black print strip right sides together. Stitch along both long edges. Turn right side out, press, and topstitch along both long edges. Make (2) handles.

6. Measure in 2-1/2" from outer bag edges and pin handle in place, matching raw edges. Repeat on bag back. Baste handles in place. 

7. Slide outer bag inside lining, making sure handles are tucked in. Match side seams and pin top raw edges together. Sew along the top outer edge. 

8. Turn bag right side out through opening in the lining. Stitch the opening closed. Topstitch along the top edge of the bag to finish. Happy trick or treating!


And that's it! I hope you enjoyed being part of the QAL! I hope you'll share photos of your project! And come back mid-November when we start the Strippy Improv Holiday QAL! 

 **************************************************************************
If you're new here, welcome! I hope you'll stay and look around a bit. 
If you like what you've seen here, you can also find me:
To find all of my quilt patterns, visit my Etsy shop. 
Find me on IG here.
Sign up for my newsletter in the right-hand sidebar or here. 
(You'll receive a free pattern for my Diamond Drama quilt (below) as a thank you!)


Need the full Strippy Improv Halloween Pattern? Purchase the digital pattern here. 

And mark your calendars for the Strippy Improv Holiday QAL, starting mid November! 


Thursday, October 5, 2023

Week 3 - Strippy Improv Halloween QAL

Welcome back for Week 3 of the Strippy Improv Halloween QAL! 
How are your blocks coming along? 

I finished two blocks this week - a ghost and a witch hat. 

I had fun digging through my low-volume prints for my ghost!

The lime green accent will match the frames on two of the blocks. 

Scroll to the bottom to see my four blocks together!

Let's talk tips - here are a couple more things that I hope will be helpful as you make your blocks. 

First, block background placement. Play around with your block background before fusing it down to make sure you get the best combination of fabric, and also to make sure things like the stems show through correctly. 

For the witch hat, I wanted the green accent to be above the brim of the hat. I also picked my darkest black (the star print, which has the least white, so it "reads" as the darkest) for the bottom, so it makes the bottom of the hat seem dimensional, like you're looking up it. 

Make sure your green stem starts at the top of the pumpkin body. 


Here are two "don't do it this way" examples: 

The background needs to be adjusted up so the stem aligns with the green seam. 

The background needs to be adjusted down so the green doesn't show on the pumpkin. 

Play around with your background and make sure it's exactly how you want it before you fuse in place! 


Second, if you're concerned that your background fabric is too light (especially when you're using black strips for your piecing, I have a solution for you: Fusible Interfacing. 


Before adhering the fusible web to with the traced shape to your background square, adhere a piece of fusible interfacing (I use medium weight). This makes the fabric more opaque and reduces the likelihood that the strips will show through. 

Here are my four blocks together. 
I can't wait to assemble these blocks into a wall hanging!

Meet me back here on Thursday, October 12 where I'll be talking assembly! 

Here's the QAL schedule: 
Thursday 9/21: Fabric and block choices
Thursday 9/28: Make 2 blocks
Thursday 10/5: Make 2 blocks
Thursday 10/12: Assemble and finish!

I hope you'll join in the fun! I'll be posting here on the blog and also sharing posts on IG (@quiltyzest). If you're going to sew along, use the hashtag #strippyimprovhalloween to share your block and/or fabric choices!

Ready to join the fun? Order just the digital Strippy Improv Halloween pattern here. 
The pattern includes 9 block choices plus both a square wall hanging and table runner option.

Monday, October 2, 2023

Quilts of Valor Presentation

Tonight I got to be part of something very special: a Quilts of Valor presentation to my former neighbor, an Army Ranger.

Me, Tom and the quilt

 
It all started back in spring when Tom's wife, Shari, asked me if I knew anyone who made t-shirt quilts, as she wanted to have one made for her son, who was retiring from the Marines. I volunteered. Then she asked if I knew anything about the program to get quilts to veterans, as her husband, Tom, was also a veteran. I said I could help with that too - I had recently designed a free pattern for Benartex's American Spirit collection, and I actually had the fabric in hand to make the quilt. 
the reveal

Several sets of hands were instrumental in this project. My mom, Lindy, offered to piece the quilt. My friend and machine quilter, Diane, quilted it. My roles were easy - I initiated the project, I bound the quilt, and I added the label. :) And then of course, I had the honor of awarding the quilt. 

Tom's son was in town for a visit, so this week became the perfect time to present Tom with the quilt. Family and close friends met for dinner at a local brewery, and my family and I showed up with the quilt. 

Shari, daughter Stacey, Tom, and son Brad

I explained the mission of Quilts of Valor, told the backstory of the quilt, and awarded it to Tom. The entire group was so excited and touched to see Tom honored this way - I still have tingles thinking about it!
Showing the label

Label close-up


I've heard about Quilts of Valor for years and know many quilters who have participated in this worthwhile program. It was a pleasure and an honor to play a role in making this quilt and awarding it. Huge thanks to my mom and Diane for doing the hard work of creating the quilt! 


A few more photos of the American Patchwork quilt: 

Can't beat a Michigan farm field, barn, and cloud-studded sky!

Love the little details in Diane's quilting, like these stars in the sashing squares

Red block - a nine-patch variation

Blue block - Mom even made sure all the text was facing "up"!


Another beauty shot

 Thanks to Benartex and their Ambassador program for the fabric to make this quilt happen!