
Happy spring! Today I'm sharing a tutorial for this Modern Tulips wall quilt over on the Thermoweb blog. This project is made using raw edge applique, and then I quilted it with freehand wavy lines. I finished the project off with a flange binding so I could have that little pop of pink! I'm sharing how to add the flange binding below.

But first, I wanted to show a few other color variations I played with.
I really liked the gradated effect in my original design, so I tried two grayscale versions. Black and gray tulips aren't super typical, but I like how they pop off the bright background!


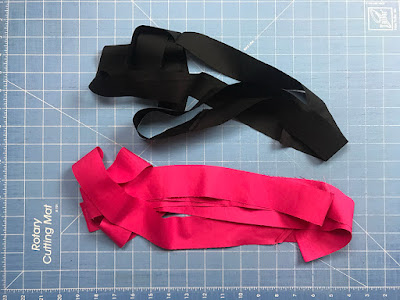
(2) 1-1/2" x WOF strips for the main color (black for me)
(2) 1-3/4" x WOF strips for the accent color (pink for me)
Make the Binding:
Step 1 Join the black strips into a long strip using a diagonal seam. Repeat with the pink strips.
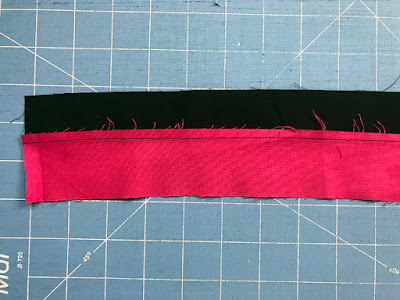
Step 2 Sew the black and pink strips together. Press seam toward the narrower strip (black).
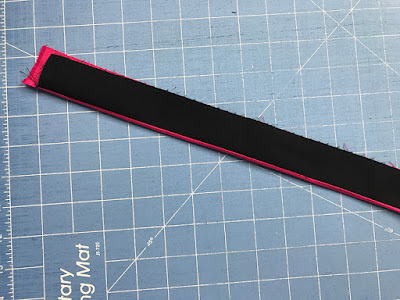
Step 3 Press the strip in half, matching raw edges on the long side. This will create a thin line of pink on the black side of your binding strip.
Step 5 When you join the ends of the binding strip, align the seam between the strips. Put a pin in place to mark the spot where they align, and make sure you stitch though that spot as you join the strips.
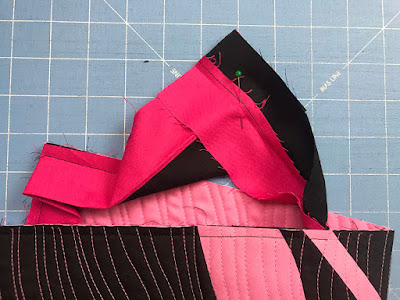
Step 6 Double check to see how your seams lined up before trimming off the seam allowance. If they don't align, you can rip out the stitches and try again. When you're satisfied with the join, trim the seam allowance and finish stitching the binding to the back side of the quilt.
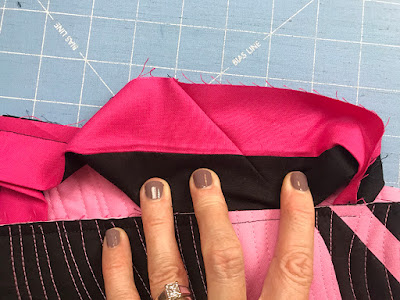
Step 7 Press the binding away from the back of the quilt. Press to the front, miter corners, and secure binding in place with binding clips.

Step 8 Stitch on the pink flange with matching thread to secure the binding in place.
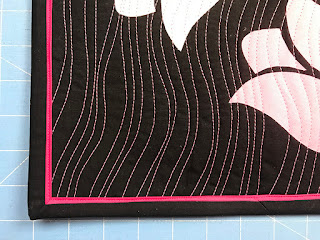
And you're done! Hang up your wall quilt and enjoy! Don't forget - you can find the full Modern Tulips Wall Quilt here.


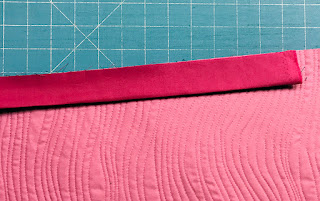
Step 4 Sew the binding strip to the back side of the quilt, with the accent color facing up. Miter corners as you work around the quilt.


And you're done! Hang up your wall quilt and enjoy! Don't forget - you can find the full Modern Tulips Wall Quilt here.
______________________________________________________________________________
Love tulips? Check out my Tulip Row quilt pattern here.

If you're new here, welcome! I hope you'll stay and look around a bit.


