Sunday, January 31, 2021

2021 Monthly Color Challenge

This year I'm participating in the Monthly Color Challenge put on by Patterns by Jen.  


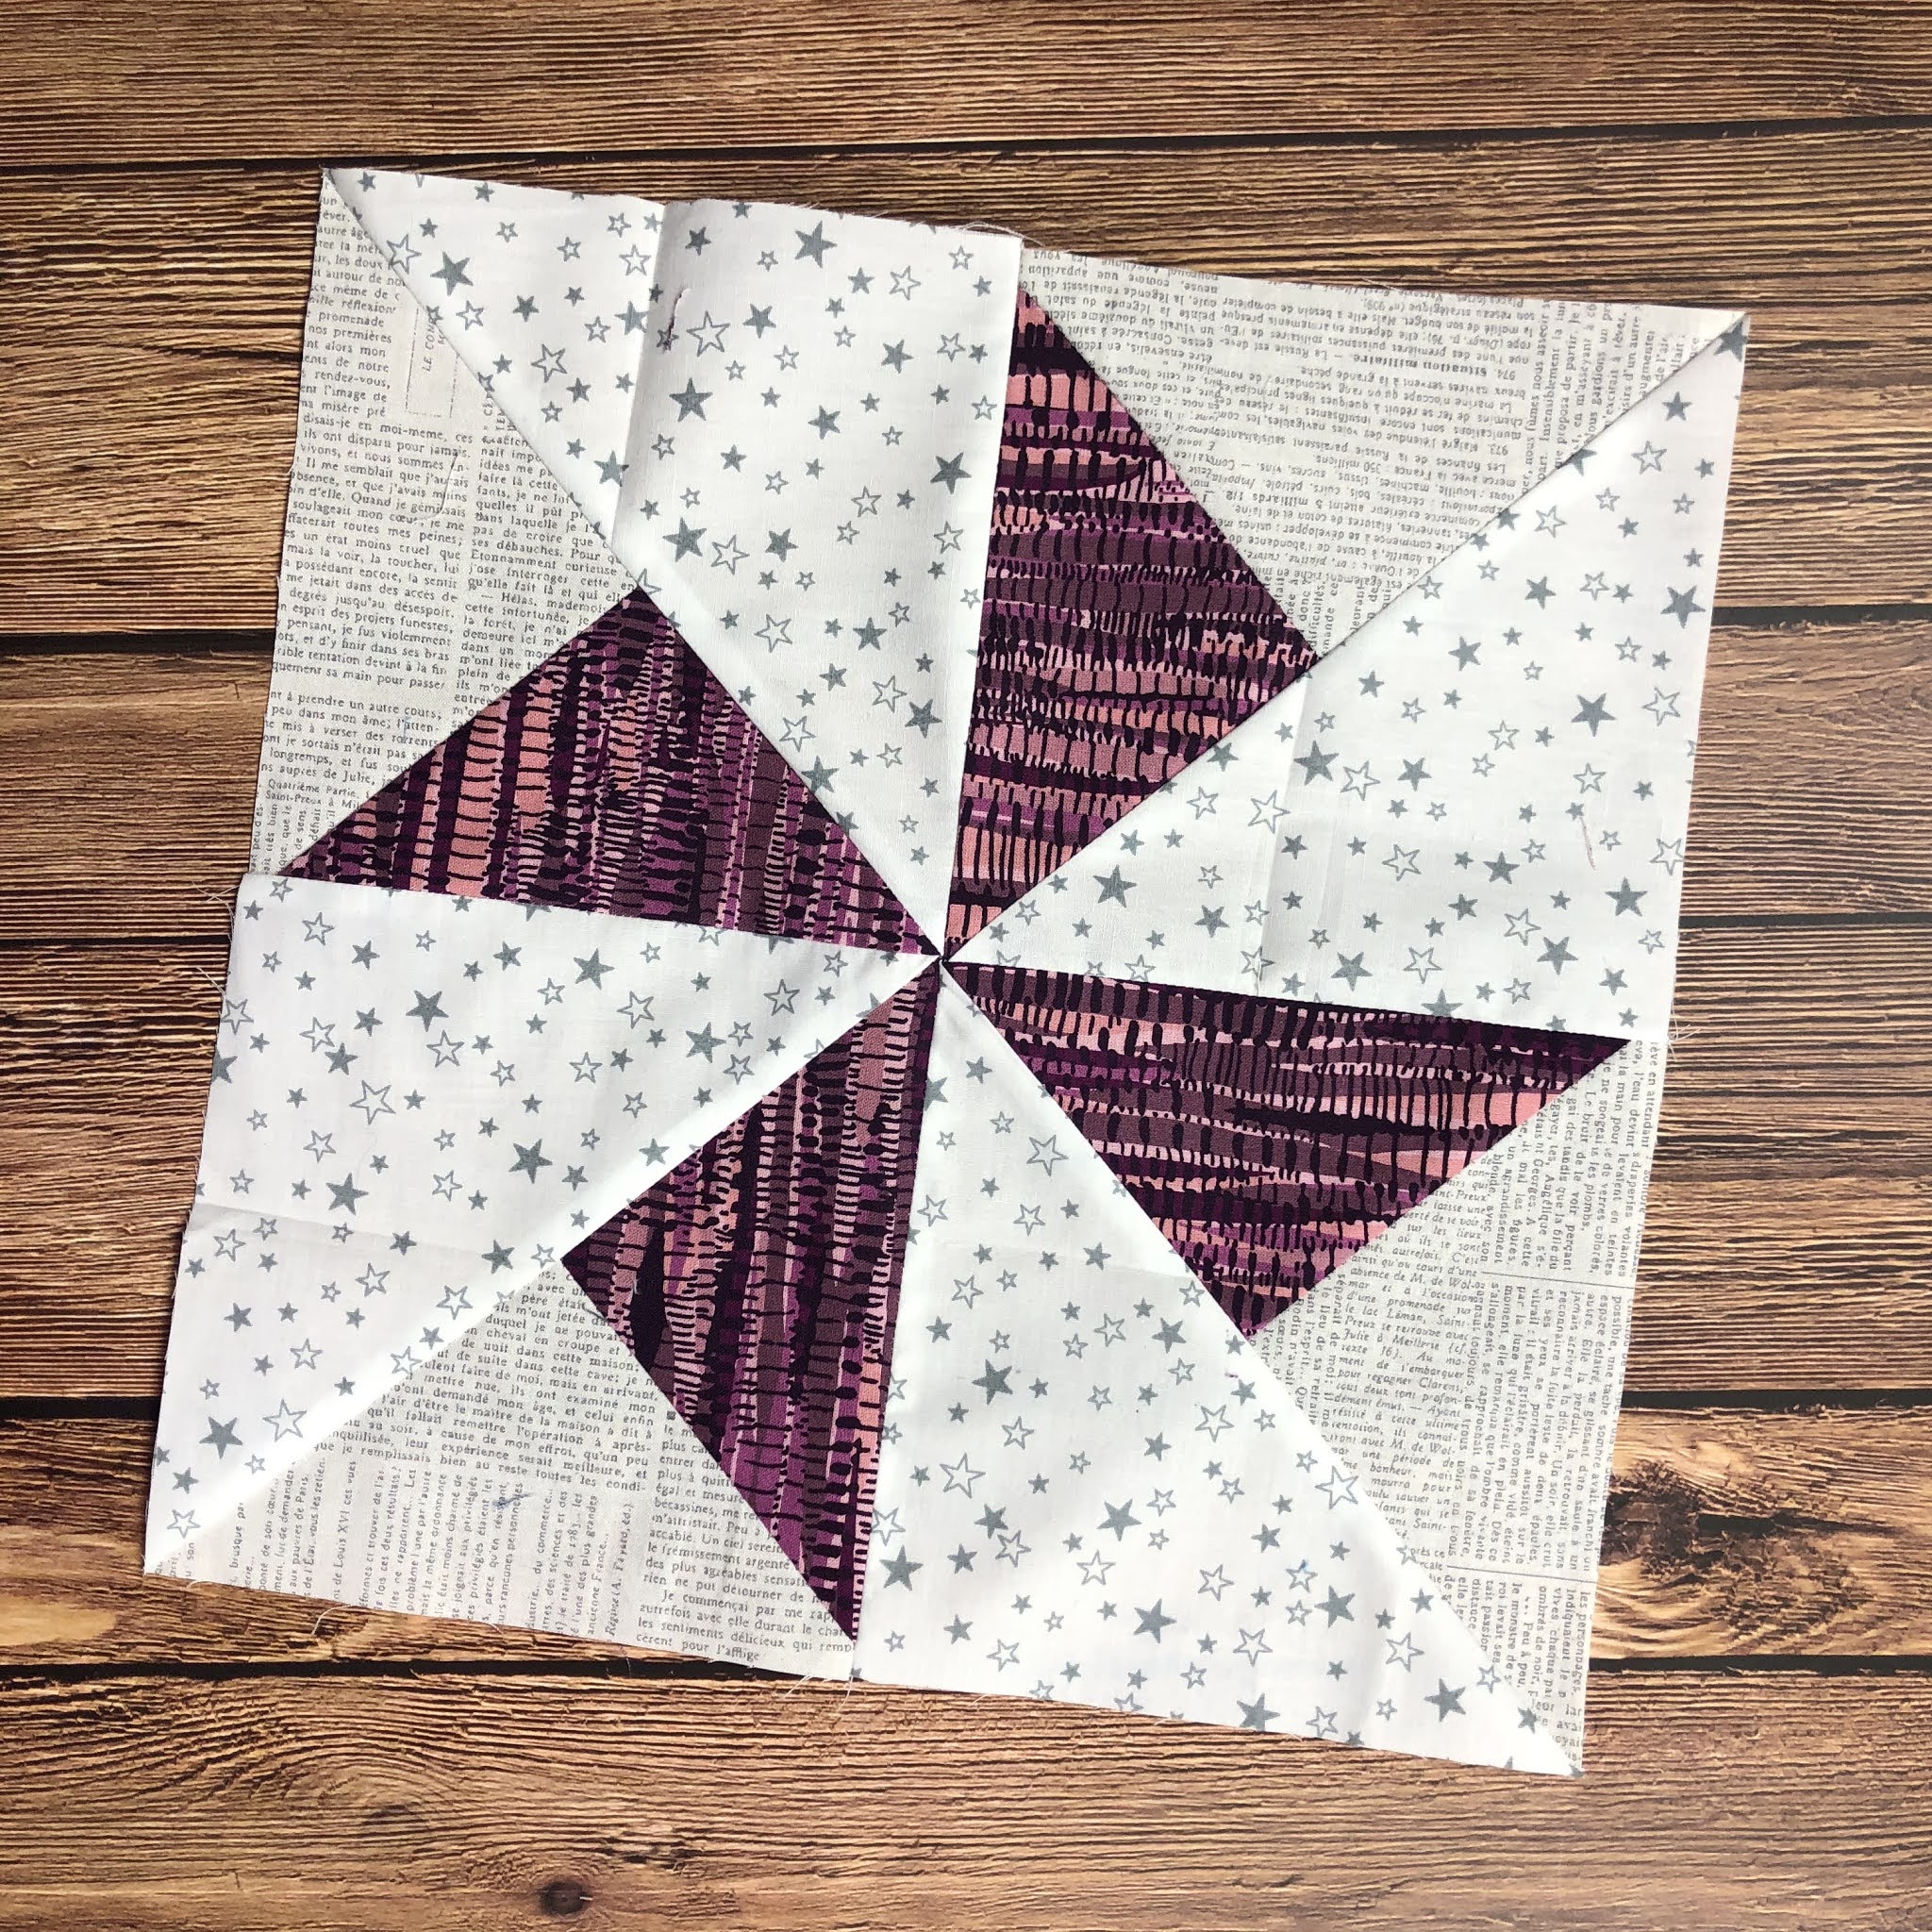
Each month there's a block to make, as well as a suggested color palette, inspired by vegetables. January's vegetable is eggplant, so there's plenty of purple. I am using a variety of low-volume prints for the background of all my blocks, to hopefully help tie them together. 

Here, just under the wire, is my January block. 


Looking forward to February's block!


Wednesday, January 27, 2021

Frequency Quilt Sneak Peek

Since the beginning of the year, I've been working on a new quilt pattern and today I'm excited to share it! 
I chose to use these luscious prints from Paula Nadelstern's Poured Color collection. 
Aren't they gorgeous?


Introducing: Frequency!


I of course couldn't be content with just one version, so I shopped in my solid stash for a bold, contrast-packed version. Here are the fabrics I chose, all Painter's Palette Solids from PBS Fabrics. 

And here's what the Half Frequency quilt top looks like. It really pops, doesn't it?! 


Both versions are included in the pattern, which is releasing on Tuesday, February 2nd. 

Psst...if you came here for my Valentine's Day Round Up, find it here.


If you like what you've seen here, you can also find me:
To find all of my quilt patterns, visit my Etsy shop. 
Find me on IG here.
Find me on Facebook here.
Sign up for my newsletter in the right-hand sidebar or here.


Tuesday, January 19, 2021

Valentine's Day Project Round-Up!

For me, Valentine's Day is just an excuse to eat more high quality chocolate. :) 

But as I started looking through my quilt photos, I realized that it's also an excuse to come up with fun themed quilt ideas, and I've got plenty. Valentine's Day is around the corner, but most of these projects go together quickly--you still have time to get started (and likely even finish!) before February 14th. 


This is my newest Valentine's Day project, based on my Strippy Improv Holiday pattern. Download the heart template here.


Two each blocks for a fabric version of the classic XOXO make up a fun wall hanging. I used Christa Watson's Gridwork collection.


Use fusible web, your rotary cutter, and red or pink fabrics to make an easy no-sew block design.


After I designed my It's a Swirl quilt, I saw some chocolate fabrics and realized how much these swirls looked like a box of fancy chocolates! These instructions are included in the pattern. The version shown below uses Benartex's new Chocolicious collection.


I used an existing heart block pattern and a variety of Valentine colored solids to make this modern mini quilt. 


This is still a favorite of mine--a fabric tic tac toe board with Xs, Os and hearts.


If you like what you've seen here, you can also find me:
To find all of my quilt patterns, visit my Etsy shop. 
Find me on IG here.
Find me on Facebook here.
Sign up for my newsletter in the right-hand sidebar or here.

Tuesday, January 5, 2021

Quilt Block Mania: Romantic Patchwork Heart

I'm excited to have joined Quilt Block Mania! 
Each month, a talented group of designers create free quilt block patterns that fit a theme and color palette (see the full list below!). For January, leading into Valentine's Day, the theme is romance the the palette featured coral-y pinks and a soft blue. 

Here's my block, called Romantic Patchwork Heart. 
This is a fun block to make, and no two are the same. And did I mention that it's a no-sew block? Woohoo! All you need is fusible web and an iron (and of course some fabric). 

I've created a free tutorial showing you how to make this block. You'll find the link for it in my newsletter You can subscribe in the righthand sidebar, or if you're on a phone and there is no sidebar, here. I promise I won't deluge you with newsletters--you'll just be the first to know about new patterns, sales, and tutorials. 

I'll also share a sneak peek of my first pattern release for 2021. It's called Frequency, and if you're receiving my newsletter and/or following me on social media (see links at the bottom of this post), you'll be the first to know when it comes out. I can't wait! 


Thanks for stopping by--I hope you like my block! Make sure to check out all of the other romantic blocks shared by designers--I love the variety the group created, and I found some super fun ones that I'd like to sew too! 

Check out all the January blocks! Soooo much good stuff!

Chain of Hearts by Carolina Moore
Heart Postage Stamp by Slice of Pi Quilts
Special Delivery by Appliques Quilts and More
Intertwined by Devoted Quilter
Interlocking Heart Halves by Blockofthemodotcom
Romantic Patchwork Heart by Love to Color My World
Love Notes by Blue Heron Quilting
Woven Together at Patti's Patchwork
Love Arrows by Cotton Street Commons
refracted heart at Duck Creek Mountain Quilting
Puppy Love
Be Mine by Perkins Dry Goods
Love is family at Puppy Girl Designs
Love Owl-Ways by Studio R Quilts
Lacy Hearts by QuiltFabrication
Piece of My Heart by Orange Blossom QDS, LLC
Quilting by Candlelight by Snowy Days Quilting
Sunset Walk Block by Sara Flynn
Mini Log Cabin Heart by Katie Mae Quilts
Flowers and Candy by PhoebeMoon Designs
On Point Heart by Oh Kaye Quilting
Love My Gnome
Love Conquers All
Blue Bear Hug by Blue Bear Quilts
Love Me Knot by Pretty Piney Quilts
Pieceful Heart by Off the Wall Quilt
Rose Buds by Rona the Ribbiter
House of love
First Love by Sarah Marcina
Love postcard by Capaquilts


If you like what you've seen here, you can also find me:
To find all of my quilt patterns, visit my Etsy shop. 
Find me on IG here.
Find me on Facebook here.
Sign up for my newsletter in the right-hand sidebar or here.

Sunday, January 3, 2021

2020 Wrap Up

 Now that we're looking at 2020 in the rear-view mirror, I thought it would be fun to look at what I accomplished this year. 

*I released 6 quilt patterns:


*I finished 12 quilts.

Honestly, I would have thought this number would have been higher. It was a busy year outside of quilting, but it felt really productive. Still, one a month isn't too shabby!

*I pieced 6 more quilts that I haven't quilted yet. Guess those are going on the 2021 list! 


I have my first two quilts  planned out for 2021, and they'll both be released as quilt patterns, so keep an eye out for them! (More info to come). 

Happy New Year!

Sunday, December 20, 2020

Wonky Tree Placemat Tutorial

Here's another last-minute Christmas tutorial, originally shared on the Benartex blog. Small projects feel so much more do-able in December!

The placemat features larger pieces of two focal prints from Cherry Guidry's Mulberry Lane collection (an older collection, FYI), plus a paper pieced wonky Christmas tree. Enjoy the tutorial! 


Materials:
(to make 4 placemats)
1/2 yard aqua tonal
1/3 yard lime print
1/3 yard green print
5/8 yard red dot
1/2 yard street stripe*
5/8 yard circle print*
7/8 yard backing fabric*
(4) 2" squares of fusible web
(4) 14" x 20" batting pieces

*directional fabric; refer to project photos while cutting

Cutting:
From the aqua tonal:
(2) 4-1/2" x 42" strips (for paper piecing)
(2) 1-1/2" x 42" strips; cut into (4) 1-1/2" x 6-1/2" pieces and (8) 1-1/2" x 3" pieces

From the lime print:
(2) 4-1/2" x 42" strips (for paper piecing)

From the green print:
(2) 4-1/2" x 42" strips (for paper piecing)

From the red dot:
(6) 2-1/4" x 42" strips (for binding)
(1) 1-1/2" x 42" strips; cut into (4) 1-1/2" squares
(3) 1-1/4" x 42" strips; cut into (8) 1-1/4" x 12-1/2" lengths (for flange)
Reserve remainder for applique

From the street stripe:
(1) 12-1/2" x 42" strip; cut into (4) 4-1/2" x 12-1/2" pieces so stripe runs horizontally

From the circle print:
(2) 8-1/2" x 42" strips; cut into (4) 8-1/2" x 12-1/2" pieces so circles run horizontally

From the backing fabric:
(2) 14" x 42" strips; cut into (4) 14" x 20" pieces

Make the Placemats:
Note: Click here to download the paper piecing and applique patterns. This tutorial assumes basic knowledge of paper piecing. Use the strips listed in the cutting directions for paper piecing.
1. Cut apart the paper piecing patterns into four separate pieces: A, B, C, and D. Note: When you're paper piecing, make sure the fabric extends at least 1/4" beyond each paper pattern on all sides. You'll need 1/4" on each side for the seam allowance as you assemble the tree unit. 


2. Paper piece the A section, using the lime print for piece #1 and aqua for the #2 and #3 pieces.  Trim sides of section A to 1/4" past the edge of the paper (for seam allowance). 


3. Repeat with sections B, C and D. Sew the units together in alphabetical order, matching raw edges. Remove the paper. 

Here's what your tree should look like: 

4. Sew 1-1/2" x 3" aqua tonal pieces to opposite sides of a 1-1/4" red dot square to make the tree base. Sew the base to the bottom of the tree and sew a 1-1/2" x 6-1/2" aqua tonal piece to the top. Your tree unit should measure 6-1/2" x 12-1/2". 

5. Press (2) 1-1/4" x 12-1/2" red dot strip wrong sides together lengthwise to create (2) flange pieces. Lay a folded strip on a circle print piece as shown, matching raw edges. Pin to secure. 


6. Sew a 4-1/2" x 12-1/2" street stripe piece to the bottom edge of the circle print piece, securing the flange at the same time. Press flange up.

7. Position the second flange along the left edge of the pieced unit with raw edges matching and pin in place. 

8. Sew the tree unit to the left side and press the flange away from the tree. 

9. Layer a backing piece right side down, batting piece, and placemat right side up. Quilt as desired. 

10. Trace the star shape onto the paper side of fusible web. Fuse onto red dot fabric and cut out along the drawn line. Fuse the star to the top of the tree. Blanket stitch to secure. 

11. Trim the quilted piece even with the placemat top. Your placemat should measure approximately 18-1/2" across by 12-1/2" tall. 

12. Repeat steps 1-11 to make a total of (4) placemats.
13. Sew the 2-1/4" x 42" red dot strips short ends together into one long strip. Bind the placemats with these strips and enjoy! 


If you like what you've seen here, you can also find me:
To find all of my quilt patterns, visit my Etsy shop. 
Find me on IG here.
Find me on Facebook here.
Sign up for my newsletter in the right-hand sidebar.
Saturday, December 19, 2020

Last-Minute Gift Bag Tutorial

 Out of wrapping paper? (I just stocked up yesterday...)

Last year I shared a post for how to make quick and easy gift bag and wine bottle holders using the icy blue Pearl Frost prints from Benartex. 


You can find the tutorial here.

Happy wrapping and/or sewing!

If you like what you've seen here, you can also find me:
To find all of my quilt patterns, visit my Etsy shop. 
Find me on IG here.
Find me on Facebook here.
Sign up for my newsletter in the right-hand sidebar.