Friday, January 31, 2014

January Goal: Complete!

Whew! I finished my niece's quilt top for my A Lovely Year of Finishes January goal. At this rate, she'll definitely have it before she starts walking. :)
This is my own design; I had made quilts for Rachel's two older sisters using a FQ bundle and wanted to create something for her that used the scraps I had left. I supplemented with solids/tonals in the same colors and came up with this patchwork pennant. My favorite part? A few of the pennants are double-sided and only stitched down at the top so they "flap." (You can kind of see it in the photo below--the green pennant off to the right.)


I am planning to quilt this one myself (the first niece or nephew quilt I will have done that for) because I have a plan, and because the quilt is nicely broken off into sections. I'm going to do the orange peel design in the fourpatches and echo quilt around the pennants. Wish me luck! 

Here's a question, though--would you zig zag the pennants down (not the flapping ones, but the rest), or just straight stitch close to the edges? I'm leaning toward zig zagging because this quilt will get a lot of use and I feel like the edges of the pennants would hold up better. 


Thursday, January 30, 2014

Word Challenge: Balance

Victoria over at 15 Minutes Play issued a challenge early in January--choose a word for the year and make a small quilt with that word on it. It's been fun seeing what everyone has chosen and how they've made their projects! You can see them all here.


I'm not much for picking a word for the year, or for New Year's resolutions, for that matter, but the opportunity to made a word quilt sounded like a lot of fun. 
I chose "balance" for my word because I'm always striving to keep the various aspects of my life--my kids and husband, my job, my family and friends, my sewing time, etc.--balanced. Not necessarily succeeding, but striving! :) Having a visual reminder of this will be nice--helping me to make sure that sewing gets enough time in my life (All to often it gets pushed to "tomorrow," much like exercise. Funny how I can always find time for a bowl of ice cream, though!)

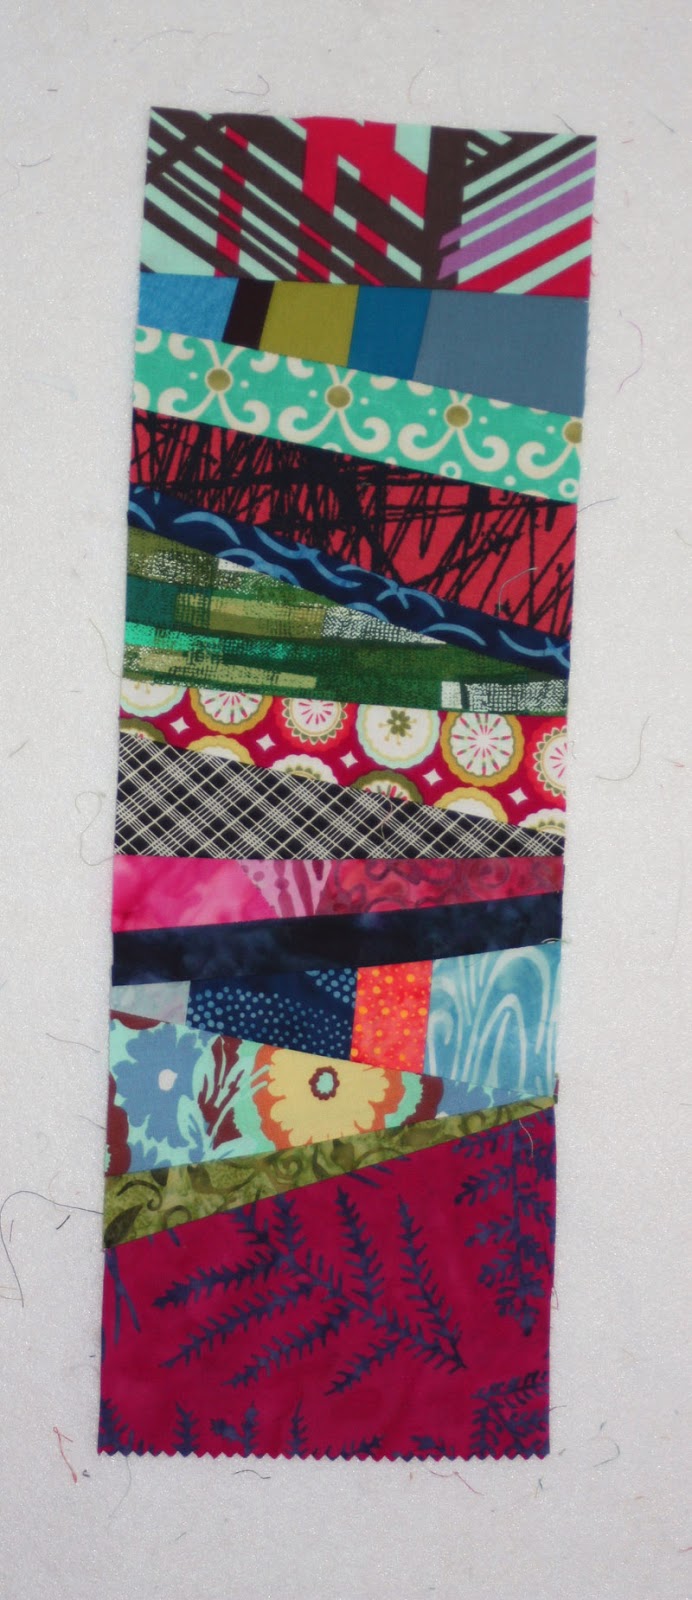
I have a box full of leftover strips and random pieces conveniently located under my sewing table, so I pulled exclusively (and pretty blindly!) from that. I wanted to create a busy, uneven stripe look. I tried hard not to care about what colors went next to each other. 

I went from here: 
Where it sat on my design wall for a week--should I add a border? What color? Should it be pieced? Did I have time to play around with borders? Was that a crash and a cry from the kids' room, and should I check it out, or stay in my studio and assume everything is fine? Did my email just ping? Ten more work emails to deal with before we leave on vacation tomorrow. (Are you starting to see why I chose the word I did?!)


This morning, with the end of the month deadline looming, I jumped in. Cheery gold letters, because I want balance to be a happy thing, not a threat. Tilted stacked letters, because it adds humor to the idea of achieving balance. Gold thread straight quilting lines because I do love straight line quilting, and I'm often too chicken to use bright colors on bigger quilts--perfect to try it here. 
And the binding and flange? Proof that I'm learning balance. I participated in the Challenge, found my 15 minutes to play on several days to make it happen, but didn't make myself crazy by trying to figure out a border. At the same time, I couldn't just leave it with no border and only binding, so I added in the flange. Hooray for compromise! (With 5 year old and 2.5 year old boys at home who seem to constantly bicker, perhaps that should be my word next year...) 


Wednesday, January 8, 2014

January ALYOF Goal

Time for a new year and a fresh start! My first A Lovely Year of Finishes goal for 2014 is to finish my new niece Rachel's quilt top. I'd originally hoped to finish this as my December goal, but life got in the way and it didn't happen. (Sound familiar?)

Here's where I started December:


And here's where I am now:
I've got enough two-patches made to create the side borders, so I'm well on my way to completing this quilt top.


Tuesday, January 7, 2014

2013 A Lovely Year of Finishes Recap

Well, I ended the year 11 for 12 for my A Lovely Year of Finishes goals.
December just didn't happen (but the good news is...I know what my goal for January 2014 is!).

Here's a look at my 2013 finishes, in collage format:

January: Stockings for my boys (what a treat to have them ready to go this Christmas!)
March: Piece quilt top for belated wedding gift (it's been quilted and delivered!)
April: Piece quilt top for new nephew (it's been quilted and delivered!)
November: Piece my chevron tree skirt (it'll be under the tree next year!)

Whew! What a great motivator for the year. 
Thanks to Shanna from Fiber of All Sorts and Melissa from Sew BitterSweet Designs for hosting this link party all year long!


Wednesday, December 4, 2013

Last one for the year: December ALYOF goal

It's December, and my A Lovely Year of Finishes goal is not Christmas-themed (it could have been, but those projects HAVE to get done, and this one isn't as crucial, so I'm upping the ante by making this baby quilt my December goal. 

Let me start with a bit of a timeline. In 2005, I attended my first Sample Spree at Quilt Market. I made it to the Moda table before they sold out (a feat in itself!) and bought a fat quarter bundle of some beautiful woven plaids and stripes. 

Fast forward 6 months and my first niece was born. I knew exactly what fabric to use to make her a quilt. (no photo...this was before I had a digital camera!)

In 2009, her younger sister was born. I had enough of that fat quarter bundle left to make a similar quilt for her, using the Yellow Brick Road pattern:


Now it's 2013, and there's a new little sister (yay!). I don't have much of the bundle left, but I wanted to sew a quilt that would coordinate with the other two a bit. I bought the fabrics on the right to go with my 2 remaining fat quarters and scraps from the original bundle.

I'm not making another Yellow Brick Road quilt, though. Here's my plan: 3 rows of pennant-type flags (allowing me to use some of the smaller leftover scraps)

Surrounded by four-patches:

This is as far as I am right now; my goal is to finish the top by the end of the month so I can "give" it to my niece when I see her (and then take it back to quilt it!). We don't live nearby, and most of my quilt gifts to this family have been mailed, so I'm looking forward to giving it in person!


Monday, December 2, 2013

Challenge 4 Art: Winter

It's the third deadline for our Challenge 4 Art project. The theme? "Winter."
I struggled with this theme; I love winter and so much about it--the individuality of snowflakes, memories of snowy nights, the bracing feel of winter wind against my cheeks (and then that delicious first sip of hot chocolate upon returning inside!). But transforming those visions into fabric--tough.

I ultimately went down an abstract (at least for me) path. I chose 4 different colors of sky and fused different sized circles to represent snowflakes. I was going for the look of snowflakes flying at the windshield while you're driving.

I chose diagonal line quilting to create the feel of falling snow.


The other talented quilters in our little group are:
Amy of Amy's Crafty Shenanigans
Susannah from fiberchick 
Claudia will join back in next round.


Be sure to check out their projects too when you're done here! 
I can't wait to see the other interpretations of winter.

And looking forward to some real "winter" snow showing up here in Michigan some time soon! 


You can see my previous two themed posts in the links below and also find links for the other ladies' posts as well!
Blue
Growth

Thursday, November 28, 2013

Ta-da! Tree Skirt Finish

Happy Thanksgiving! Before it's time to eat the turkey, I thought I'd get this post up.
I finished my tree skirt top, which was also my A Lovely Year of Finishes November goal. (Done early...woo hoo!)
 I was pleasantly surprised by how quickly and easily it assembled, and I even finished it ahead of when I planned (how often can you say that about a sewing project?!?!)

 When I first showed my goal for this month, I promised that I'd share how I made this. I sewed offset strip sets to minimize my fabric waste because of the angled wedges I was cutting. Below you can see one of the strip sets, and two wedges I cut. Because of the angle, I was able to cut two different versions of wedges (1 flipped) from the strip. The first one you see below (with the wider red top) is one of my "extras" for a second tree skirt next year. The second strip (wider green bottom) is the type of wedge I used in my tree skirt. I made eight strip sets; four angled like you see below:

And four angled the opposite way, like this:
 The angles create the chevron look. If you look carefully at the strip set above (or the photo of the wedges below), you can see the only mistake I made while piecing this--in the last strip set! I reversed the order of two strips. Argh. Of course I didn't realize it until after I'd cut the wedges. With the help of a seam ripper, I fixed the five mistake wedges.

I'm so happy to have this tree skirt top done! I'm going to save the quilting of it until after the holidays because I don't want to rush it. But it'll be fun to try this out under the tree!

My 4.5-year-old wanted to sew a quilt block last weekend while I was working on the tree skirt. In an effort to buy myself a little more sewing time, I suggested that he color his block first and then we'd make what he colored in fabrics. Here is the result:


p.s. Thanks to everyone who stopped by during the blog hop party! Random generator chose #101, Linda, as the winner.