Tuesday, February 14, 2023

Valentine's Day Strippy Improv Heart Pillows

Happy Valentine's Day! 
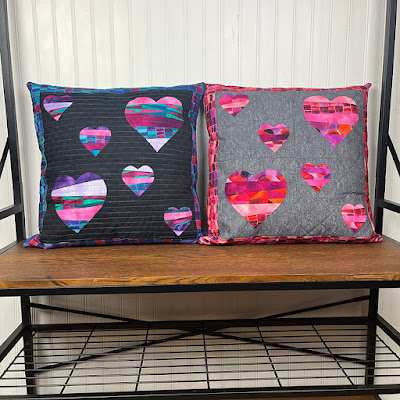
I used my most recent fabric from the Benartex Brand Ambassador program and my Strippy Improv Hearts pattern to create these throw pillows. 

 First, let's admire the fabrics. These prints are from Benartex's Watercolor Geometry collection. I love the palette, the shading, the shapes. These were so much fun to play with!


I picked out the red, pink and purple prints, and added in a few tonals from the New Hue basics collection to round things out. That heart just yells "valentine," doesn't it?!

And this version has a little more purple in it. Still valentine-y, but less traditional.


I chose dark backgrounds for both pillows so that the jewel-toned hearts would pop. 


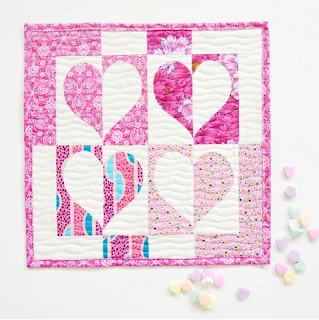
You can make these heart pillows - or a heart baby quilt or lap quilt - using my Strippy Improv Hearts pattern, available here.

Hope your Valentine's Day is filled with delicious chocolate and beautiful fabric! 

Looking for more Valentine inspiration? Check out my Heart Projects Round-Up here.

Wednesday, February 8, 2023

Heart Projects Round-Up

It's hearts and chocolate season! Valentine's Day is coming and you still have time to sew a heart-themed project! I've collected my favorites to share with you - most are tutorials available on my blog; a couple are patterns to purchase. Enjoy and Happy Valentine's Day!


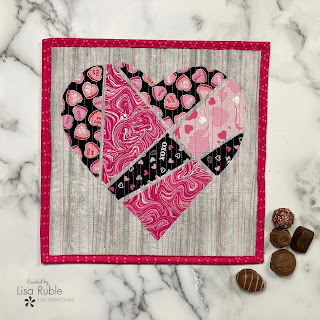
Puzzle Heart Mini Quilt
This no-sew heart is made using HeatnBond fusible applique and random rotary cuts. 


Two each blocks for a fabric version of the classic XOXO make up a fun wall hanging. I used Christa Watson's Gridwork collection.


I used an existing heart block pattern and a variety of Valentine colored solids to make this modern mini quilt. 


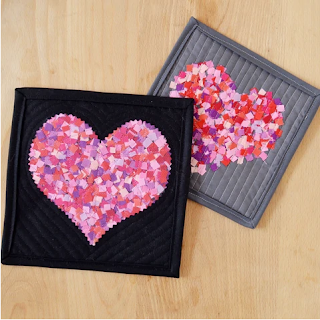
These mini quilts bring the idea of tiny fabric scraps to a whole new level! I originally created this tutorial for PBS Fabrics.


Flip Flop Heart Mini Quilt
Pick your favorite prints plus a contrasting solid to make these easy applique quilt. I originally designed this tutorial for PBS Fabrics. 


This is still a favorite of mine--a fabric tic tac toe board with Xs, Os and hearts.


Plus two quilt patterns:

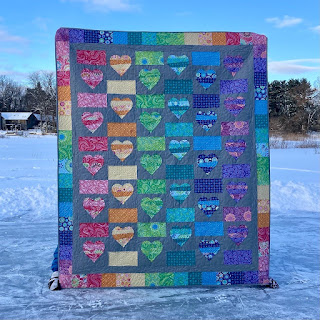
This quilt pattern includes the lap-size quilt you see here, plus instructions to make a baby quilt and a throw pillow.


After I designed my It's a Swirl quilt, I saw some chocolate fabrics and realized how much these swirls looked like a box of fancy chocolates! These instructions are included in the pattern. The version shown below uses Benartex's Chocolicious collection.


If you're new here, welcome! I hope you'll stay and look around a bit. 
If you like what you've seen here, you can also find me:
To find all of my quilt patterns, visit my Etsy shop. 
Find me on IG here.
Sign up for my newsletter in the right-hand sidebar or here. 
(You'll receive a free pattern for my Diamond Drama quilt (below) as a thank you!)

Tuesday, January 31, 2023

Benartex Ambassador Tote Challenge

How is it almost February? We moved at the end of December into early January, and the month pretty much disappeared! With all the packing and unpacking, I have done very little sewing lately, but our first Benartex Brand Ambassador challenge came up, and I needed to dig out my machine. 


We were each asked to make a tote bag inspired by/with a nod to the Benartex logo. I opted to create X blocks - not quite as fancy as the X in the logo, but graphic and fun. 

For fabric, I received this fun box of Marbleized prints -an entire rainbow's worth - to play with. 
I knew I wanted black for the background so the Xs would pop. 


I decided to use two shades of a color for each X to add a little interest. I started pairing colors up and couldn't narrow it down, so I ended up making eight X blocks - four for each side! Here are some of my blocks in progress:


And here's the finished tote bag.
 Special thanks to Mom, who was here and pressed and trimmed units as I stitched them! 

Side 1:


Side 2:

Which side do you prefer? I started with the purple, orange, blue and lime on side 1, and I think that's my favorite. 

I have created another quilt with Marbleized fabrics - this Follow the Rainbow BOM. It looks pretty nice next to the tote bag, doesn't it?! (The rack they're both hanging on was a recent purchase for our new house - there's not a coat closet at the back door, and with 3 boys and Michigan winters, we needed someplace to hang everything.) 


Friday, December 23, 2022

Flurry Pillows + Zipper Tutorial

It's snowflake season! The timing on this post is perfect, because we are currently in the middle of a snowstorm. I'm sharing my Flurry Pillows tutorial over on Thermoweb's blog today. 


Click here to see the tutorial. Below, I'm sharing a little more in-depth zipper tutorial. I used to make only envelope pillows, but a few years ago, I tried adding a zipper to a pillow I made and haven't looked back - I like the results so much better! 

Teal Square Pillow details:
Start with (2) 17" squares of background fabric and (2) 17" squares of Fusible Fleece. Follow the tutorial directions to make front and back, squaring each side up to 16-1/2" after quilting. 

After your pillow front and back are assembled and squared up, it's zipper time!
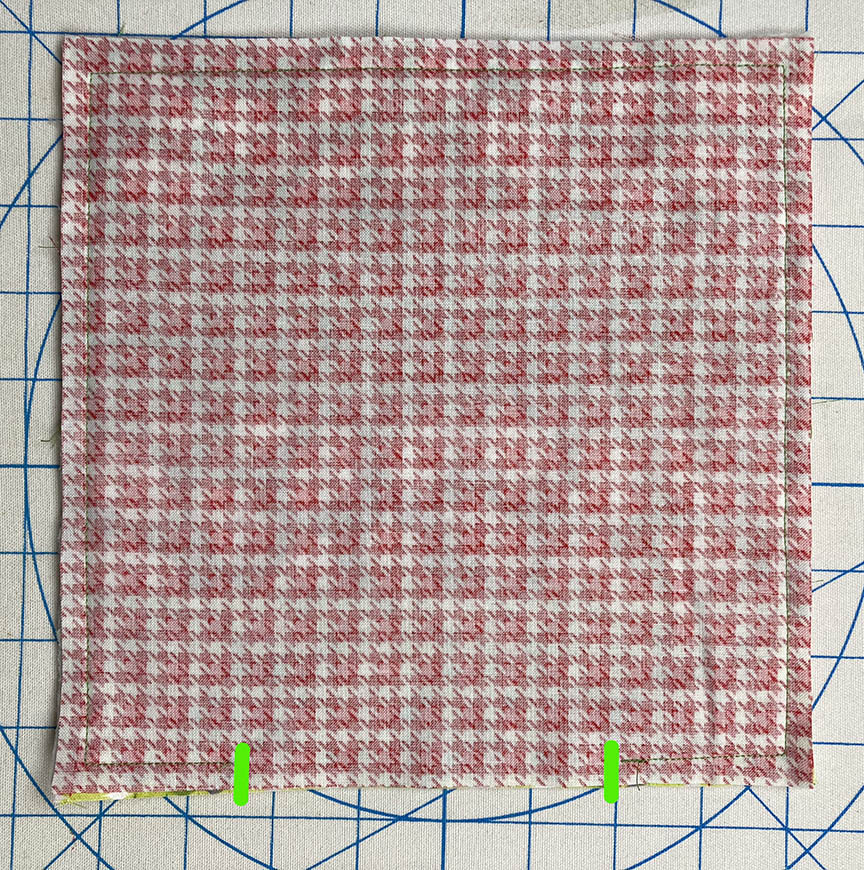
Step 1 Place the pillow front and back right sides together. Increase your stitch length for basting. Stitch along what will be the bottom edge of the pillow with this long stitch, using a generous 1/4" (sometimes I even go 1/2") seam allowance.


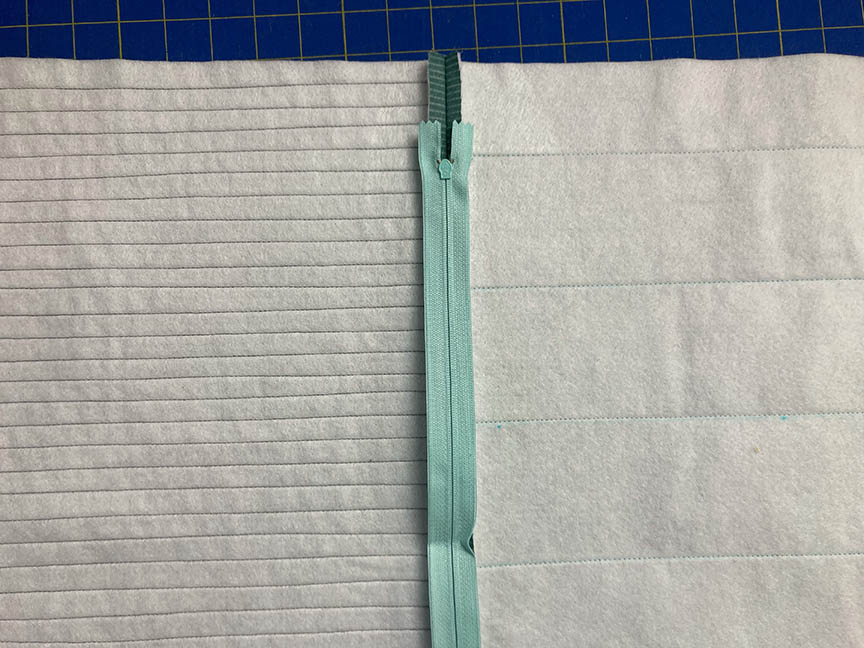
Step 2 Press the seam open. Layer the zipper on top the seam, right side down. Center along the pillow. The zipper teeth should align with your seam line.

Step 3 Using a zipper foot on your machine, stitch along both long sides of the zipper, as well as the short ends. Hint: Make sure you switch your machine back to a normal stitch length - I often forget and start sewing my zipper on with a basting stitch!

Here's a close-up of the top end of the zipper - I've stitched above the metal end. 

Step 4 Use a seam ripper to open the basting stitch along the zipper. Do not open the stitches all the way across the pillow bottom - just between the stitches that hold the zipper in place. 

Step 5 Open the zipper and then fold the pillow front and back right sides together, matching raw edges. Pin along raw edges. Make sure your zipper is open. Did I mention that yet? It's important. Stitch around the remaining (3) sides of the pillow, backstitching at the beginning and end. Clip corners carefully to reduce bulk.

Step 6 Turn the pillow cover right side out (through that open zipper!) and poke the corners out. 

Step 7 Insert your pillow form (in this case, a 16" square pillow) and enjoy! 

We'll be enjoying these snowflakes on our snowy day! 


Friday, December 16, 2022

Santa Snacks Reindeer Mat tutorial

Hello and Happy December!
Today I shared a Santa Snacks mat tutorial over on the Thermoweb blog; here you'll find the tutorial for the coordinating Reindeer Mat! In my family, we put out snacks for Santa on Christmas Eve, and I thought it would be fun to create a little quilted mat to hold the cookies and milk for Santa, plus sugar and carrots for the reindeer. Adding Liquid Vinyl to the finished mats helps keep them clean from cookie crumbs and spilled milk!

Find the Santa Snacks Mat tutorial here.


For both of these projects, I used fabrics from A Cozy Winter by Cherry Guidry for Benartex. 
Such cute fabric! 


 Let's get started!

You'll Need:
(4) 2-1/2" x 8-1/2" strips of holiday fabric 
(1) 8-1/2" square for backing

Download the template for reindeer prints here. 

Make the Reindeer Mat
Step 1 Sew the (4) 2-1/2" x 8-1/2" strips together along long edges. 


Step 2 Fuse the 8-1/2" square of Fusible Fleece to the wrong side of the pieced unit.


Step 3 Layer 8-1/2" backing square right side up and the pieced unit right side down, matching raw edges. 


Step 4 Stitch around the outer edges, leaving an opening for turning. 


Step 5 Turn right side out and press opening closed. 


Step 6 Machine quilt  1/4" on both sides of each seam line, backstitching at edges. Topstitch around the outer edge of the mat, closing the opening and also double securing the machine quilting lines. 


Step 6 Trace (4) reindeer prints onto the paper side of fusible web. Fuse onto the wrong side of black fabric and cut out on the drawn lines. 

Step 7 Arrange the prints on the quilted mat and fuse into place. 

Step 8 Referring to manufacturer's directions, apply Liquid Vinyl to the mat. 


And you're done! Make sure to check out the tutorial for the Santa Snacks mat as well.


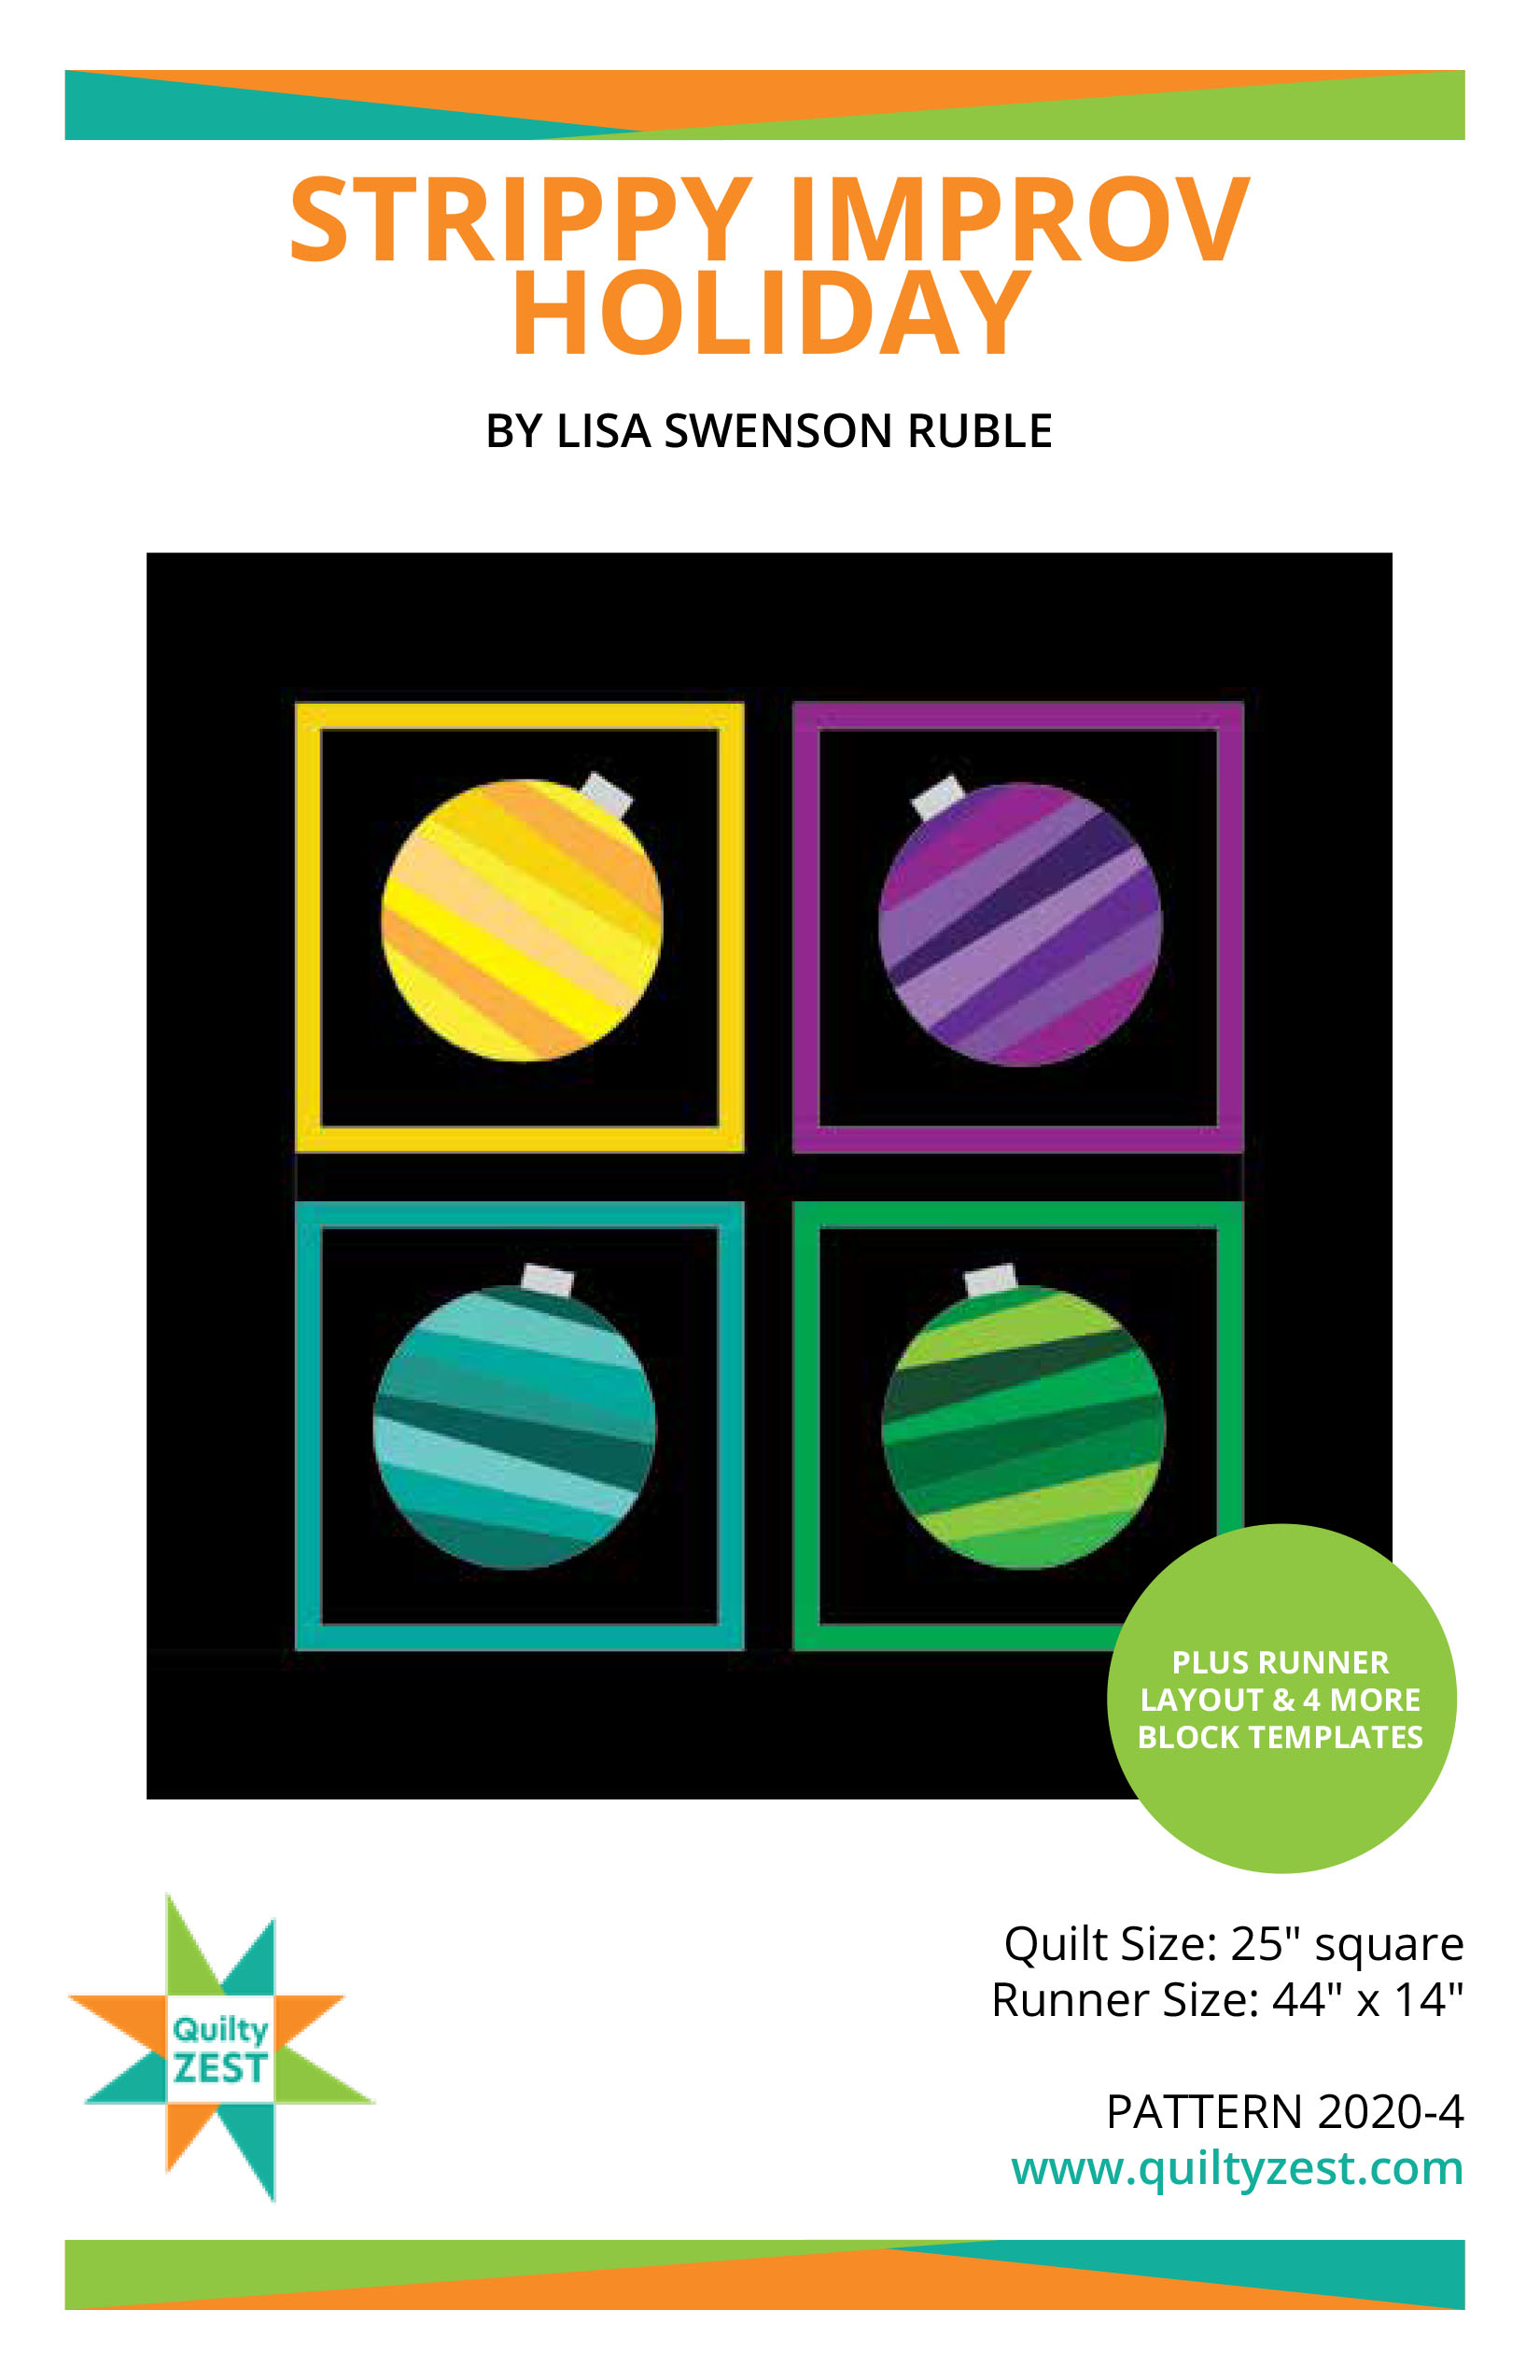
Psst...looking for another fun holiday sewing project? Check out my Strippy Improv Holiday pattern! It features 5 different blocks to choose from. 


Wednesday, December 14, 2022

Strippy Improv Holiday QAL - week 4

 It's week 4 of the Strippy Improv Holiday QAL!

This week we're talking assembly and quilting. How is your project coming along? 

I'll share a few of my finishes here:


Deciding how to machine quilt these projects can be tricky - at least for me! My default choice is straight line quilting, but there's a lot of contrast in the fabric colors I've used, so picking a thread color feels challenging. For this candy cane and tree version, I opted to free motion quilt instead so I could change thread colors. 


I started this version last year and finally finished it! 


I decided to mimic the stripes in the navy background fabric with my quilting for this one. I used a gray-blue thread, similar to the border color, which blended on most of the fabric colors. By doing straight line quilting, the lines show up as texture, so the blue-gray thread on the white snowman isn't distracting - it's just texture. 


Here's a look at the only runner I've completed so far - the blocks for my next one are on my design wall, so you'll be seeing it soon. I chose to alternate the direction of the ornament blocks so there's no "right side up" with the runner - it looks good from all sides of a table! 


Last week I stitched up two blocks and turned them into mini quilts for our guild gift exchange. If you add in a layer of heat-resistant batting, these could be used as hot pads as well! I also shared a tutorial for Strippy Improv Halloween for turning a block into a throw pillow - find brief instructions here.

I hope you enjoyed being part of the quilt along and I can't wait to see how your project turns out! Be sure to tag me on social media - @quiltyzest or #strippyimprovholiday so I can see! 


**********************************************************************

Join the Strippy Improv Holiday Quilt Along!

QAL Details: 
Sew along with me to create a holiday wall quilt or table runner before Christmas! I'll post once a week with tips and advice (plus that all-important accountability!) to keep us on track. These blocks are addicting...just wait and see! 
Purchase the pattern here.

Week 1: November 23rd - Fabric selection
Week 2: November 30th -  Making 2 blocks
Week 3: December 7th - Making 2 blocks
Week 4: December 14th - Assembly and Finishing
Purchase the pattern here.


 **************************************************************************
If you're new here, welcome! I hope you'll stay and look around a bit. 
If you like what you've seen here, you can also find me:
To find all of my quilt patterns, visit my Etsy shop. 
Find me on IG here.
Sign up for my newsletter in the right-hand sidebar or here. 
(You'll receive a free pattern for my Diamond Drama quilt (below) as a thank you!)