Showing posts with label Painter's Palette Solids. Show all posts

Friday, July 3, 2020

Fireworks Table Runner Tute

I do love an excuse to create some fun red, white and blue projects, and 4th of July is great for that! 

I originally created this tutorial for Paintbrush Studio Fabrics using their Painter's Palette Solids. It's super quick and easy--thank you, fusible web! 
I hope you enjoy it! I kind of want to make a larger version now...

Let's get started!
You'll Need: 
1 fat quarter each Painter's Palette Solids: White, Patriot, French Blue, River, Claret, Crimson, and Tomato
Fusible web
1/2 yard backing fabric
12" x 27" piece of batting
How's this for a patriotic bundle?!
(from left: 121-000 White, 121-111 Patriot, 121-131 French Blue, 121-025 River, 121-051 Claret, 121-002 Crimson, and 121-134 Tomato)

Cutting:
From the white:
(3) 7" squares
(4) 2" x 6-1/2" pieces (reserve remaining piece of strip for piecing the long borders)
(2) 2" x 21" strips

From each of the 3 blues and 3 reds:
(1) 2-1/4" x 21" strip for binding
(1) 7" square

From the fusible web:
(6) 7" squares

Make the Quilt: 
Step 1: Adhere a 7" square of fusible web to a 7" Tomato square. Using a thread spool or other small round object, trace a circle slightly off center on the paper side of the fusible web.


Step 2: Using a ruler, draw lines radiating out from the center circle as shown. Note: I marked the rays that would be red with a pencil squiggle to help visualize the negative space the lines will create. Create as many or as few rays as you like, varying widths and angles. 


Step 3: Cut out the negative areas to create a fireworks shape that looks like this: 

(The squiggly lines also help to make sure you leave the correct parts while cutting!)


Step 4: Repeat with the 7" Patriot square--your center circle and rays will be slightly different from the Tomato shape, and that's good! 


Here's what both your fireworks shapes will look like:


Step 5: Position both fireworks shapes on a 7" white square. Try with both the Patriot and Tomato fireworks shape on top (see photos below), and experiment with rotating one of the shapes until you find the look you like. 


Step 6: When you are satisfied with your block, remove the paper and fuse the fireworks shapes onto the white square. 


Step 7: Trim block to measure 6-1/2" square.


Step 8: In the same way, make 2 additional blocks, pairing the River square with the Claret square and the Crimson square with the French Blue square.


Step 9: Lay out the 3 blocks alternating with (4) 2" x 6-1/2" white pieces. 


Step 10: Sew the blocks and white pieces together. Sew the (2) 2" x 21" white strips and remaining 2" x 14" white strip short ends together into a long strip. Cut (2) 24-1/2" lengths. Sew to the long sides of the quilt. 

Step 11: Layer the backing right side down, batting, and quilt top right side up. Baste layers together and quilt as desired. Use short sections of the (6) 2-1/4" x 21" red and blue strips to bind the quilt. 


Block close-ups: 


Monday, May 25, 2020

Memorial Day Mini Quilt Tutorial

On Memorial Day, we remember those who have died in service to our country. Flags wave and red, white and blue abounds in patriotism. For quilters, it's a good day pull out those patriotic-colored fabrics and perhaps sew something for a veteran. 
Here's a tutorial for a mini quilt using red, white and blue solids. 


You'll Need:
1 fat quarter each of three red solids (Crimson, Real Red and Claret)* 
1 fat quarter each of three blue solids (Midnight, Royal, and River)*
1 fat quarter white solid
Lightweight interfacing or muslin
13" square of batting
13" square of backing
*I used Painter's Palette Solids from Paintbrush Studio Fabrics.


Cutting:
From each red and blue solid: 
Cut two strips ranging in width from 1" - 2"

From the white solid:
Cut four strips ranging in width from 1" - 2"

From the remaining Midnight:
Three 2-1/4" x 21" strips for binding

From the interfacing or muslin:
Cut four 6" squares

Make the Blocks:
1. Lay a wider white strip diagonally across the muslin square. 


2. Choose another strip to layer on top and stitch along the long edge using a 1/4" seam allowance. 


3. Press open. 


4. Continue sewing various red and white strips to the square until it is completely covered. 


5. Trim the unit to measure 6" square. Make two red stripe units.


6. In the same way, make two blue stripe units. 


7. Cut each unit in half diagonally. Cut one blue unit perpendicular to the stripes and one parallel to the stripes. Do the same with the red units. 


8. Match up each red unit with a blue unit that has the stripes running in the opposite direction. Make four blocks. 


9. Play around with the lay out of these blocks. You can try them like this: 

Or like this: 


10. Sew the blocks into rows and join the rows. Press seams open to decrease bulk. 


11. Layer the backing right side down, batting, and mini quilt top right side up. Quilt as desired. Trim backing and batting even with the quilt top and use the three 2-1/4" x 21" navy strips to bind. 

Looking for some more red, white and blue inspiration? Check out this post!


Visit my Etsy shop here.
Sign up for my newsletter here.
Find me on Facebook
Find me on IG @lisaerin1121

Thursday, May 21, 2020

Now Available: Wonk Around the Block BOM - Month 1

Guess what?! Starting today, the Wonk Around the Block pattern is available for purchase! 
Purchase the pattern here.

This quilt pattern combines traditional and wonky piecing in a modern design. I've set it up as a 6-part Blook of the Month pattern: Month 1 is available right now, and then Month 2 will be available on June 21st, Month 3 on July 21st, etc. 


Diane Oakes (@quiltingandcats) machine quilted this quilt, and she did a fantastic job. Each section or strip has its own design, and she used five different thread colors. 


I used Painter's Palette Solids from Paintbrush Studio in my quilt. Teal is my favorite color, so I started there and then added in the oranges and golds for contrast. I chose three different grays to work with the white as "backgrounds." You can use as many or as few colors as you like. 


I'd love for you to join me in making this quilt! The pattern includes detailed directions for each unit, but I'll also be offering video tutorials (available next week) to walk you through each step. If you're new to wonky piecing or just feeling like you'd like a little more help, I encourage you to check them out. More details to come!


In the video tutorials, I'll be making a second version of this quilt using Amanda Murphy's Cotton Shot prints from Benartex. I decided to use darker colors for my background and I love how different this version looks! 

 When you purchase the pattern, you'll receive the Introduction pages, which include yardage for the entire quilt, a page of tips, and a black-and-white line drawing so you can choose your own color placement. You'll also receive Month 1, which is the center wonky star and a few borders. Each month afterwards will include the specific yardage, cutting, and piecing instructions for the sections being added. We'll assemble as we go, so by the end of Month 6, your quilt will be complete!

Purchase the pattern here. 


Here's a quick look at the fabric requirements. These are generous to ensure that you have plenty of options for switching up colors as you piece. 


Visit my Etsy shop here.
Find me on Facebook
Find me on IG @lisaerin1121

Monday, February 24, 2020

How to Do Assembly Line Improv Piecing

Last fall, I completed this improv pieced scrappy Rainbow Cross Quilt, which is hanging at Castle Church Brewing Community in Orlando, FL.
I loved making this quilt. I've done plenty of improv piecing, but putting this together was a challenge--deciding what layout to use (hint...none of the layouts in my original post!), and then actually assembling it. I also love how it turned out--it really seems to glow!

While I was making the quilt, I decided to put together a tutorial for making improv pieced slabs. At its most basic, you can do this by sewing small pieces of fabric together. But when you're making a larger quilt (like mine), it's possible to make the slabs using more of an assembly-style approach. 

Here's how I do Assembly Line Improv Piecing:

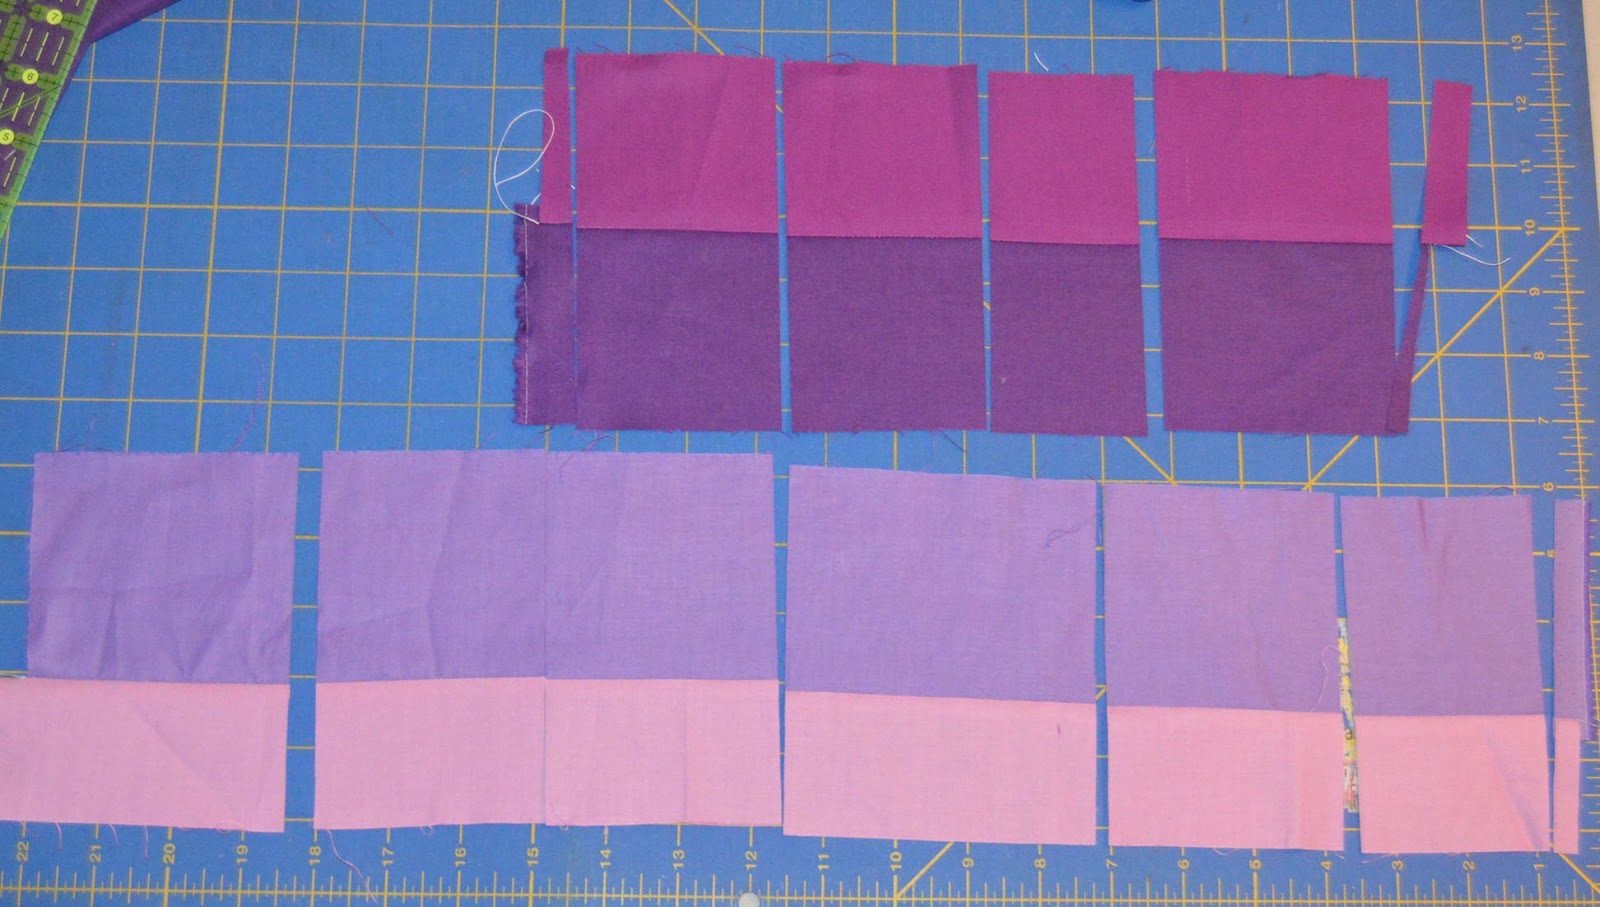
1. Cut strips of fabric, ranging in width from 1-1/2" to 3-1/2". The strips don't have to be full length, but the longer the better. Sew contrasting strips together lengthwise.

2. Cross cut the strip sets into random widths, ranting from 2" to 5". Go for variety! Keep a line on your ruler aligned with the seam in your strip set to help keep things as square as possible.

3. Sew these crosscut segments to another strip (or two or three--variety is key!). Rotate the segments so that you create different looks. Press toward the strip. 

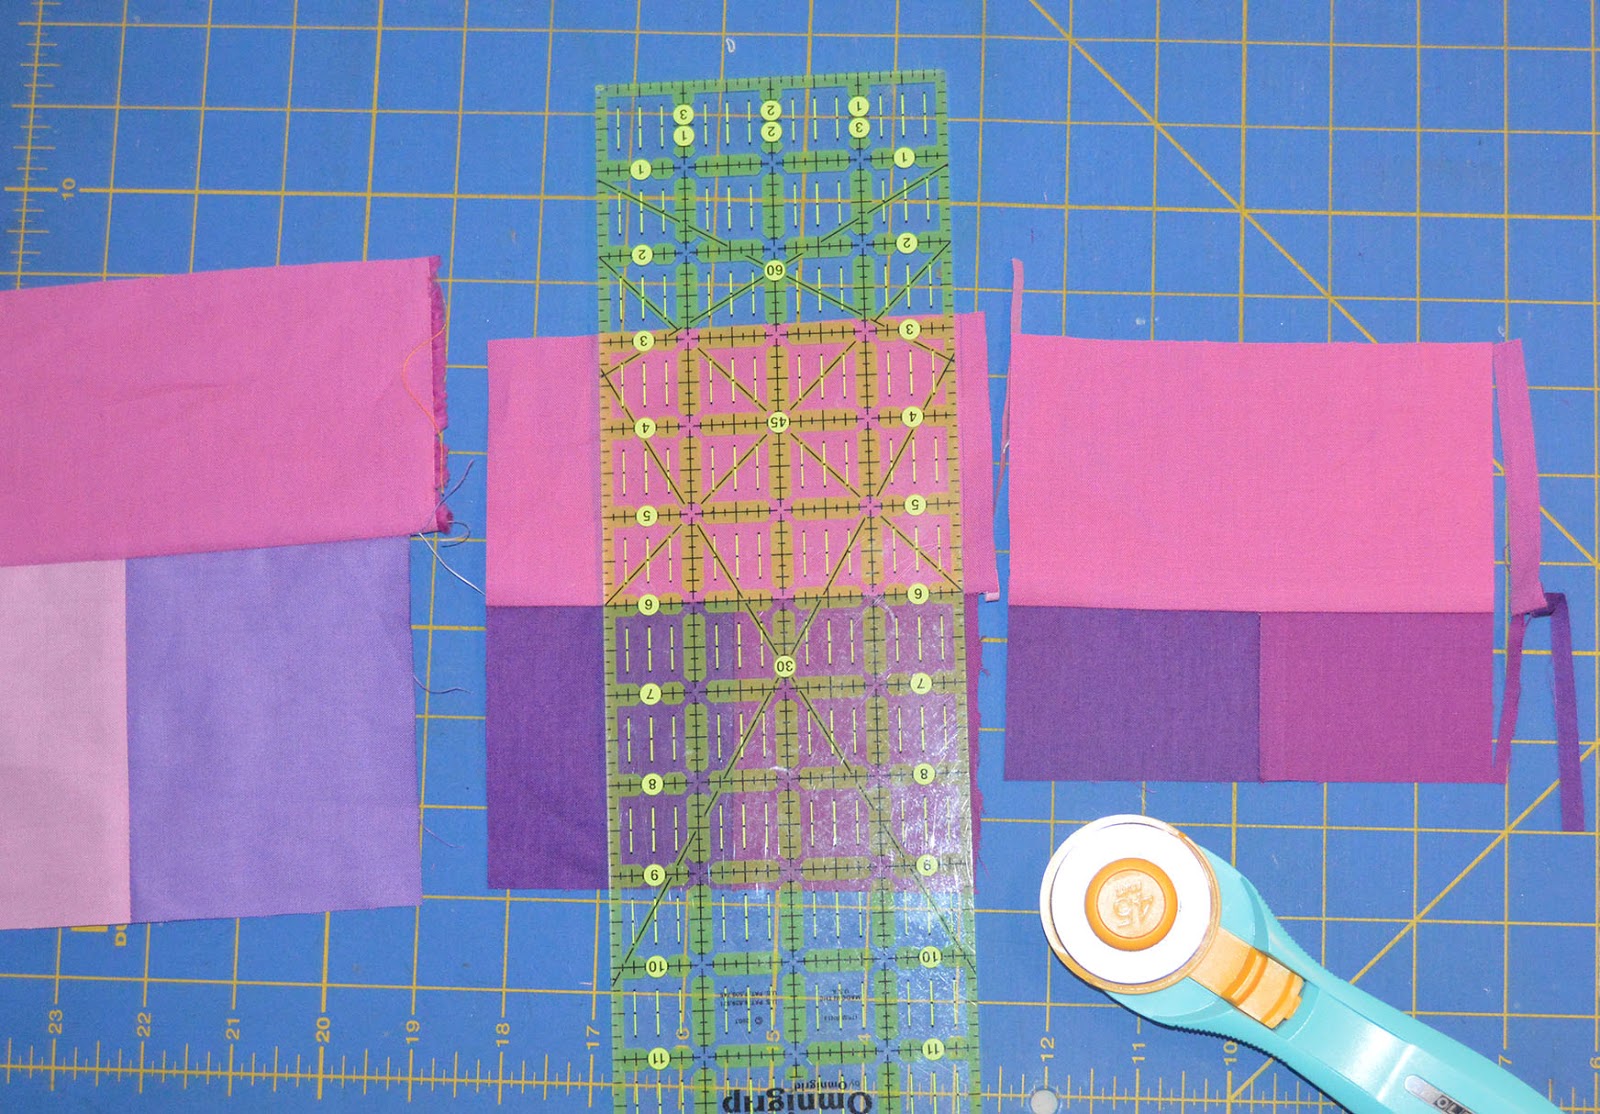
4. Trim these segments. Here's where efficiency comes in. Trim along the right edge of each segment.

5. Rotate each pieced segment and then cut the opposite side of the unit (or if you have a cutting board you can walk around, cut from the opposite side). This way you're not flipping your strip set back and forth as you trim off each unit.

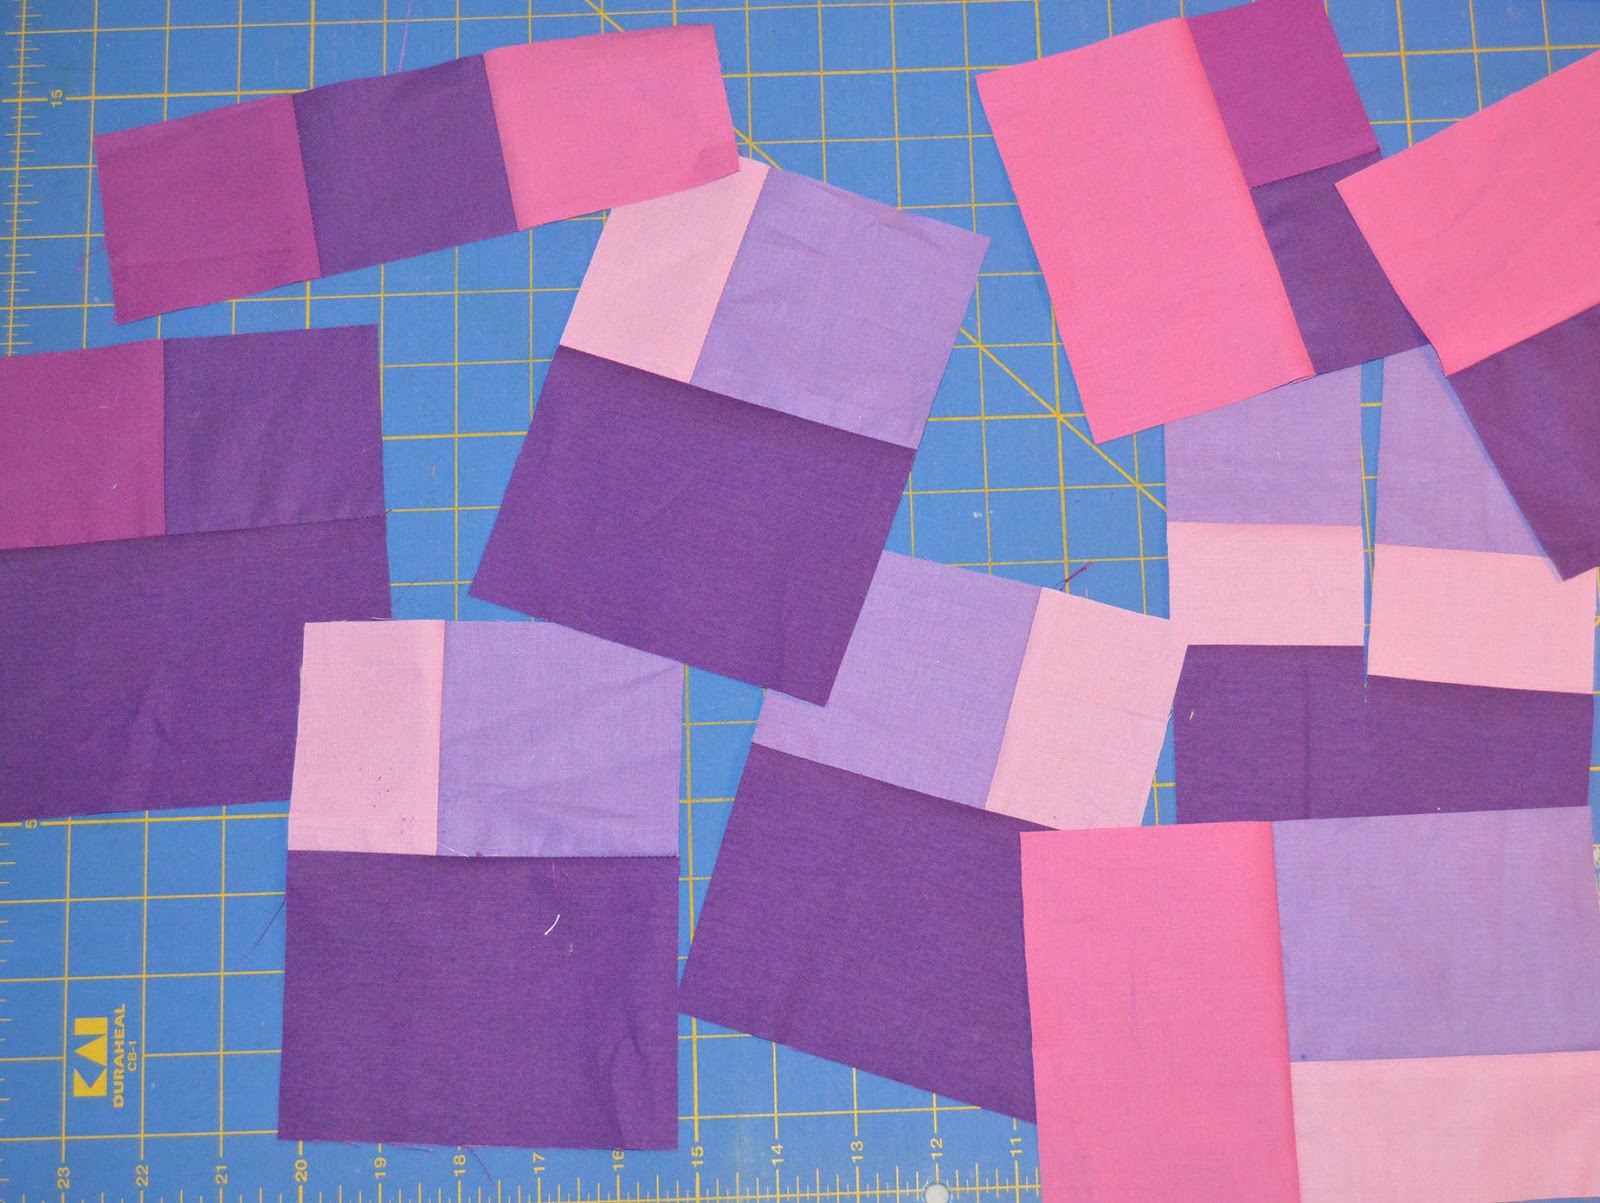
Here's what your units will look like at this point. They're all different sizes, different widths of the various fabrics, etc. Variety!

6. Continue adding units to another strip, and/or start joining units together (see lower right in the photo below). Press and trim units.

7. Continue adding strips and pressing and trimming units. Rotate your units so that you're not creating purely striped units. 

8. Here's what my finished purple units look like. For my quilt, I made units that ranged from about 6" square to 8" square (and plenty of rectangles in that size range as well). Beyond being in that ballpark size, I didn't worry about exact measurements until I started joining rows together for the quilt.

After I finished units for each color, I started playing with layout on my design wall. Once I had it figured out, I sewed the units into horizontal rows, sometimes trimming the units, and sometimes adding more pieces. Then I sewed the rows together around the center cross. You can watch how I laid out the rows in the video below. 

I had a lot of fun putting this video together!