Showing posts with label mini quilt. Show all posts

Monday, July 4, 2022

Firecracker Mini Quilt - 3 Block Assembly

Happy 4th of July! My Firecracker Mini Quilt tutorial is up on the Thermoweb blog. I made that version with four blocks all stitched together. I've also created a version with three blocks and sashing and border, and I'm sharing that assembly here. 


The 3 Block version:


Cutting:
From the white:
(4) 2" x 6-1/2" pieces 
(2) 2" x 24-1/2" strips

From the blues and reds:
A total of 85" of 2-1/4" wide strips for binding


Assemble the Quilt
Step 1: Lay out the 3 blocks alternating with (4) 2" x 6-1/2" white pieces. 


Step 2: Sew the blocks and white pieces together. Sew the (2) 2" x 24-1/2" lengths to the long sides of the quilt. 

Step 3: Layer the backing right side down, batting, and quilt top right side up. Baste layers together and quilt as desired. Use short sections of the (6) 2-1/4" x 21" red and blue strips to bind the quilt. 


Block close-ups: 


Friday, January 28, 2022

6 Valentine's Day Mini Quilt Tutorials

It's hearts and chocolate season! Valentine's Day is coming and you still have time to sew a heart-themed project! I've collected my favorites to share with you - most are tutorials available on my blog; a couple are patterns to purchase. I'm also hosting a giveaway on IG, so head over to check it out.

Enjoy and Happy. Valentine's Day!


Puzzle Heart Mini Quilt
This no-sew heart is made using HeatnBond fusible applique and random rotary cuts. 


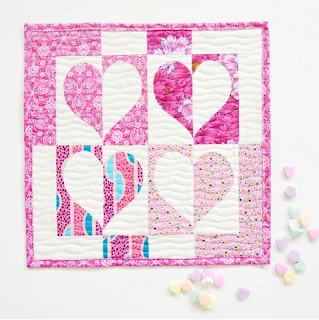
Two each blocks for a fabric version of the classic XOXO make up a fun wall hanging. I used Christa Watson's Gridwork collection.


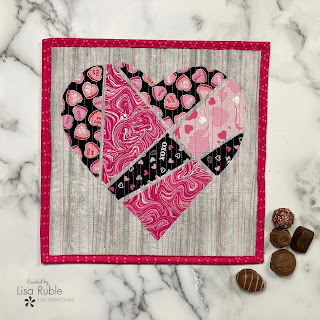
I used an existing heart block pattern and a variety of Valentine colored solids to make this modern mini quilt. 


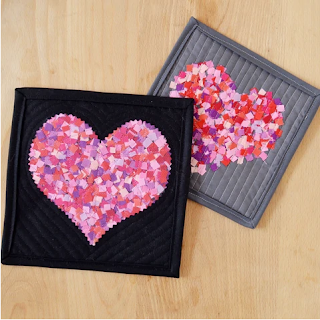
These mini quilts bring the idea of tiny fabric scraps to a whole new level! I originally created this tutorial for PBS Fabrics.


Flip Flop Heart Mini Quilt
Pick your favorite prints plus a contrasting solid to make these easy applique quilt. I originally designed this tutorial for PBS Fabrics. 


This is still a favorite of mine--a fabric tic tac toe board with Xs, Os and hearts.


Plus two quilt patterns:

This quilt pattern includes the lap-size quilt you see here, plus instructions to make a baby quilt and a throw pillow.


After I designed my It's a Swirl quilt, I saw some chocolate fabrics and realized how much theseswirls looked like a box of fancy chocolates! These instructions are included in the pattern. The version shown below uses Benartex's Chocolicious collection.


If you're new here, welcome! I hope you'll stay and look around a bit. 
If you like what you've seen here, you can also find me:
To find all of my quilt patterns, visit my Etsy shop. 
Find me on IG here.
Find me on Facebook here.
Sign up for my newsletter in the right-hand sidebar or here. 
(You'll receive a free pattern for my Diamond Drama quilt (below) as a thank you!)

Monday, December 7, 2020

Strippy Improv Blocks, aka My New Obsession

It started with this postcard. Our guild (Great Lakes Modern Quilt Guild) is having a virtual holiday party, and everyone was asked to make a fabric postcard and mail to it, Secret Santa style. I procrastinated as usual and then started playing around with this idea. 


Once I had the postcard finished, the idea kept growing. Decorations on the tree using those fancy machine stitches! 


Ornaments!


And the kids got involved. 

Sidenote here...can I brag on these two a bit? The 6-year-old (above) is very independent. I helped him sew the tree, but he insisted on doing the machine quilting himself. Including the pedal. Pretty impressive, right? And I like the gradation of his tree--I'll be copying that for my next one! 

And below--this kid is 9. Look at his tree (which he gave to me as an early Christmas present!). It was his idea to upsize, his idea to add a star and ornaments, and he did ALL the sewing himself (except joining the ends of the binding strips--that's hard! 


Ok, back on track: And then I made a little video (with the 11-year-old's help) for IG (find it in my feed) and it blew up - or at least as much as IG blows up for me. Which was pretty fun!

And my imagination kept going... 

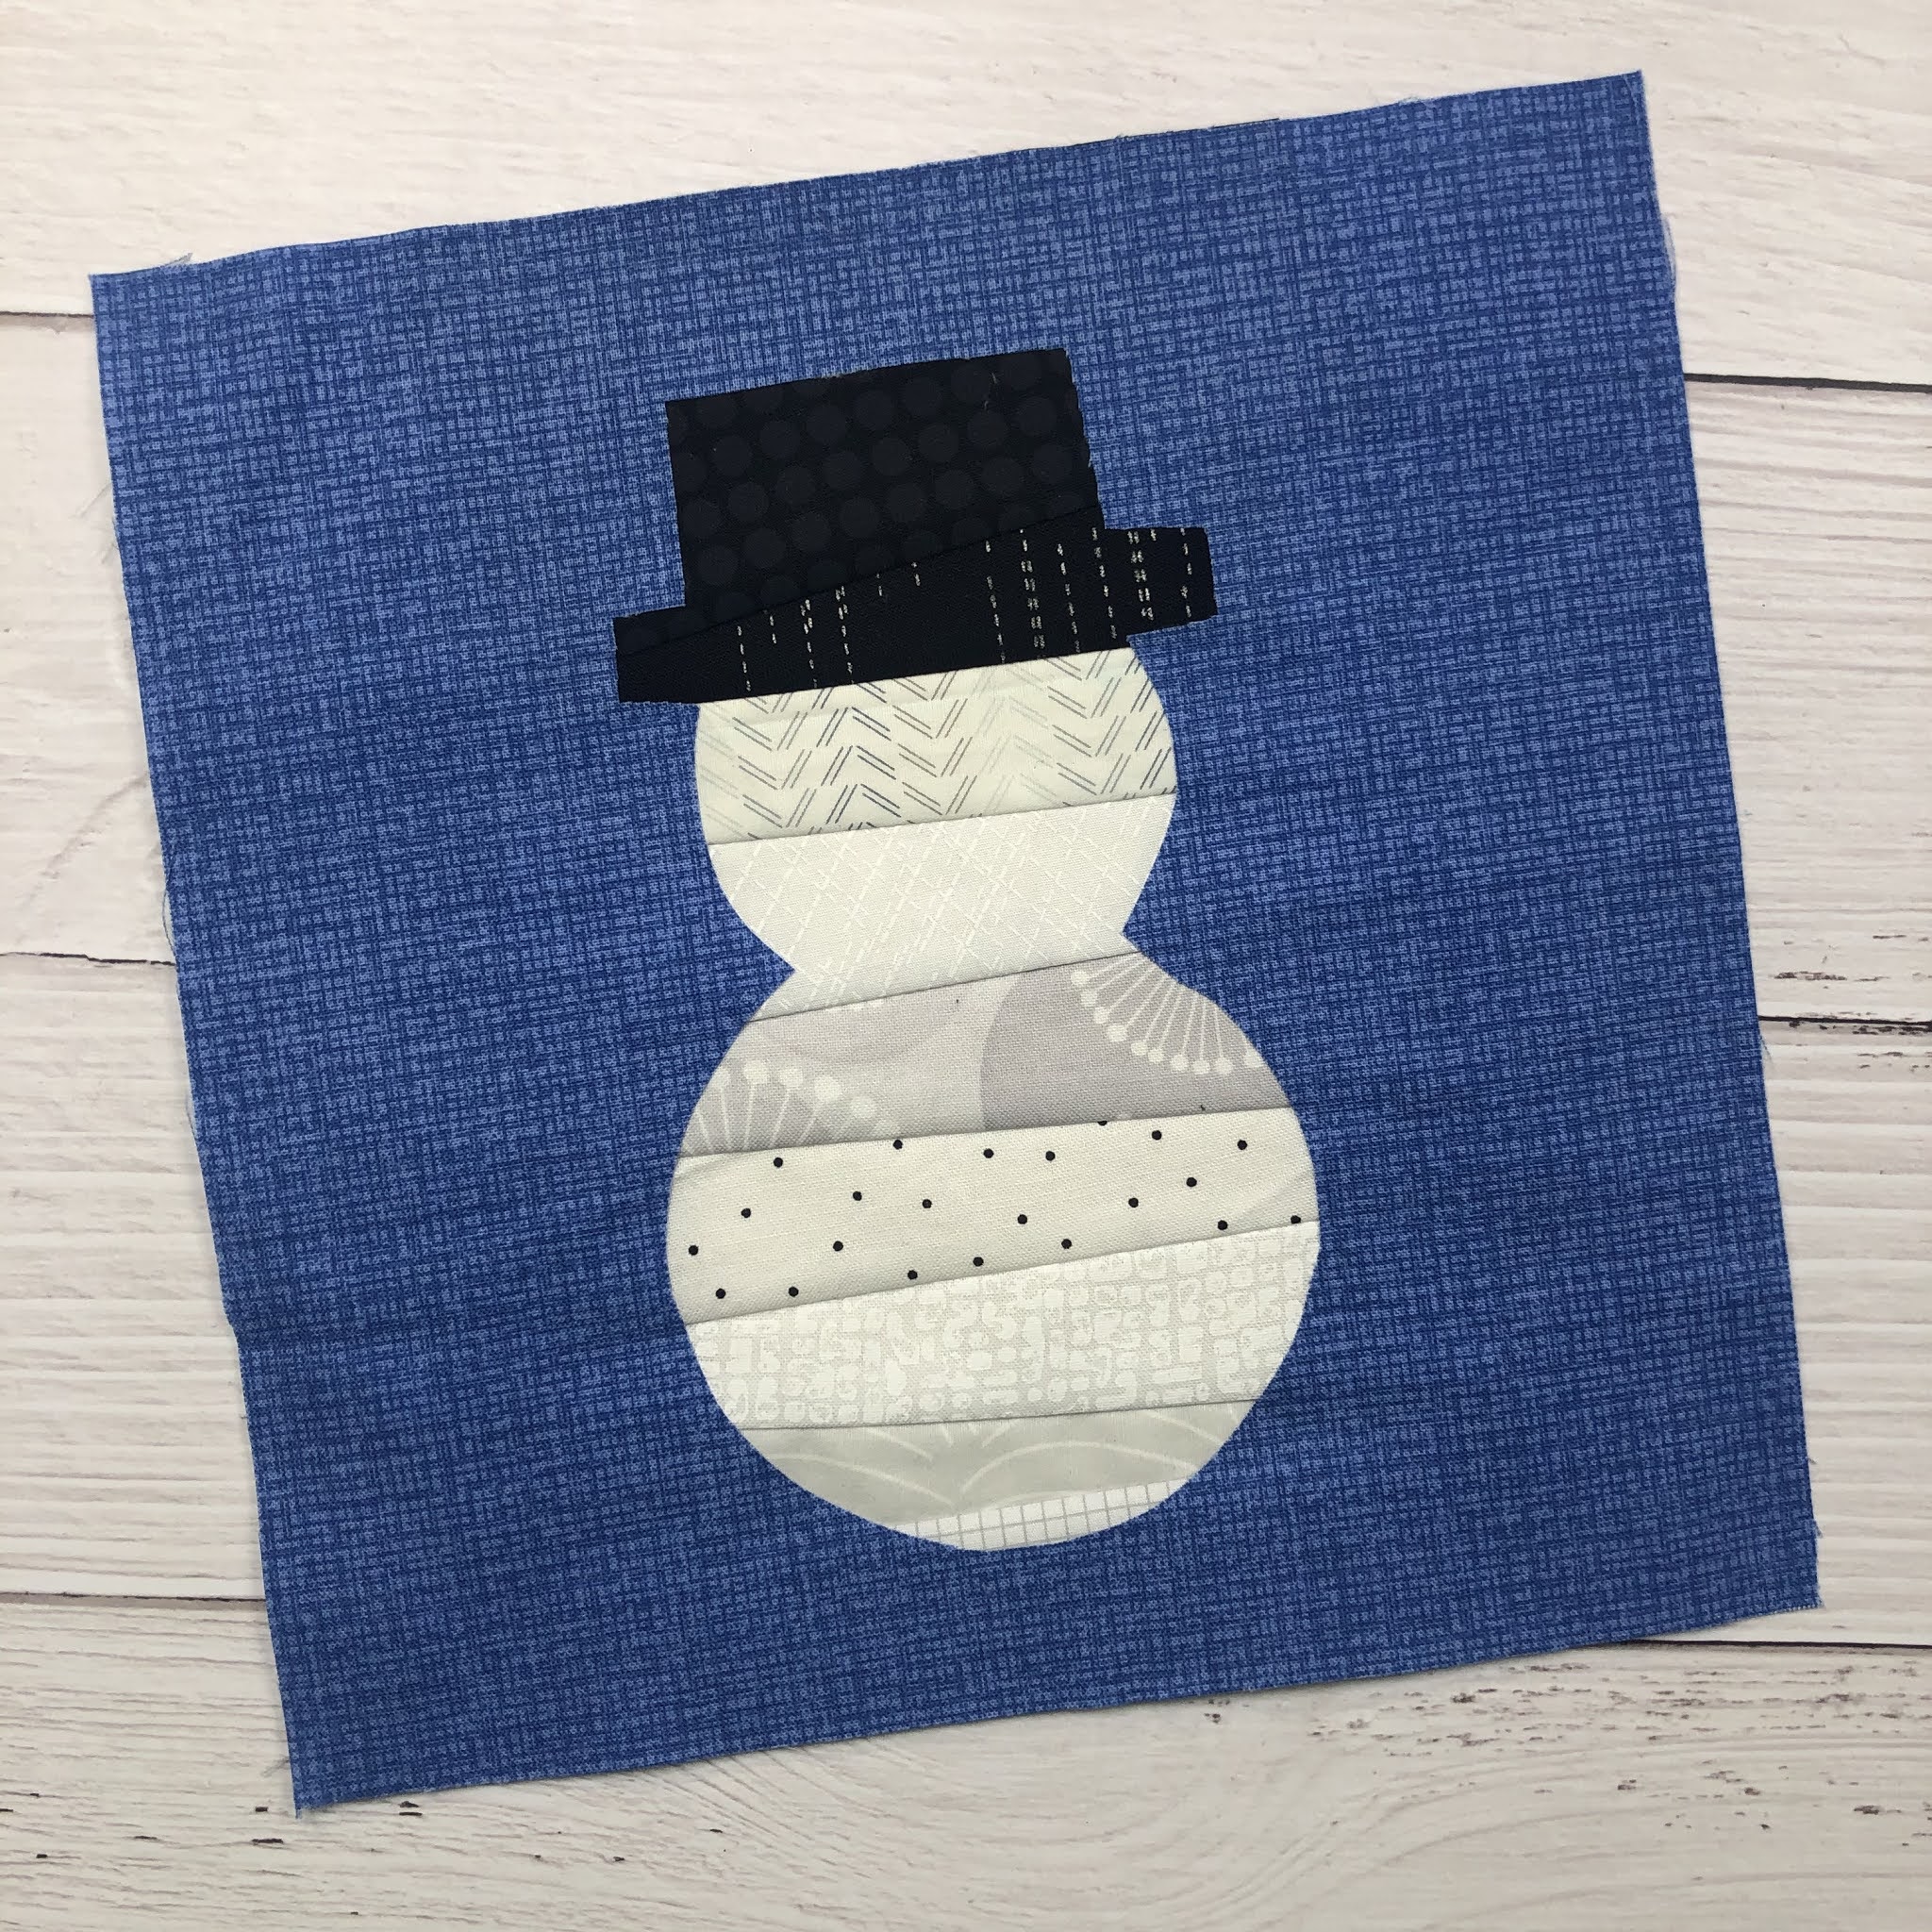
Snowmen!

Stars!

Candy canes!

Decorated trees!


For those who have asked, I'm currently working (as fast as I can!) on two things--a video tutorial on the basic technique, and then a more involved pattern that will include all of the shapes you see here as well as a wall hanging/table runner assembly. When both are ready, I'll post about it here, on IG, FB, and in my newsletter, so make sure you're connected (links below)! 

These go together so fast, and they're so fun! Plenty of time to make some before Christmas.

If you like what you've seen here, you can also find me:
To find all of my quilt patterns, visit my Etsy shop. 
Find me on IG here.
Find me on Facebook here.
Sign up for my newsletter in the right-hand sidebar.


Monday, May 25, 2020

Memorial Day Mini Quilt Tutorial

On Memorial Day, we remember those who have died in service to our country. Flags wave and red, white and blue abounds in patriotism. For quilters, it's a good day pull out those patriotic-colored fabrics and perhaps sew something for a veteran. 
Here's a tutorial for a mini quilt using red, white and blue solids. 


You'll Need:
1 fat quarter each of three red solids (Crimson, Real Red and Claret)* 
1 fat quarter each of three blue solids (Midnight, Royal, and River)*
1 fat quarter white solid
Lightweight interfacing or muslin
13" square of batting
13" square of backing
*I used Painter's Palette Solids from Paintbrush Studio Fabrics.


Cutting:
From each red and blue solid: 
Cut two strips ranging in width from 1" - 2"

From the white solid:
Cut four strips ranging in width from 1" - 2"

From the remaining Midnight:
Three 2-1/4" x 21" strips for binding

From the interfacing or muslin:
Cut four 6" squares

Make the Blocks:
1. Lay a wider white strip diagonally across the muslin square. 


2. Choose another strip to layer on top and stitch along the long edge using a 1/4" seam allowance. 


3. Press open. 


4. Continue sewing various red and white strips to the square until it is completely covered. 


5. Trim the unit to measure 6" square. Make two red stripe units.


6. In the same way, make two blue stripe units. 


7. Cut each unit in half diagonally. Cut one blue unit perpendicular to the stripes and one parallel to the stripes. Do the same with the red units. 


8. Match up each red unit with a blue unit that has the stripes running in the opposite direction. Make four blocks. 


9. Play around with the lay out of these blocks. You can try them like this: 

Or like this: 


10. Sew the blocks into rows and join the rows. Press seams open to decrease bulk. 


11. Layer the backing right side down, batting, and mini quilt top right side up. Quilt as desired. Trim backing and batting even with the quilt top and use the three 2-1/4" x 21" navy strips to bind. 

Looking for some more red, white and blue inspiration? Check out this post!


Visit my Etsy shop here.
Sign up for my newsletter here.
Find me on Facebook
Find me on IG @lisaerin1121