Monday, June 17, 2019

Modern with a Twist - Sawtooth Star

I'm part of the Modern with a Twist feature in the newest issue of Modern by the Yard.
Find the issue here.

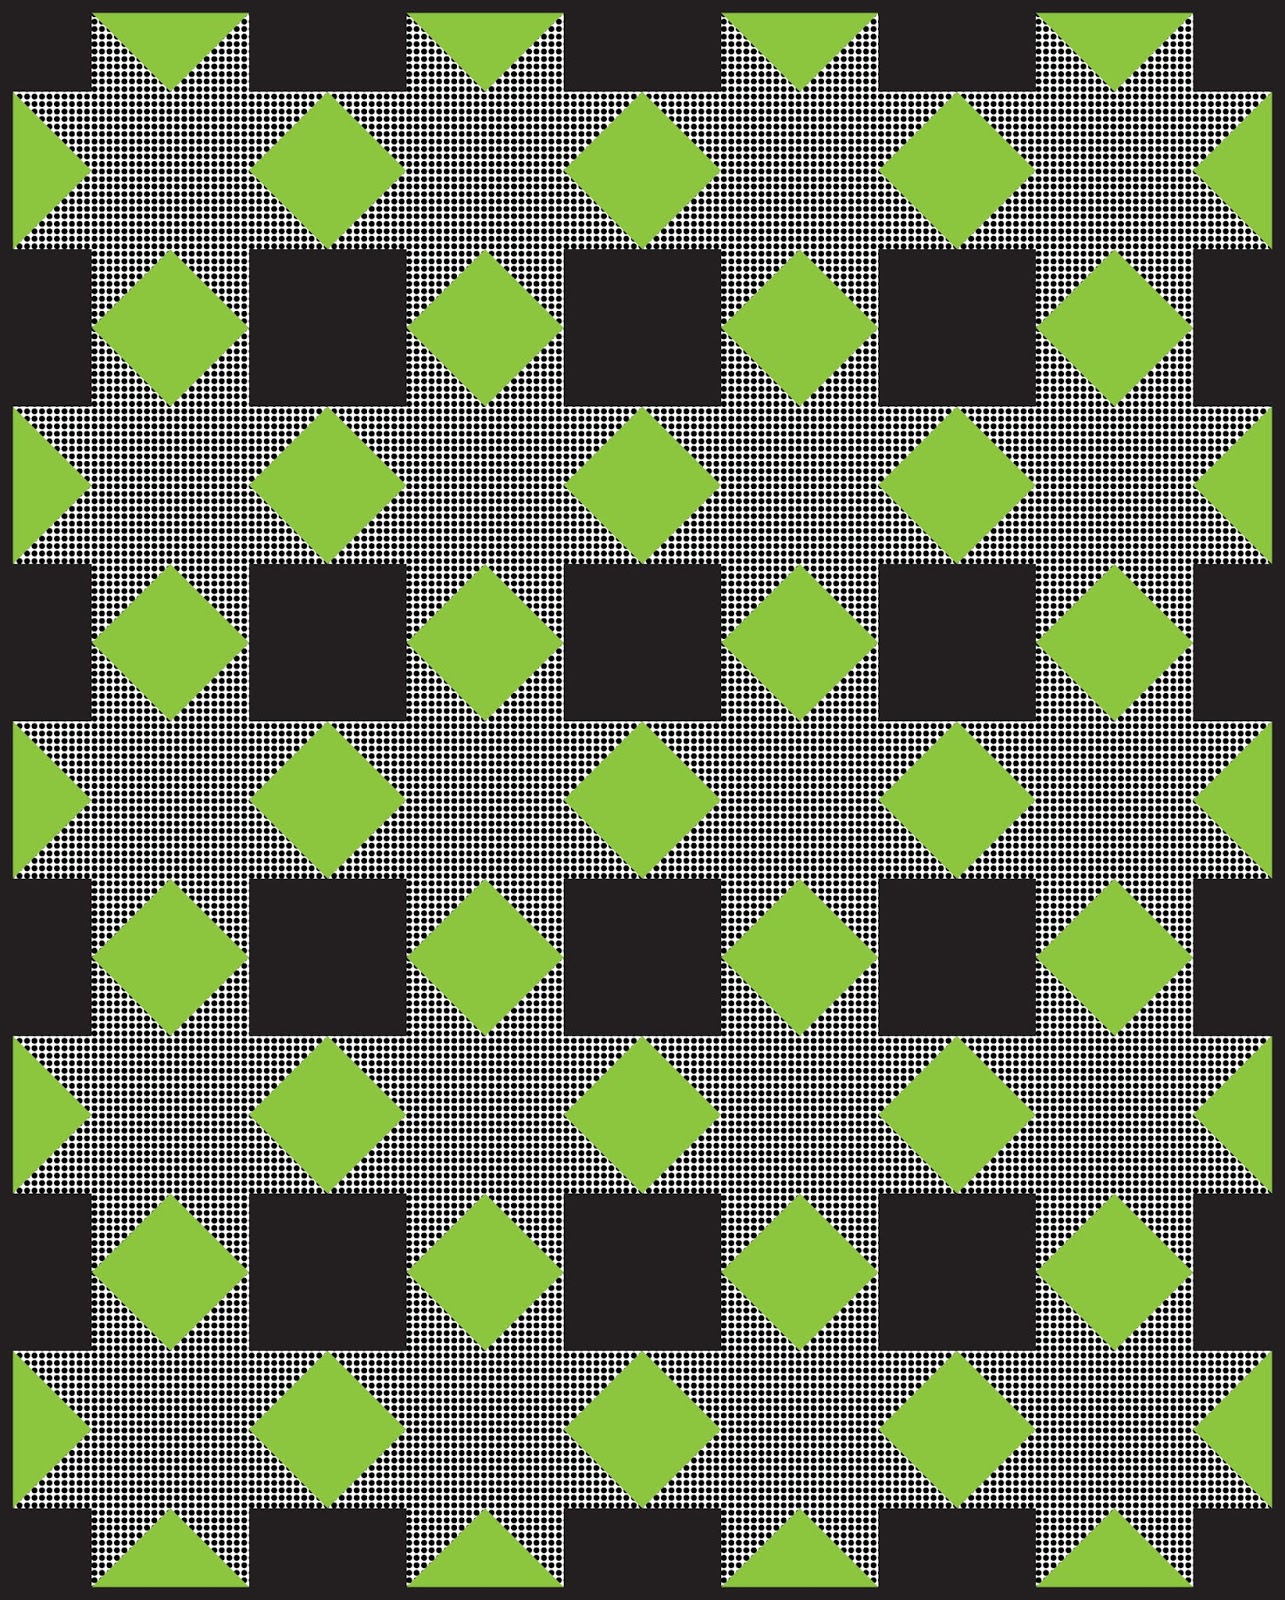
The concept behind this feature is to take a traditional quilt block and make it modern. This issue features the Sawtooth Star block. I chose to use the Better Basics White & Black collection paired with solids. I used a great black and white dot print for the entire star to make it a "solid" shape. I chose lime green to add a pop of color, and black for the corners to create dimension.


Here's what the single block looks like in a quilt. The way that the black and lime sections come together creates a secondary design. 


Then I tried the same design using a variety of black and white prints. 


And finally, I branched out in colors, adding in teal, fuchsia and orange. I like this one best! 

Be sure to check out the entire issue! There are two other Sawtooth Star variations, several projects, and lots more fun.

One last thing: I created a block for Modern with a Twist once before (see it here), and it became my Rolling Waves pattern. Find the pattern here.

Friday, June 14, 2019

ZuZu Squares Show and Tell

Earlier this spring, I taught my ZuZu Squares pattern in a workshop with the Great Lakes Modern Quilt Guild. 

Here's my sample quilt. Diane Oakes, who is holding it with me, quilted it. See close-ups of her quilting here.


I loved seeing all the different fabric choices these ladies made for their quilts! Today I'm going to share some of their quilt tops so you can see how this pattern looks with different fabrics and palettes. It's especially fun to see the different prints chosen for the skinny strips (in my original pattern, those strips are pieced from black and white solids, but I provide directions to use fabric strips instead).


Lynne used a white-on-black geometric print that creates really well-defined frames around each colored section.


Diane used a black-on-white skinny chevron print. She also made more blocks to create a larger quilt.


Jill pieced her skinny strips like I did. 

I love this pieced block she created in the middle of the quilt!!


Pam used a black-on-white dot for her skinny strips.


Jackie chose a complete different palette--I love it! 


Jane chose a black and white chevron print.


Here's my second sample version, ready to be quilted:
(Yep, I took it to Epcot!)


Want to make your own? Purchase the pattern in my Etsy shop. If you'd like me to do a workshop featuring this pattern at your guild or quilt shop, email me.

Friday, June 7, 2019

OMG: On the Go!

Back in May, I cut out the pieces for a new quilt, called On the Go using the Strata collection from Michael Miller Fabrics. The blocks have just one seam each, so once the cutting was complete, the sewing went pretty quickly. :) 

I finished all the blocks and laid out the quilt on my make shift design wall (aka the foyer floor). My oldest photo bombed off the back of the couch while I was trying to take photos from the loft above. My One Monthly Goal for June is to assemble these blocks into a quilt top.

We'll see if there's a photo bomb in my OMG finished post as well! :)

Friday, May 31, 2019

OMG Complete!

I finished my One Monthly Goal for May! 
I pieced my 48 Jacquie's Favorite blocks and then had some fun playing with layout. These blocks will end up with white and gray around them, but I can't add that until I have the layout solidified. 
Which do you like best? 


Tuesday, May 7, 2019

OMG: Piece 48 blocks!

Back in the fall, I created the Spicy Squares table runner using Jacquie's Favorites curated bundle of Painter's Palette Solids--bold, bright, clear warm and cool colors chosen by Jacquie Gering. 
 Ever since, I've wanted to make a larger quilt-sized version of the runner using both Jacquie's warm and cool colors. After a couple focused cutting and piecing sessions, I thought I was set and got ready to lay out the blocks. 


And quickly realized that I was missing a block. Oops! I've since cut out the pieces to make the fourth block in both warm and cool colors. My May One Monthly Goal is to piece these blocks--24 warm and 24 cool. Once that's done, I can get back to the layout and assembly. 

Here's to a couple focused piecing sessions!


Monday, May 6, 2019

Harvest Berry Runner Tutorial & Giveaway

I'm happy to be a part of Benartex's Autumn in the Air blog hop this week. Fall is one of my favorite seasons--I love the crisp air, leaf pile jumping, apple cider, and the gorgeous colors as the leaves change. I spent last fall in Florida and the leaves don't change--I'm looking forward to seeing those gorgeous reds, oranges and yellows this year! 

I used the tonal prints from Cheryl Haynes' Harvest Berry collection to make a leafy table runner. This runner is so quick to sew thanks to fusible web! I pieced two different beige prints for the background and then cut out leaves from rust, gold, green and brown prints. I fused the leaves in place and then quilted the runner. You can also stitch the appliques down, but a table runner doesn't get handled and washed like a quilt does, so I chose not to. 

I hope you enjoy the tutorial below and see how you can win some Harvest Berry fabrics below!

I love the orange floral print in the border:

You'll Need:
1/4 yard each of two beige prints
1/4 yard each of four autumn tonals
3/8 yard orange floral
3/8 yard brown tonal
1-1/2 yards backing fabric
18" x 50" piece of batting

Cutting:
From each of the two beige prints:
Ten 2-1/2" x 10" pieces

From the orange floral:
(3) 3-1/2" x 42" strips

From the brown tonal:
(3) 2-1/4" x 42" strips for binding

Download the leaf templates here. 

Make the Runner:
1. Sew the 2-1/2" x 10" beige pieces together in pairs. Make a total of ten pairs.


2. Sew the pairs together to create a 10" x 40-1/2" pieced strip, alternating the two different beige strips.


3. Trim two 3-1/2" x 42" orange floral strips to measure 40-1/2" and sew to the long sides of the pieced strip. Trim the last 3-1/2" x 42" orange floral strip into two 3-1/2" x 16" strips. Sew to the short ends. 


4. Trace seven large leaves and seven small leaves onto the paper side of fusible web. Cut out loosely around each shape. Fuse leaf shapes to the wrong side of the various fall prints (including the binding print). Cut out leaves on the drawn lines. 


5. Lay out the large and small leaves on the table runner into an arrangement you like. Note that some of the leaves overlap the border fabric. Fuse the leaves in place. If you want to, use a decorative stitch around each leaf.


6. Layer the runner with backing and batting and baste the layers together. Quilt the runner (I used wavy lines). Use the (3) 2-1/4" x 42" brown tonal strips to bind the runner. 

That's it! This is a quick and easy runner. 


For a chance to win a fat quarter bundle of Harvest Berry prints, leave a comment below telling me your favorite thing about autumn. This giveaway is open through Friday, May 10th at 11:59 pm EDT. Make sure I have a way to contact you if you are the winner! 

This blog hop is featuring fall-themed inspiration all week long! 

Autumn in the Air Hop Schedule
Lisa @ Love to Color My World using Harvest Berry by Cheryl Haynes
Debby @ Debby Kratovil Quilts using Harvest Gold
Sandra @ Mmm! Quilts using Thankful by Amanda Murphy
Alison @ Little Bunny Quilts using Faboolous Fun

Friday, May 3, 2019

ZuZu Squares in all its quilted glory!

Ready for a splash of color? 
I'm back from teaching my ZuZu Squares workshop to the Great Lakes Modern Quilt Guild and we had a great time. (Purchase your copy of the pattern here!)
Diane Oakes quilted this quilt for me (and brought it to the guild meeting bound and ready to go!). Enjoy the close-ups of her fabulous quilting!


The whole quilt:

Diane used an echoing square design for the block centers and then two different back and forth designs for the solid frames. The black and white sections are quilted in the ditch to avoid distraction.

I love the black and white stripe binding!


Want to make your own? Purchase the pattern in my Etsy shop. If you'd like me to do a workshop featuring this pattern at your guild or quilt shop, email me.


And a couple more eye candy shots...I'm in love!