Showing posts with label Rhombi. Show all posts

Tuesday, May 9, 2023

Summer Twilight Blog Hop


When Tammy Silvers asked me to play with the batiks in her new Summer Twilight collection from Island Batik, I was happy to! Teals, blues, greens and fuchsia - such a great color palette! I especially love the sparkly star shapes and the dotted mounds. 


I recolored four of my quilt patterns in Tammy's fabrics. Take a look: 

Sew a Garden - Nine rows of piecing fun! 


Pennant Party - Appliqued pennants with the option of creating 3D pennants that flap!


On the Go - One-seam blocks! Available in baby and lap quilt sizes


Rhombi - A variation on a log cabin block

I'm not the only one playing with the Summer Twilight fabrics - check out what these other talented designers have done as well! 
May 11 Laura Piland


Monday, April 11, 2022

Nursery Blog Hop: Rhombi quilt + baby block tutorial + pattern sale~


I'm excited to be part of Michael Miller's Nursery Blog Hop! 
I have three boys at home, and while none are babies anymore (the youngest is 7), construction-themed fabric is right in my wheelhouse. When I saw the Diggers and Dumpers collection, I knew it would be perfect in my Rhombi quilt pattern. (10% off through 4/14!) 

How cute are these prints? I love the bright primary colors.


Purchase the Rhombi quilt pattern here. (10% off through 4/14)


My Rhombi quilt pattern highlights a large focal print--in this case, the construction equipment in the center and corners. Add in a few brightly colored prints (I especially love using a stripe), and this quilt sews up so quickly! I stitched this quilt top in one afternoon. The finished quilt measures 45" square.


I couldn't resist making baby blocks with the remaining fabric. That large focal print was just begging to be fussy cut for block sides! Keep scrolling for the tutorial to sew the baby blocks. 


And the perfect finishing touch? That cozy Minky on the back. My boys are fighting over who gets to use this quilt. 

Baby Block Tutorial
With prints these fun, who can resist sewing some stackable stuffed blocks? Adding a layer of interfacing helps the blocks to keep their shape. 

Here's how:

You'll Need: (to make 4 blocks)
1/2 yard focal print to fussy cut
1/4 yard each four coordinating prints
Fiberfill
Fabric marking pen

Cutting:
From the focal print:
Fussy cut (8) 5-1/2" squares, each centering a motif

From the four coordinating prints:
(4) 5-1/2" squares from each print

From the Interfacing:
(24) 5-1/2" squares

Make the Blocks:
Step 1 Following manufacturer's directions, fuse an interfacing square to the wrong side of each fabric square. 


Step 2 Using a fabric marking pen, mark a dot 1/4" from each corner of each square. These will be your starting and stopping points for stitching. 

Step 3 Join six squares together as shown, starting and stopping on the corner dots. Back stitch at starting and stopping points to secure the stitches. The four squares in a horizontal row will become the "tube" and the top and bottom squares will become the top and bottom of the block. 

Step 4 Pin raw edges together to start forming a block shape, making sure to align corner dots. 

Step 5 Stitch pinned edges from dot to dot, creating an open box shape as shown. Don't forget to backstitch at starting and stopping points!
Step 6 Pin and sew the remaining edges, leaving a 3" opening along the last side for turning. 

Step 7 Turn the block right side out and using a turning tool to poke corners out as much as possible. Stuff firmly with fiberfill and handstitch the opening closed. Tip: Use a thimble to help push the needle through the interfacing. 


I really enjoyed sewing a couple cute projects using these fun fabrics! 

If you're new here, welcome! I hope you'll stay and look around a bit. 
If you like what you've seen here, you can also find me:
To find all of my quilt patterns, visit my Etsy shop
Find me on IG here.
Find me on Facebook here.
Sign up for my newsletter in the right-hand sidebar or here
(You'll receive a free pattern for my Diamond Drama quilt (below) as a thank you!)


Thursday, December 19, 2019

Introducing Rhombi, featuring Playroom!

My pre-Christmas sewing wasn't totally holiday focused. 
I got to play with these fun fabrics: from the Playroom collection by Mister Domestic for Art Gallery Fabrics. Aren't they sweet? 

As I've mentioned before, there's not a lot of pink in my house, so it's always fun to sew with some!

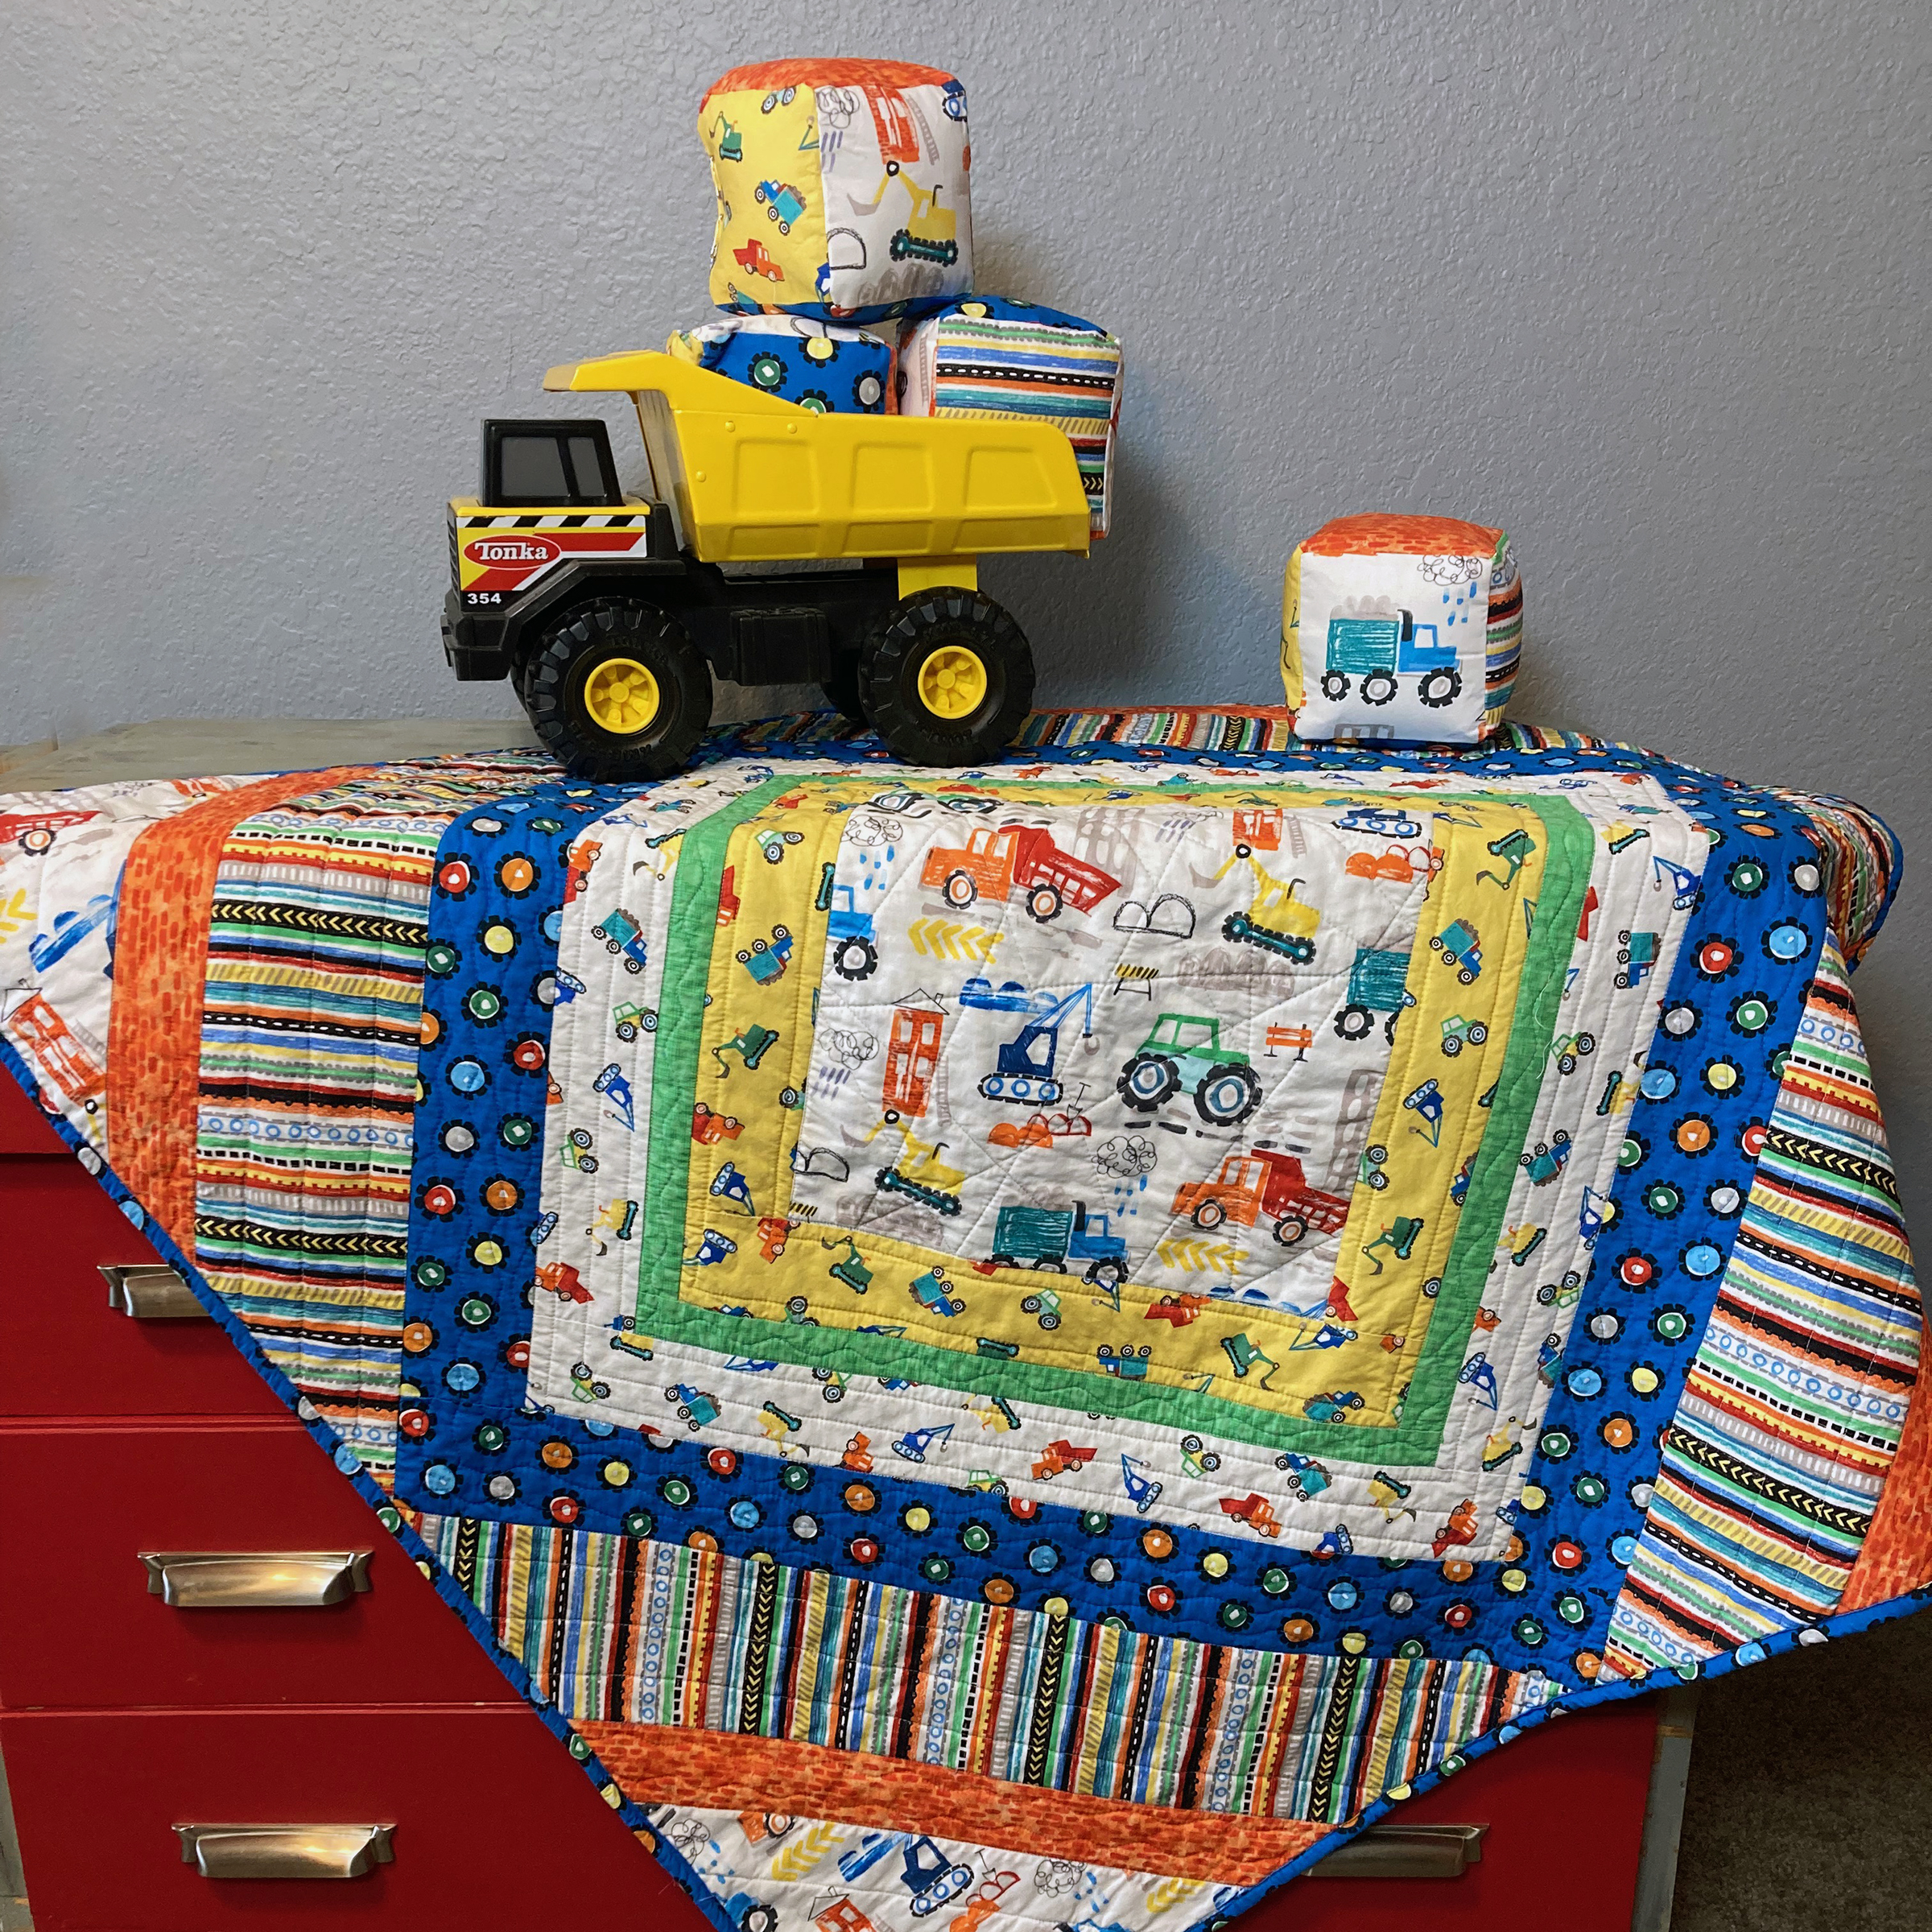
The quilt I created using the Playroom prints (plus Pure Elements Solids) is a new pattern I'm launching based on a log cabin block (and it's currently on sale--scroll down for more info). It sews up super quickly and at 45" square, makes a perfect baby quilt.

 I named it Rhombi--because a square is a rhombus and this quilt is full of squares on point (and yes, I had to double check the definition of rhombus--geometry was a long time ago!) One square = rhombus; multiple squares = rhombi!


Rhombi is featured in Art Gallery's Playroom lookbook.  Isn't the backing fabric adorable?!


A couple close-ups:

This alphabet print I used in the center is my favorite from the collection.

It's playtime!


This pattern is available as a downloadable PDF in my Etsy shop. Purchase it here. The pattern is 15% off through December 22nd, so grab your copy today!

Here are the yardage requirements:

See all of my available patterns here

Psst! Looking for more ideas for using Mister Domestic's Playroom collection? I'm hosting a quilt along in January 2020 featuring my Star Crossing quilt pattern. 
Here are a couple ideas of what it looks like in the Playroom prints: 


Stay tuned for more details about the quilt along!