From each fat quarter:
(5) 5-1/2" squares
(2) 18" x 24" pieces
From the binding fabric:
(3) 2-1/4" x WOF strips
(25) 5" squares
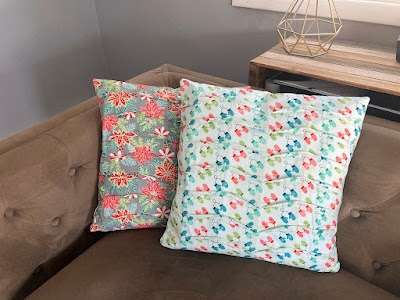
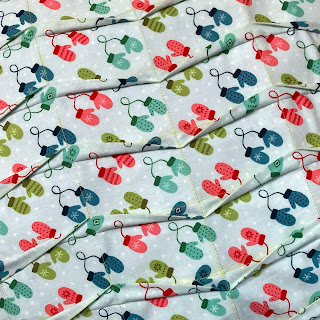
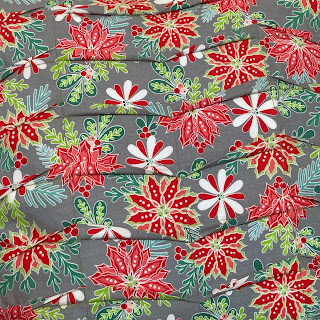
Like I expected, this pillow was a success! My 7-year-old has already appropriated it. :)
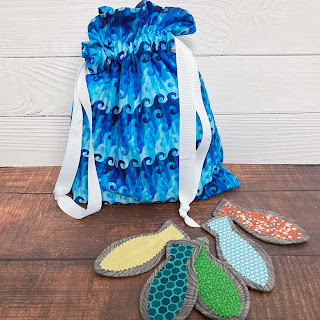
It's almost spring break, and for many families, that means road trips. I shared a Go Fish! travel game tutorial over on the Thermoweb blog - you can find it here. Below, I'm sharing the tutorial to make a simple lined drawstring bag to hold your game pieces. Enjoy!
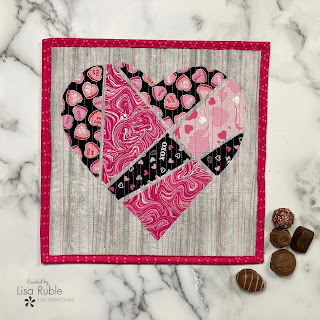
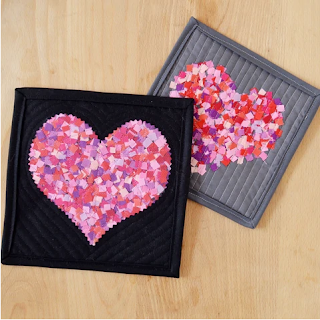
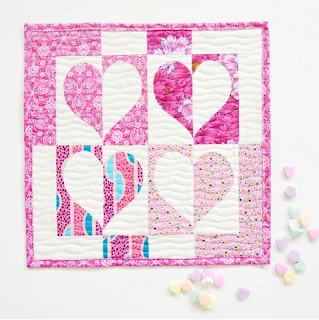
It's hearts and chocolate season! Valentine's Day is coming and you still have time to sew a heart-themed project! I've collected my favorites to share with you - most are tutorials available on my blog; a couple are patterns to purchase. I'm also hosting a giveaway on IG, so head over to check it out.
Enjoy and Happy. Valentine's Day!
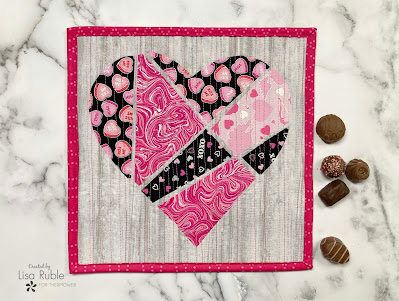
Puzzle Heart Mini Quilt
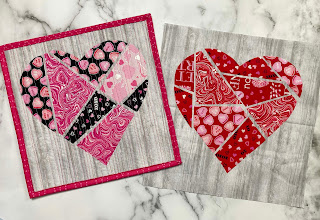
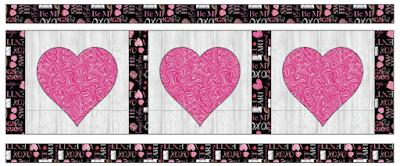
This no-sew heart is made using HeatnBond fusible applique and random rotary cuts.
Today I'm sharing a fun Puzzle Heart Mini Quilt tutorial on the Thermoweb blog. This is a no-sew block made with HeatnBond Lite Fusible Adhesive and it's all about the cutting (sort of like last week's placemats...I'm sensing a theme here...). Although you will need to sew to finish it into a mini quilt.
| Puzzle Heart Mini Quilt |
Find the tutorial here.
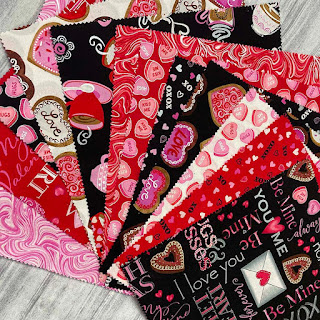
I just want to gush about the fabric a little more. These Hugs & Kisses prints from Benartex are soooo cute! They sent me a layer cake to play with, and the 10" square size is perfect for making these blocks. And I'm thinking maybe I'll use the leftovers for some pillows.
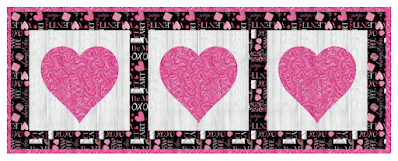
Make a Table Runner!
Once you make one of these blocks, you'll still have the pieces left for three more. Plus, they're kind of addicting to make. So I'm going to give you some information to transform three blocks into an easy runner. Just for fun, I popped in one of the bigger prints from Hugs & Kisses for the border fabric.
You'll Need:
From the border fabric:
(2) 2-1/2" x 41" border strips
(4) 2-1/2" x 11-1/2" sashing strips
From the binding fabric:
(4) 2-1/4" x WOF strips
Assemble the Table Runner
Note: Depending on how often you plan to wash your runner, you may want to stitch down the raw edge appliques before assembling the runner.
Step 1 Sew together (4) 2-1/2" x 11-1/2" sashing strips alternating with (3) heart blocks.
Step 2 Sew the 2-1/2" x 41-1/2" border strips to opposite long sides of the runner.
Step 3 Layer the backing fabric, batting and runner top. Baste layers together and quilt as desired.
Step 4 Use the (4) 2-1/4" x WOF binding strips to bind the runner.
Enjoy!
Hello!
Today I'm over on the Thermoweb Blog sharing a tutorial for these fun Ripple Placemats.
I used the Indigo Batiks fabric from Anthology Fabrics for this project. I'm a huge blue lover, and the range of blues in these fabrics, plus the fun batik patterns, had me hooked from the moment I saw them. (That swirl print...my fave!)
I also used these fabrics to make a blue and white version of my Wonk Around the Block quilt. You can read more about it here. The pattern is available for purchase in my Etsy shop as well.
| Wonk Around the Block pattern |
I hope you enjoy the tutorial!
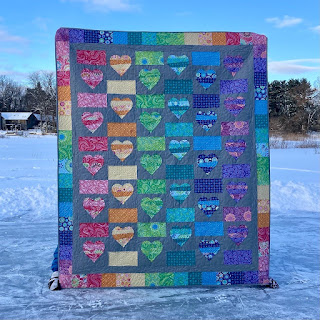
My last finish for 2021 was 4 years in the making and I'm so glad I completed and gifted it!